Table of Content
About Rosana
Rosana offers premium faucets and shower systems that blend style, quality, and functionality.
We focus on customer satisfaction, fast delivery, and exceptional service to help you create your ideal bathroom.
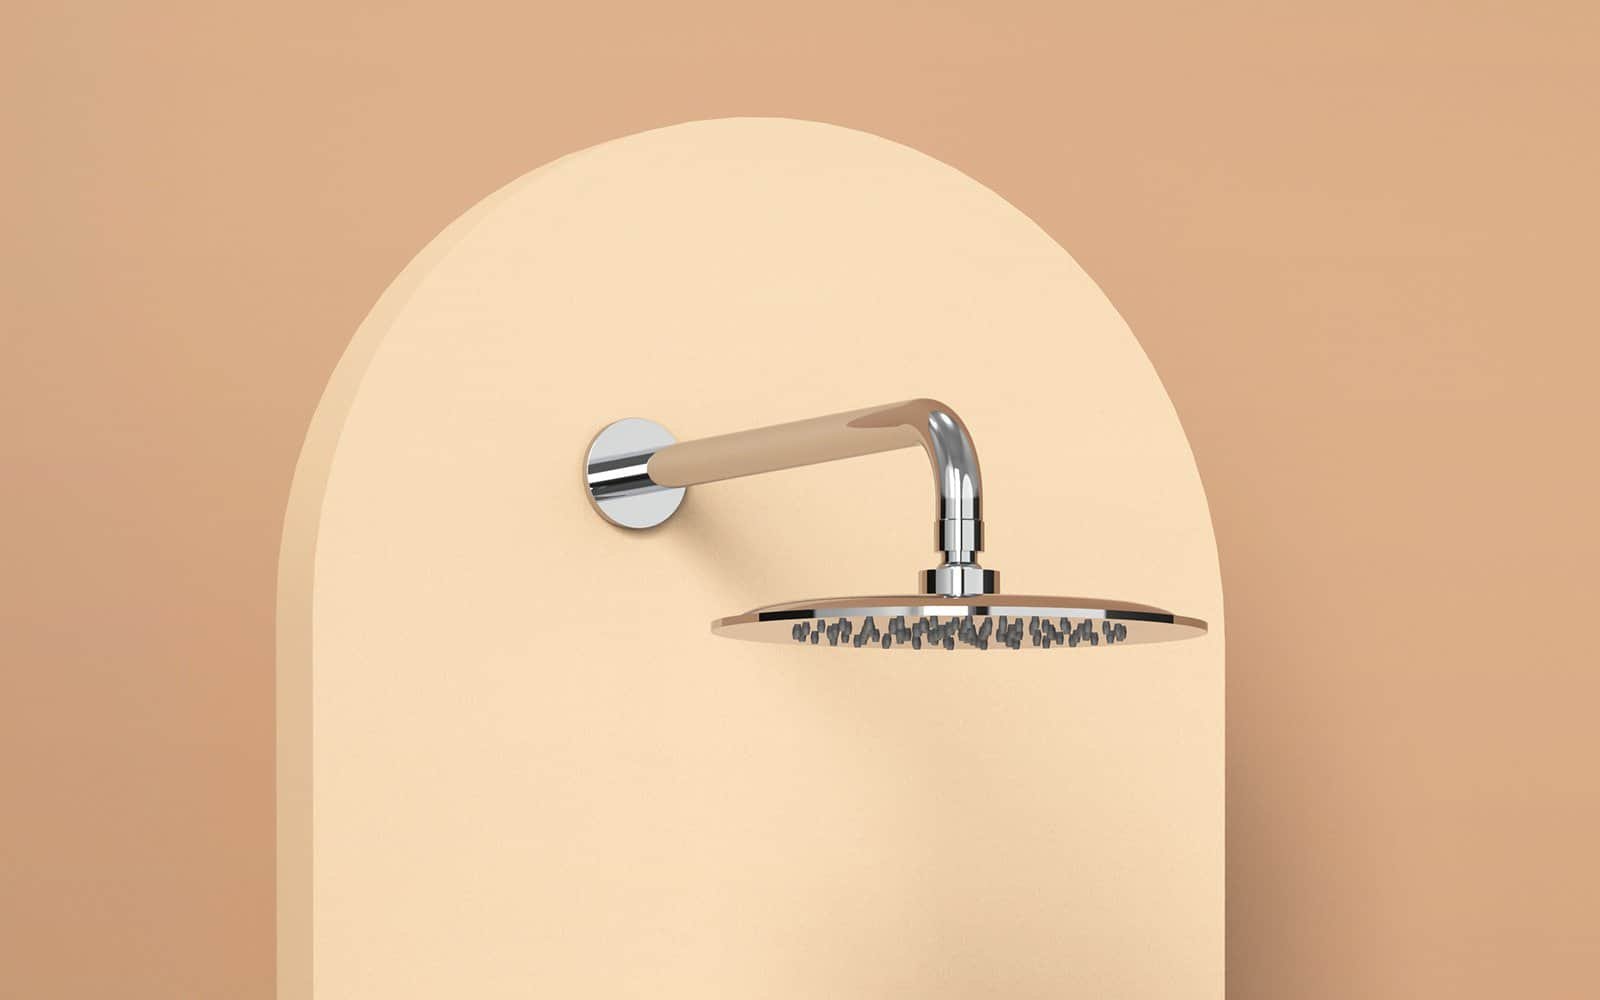
You know that feeling when you step into the shower, ready for a refreshing start or a relaxing end to your day, only to find your shower arm drooping, refusing to hold its position? It’s incredibly frustrating. You might even worry about leaks or damage behind the wall. If you’re nodding along, I understand exactly what you’re dealing with. The good news is, a loose shower arm is a common problem, and in most cases, it’s something you can fix yourself with the right approach.
Let’s dive into how you can get that shower arm back in line, secure, and leak-free.
Why Your Shower Arm Might Be Wobbly
Before we get to the fix, it helps to understand why your shower arm might be acting up. Often, the issue boils down to the connection where the arm screws into the wall. Over time, things like:
- Degraded Thread Sealant: The Teflon tape or pipe dope that seals the threads can wear out or become ineffective.
- Insufficient Tightening: The arm might not have been tightened enough during its initial installation or a previous repair.
- Poorly Cut Threads: Sometimes, the threads on the shower arm itself, or even the fitting inside your wall, aren’t perfectly cut, preventing a snug fit.
- In-Wall Plumbing Movement: This is a less obvious culprit, but if the pipe behind your wall isn’t securely mounted, it can cause the shower arm to feel loose, even if it’s properly tightened.
- Loose Escutcheon (Trim Ring): Sometimes, it’s not the arm itself, but the decorative ring covering the hole in the wall that’s wobbly, giving the impression of a loose arm.
Gathering Your Tools: Be Prepared
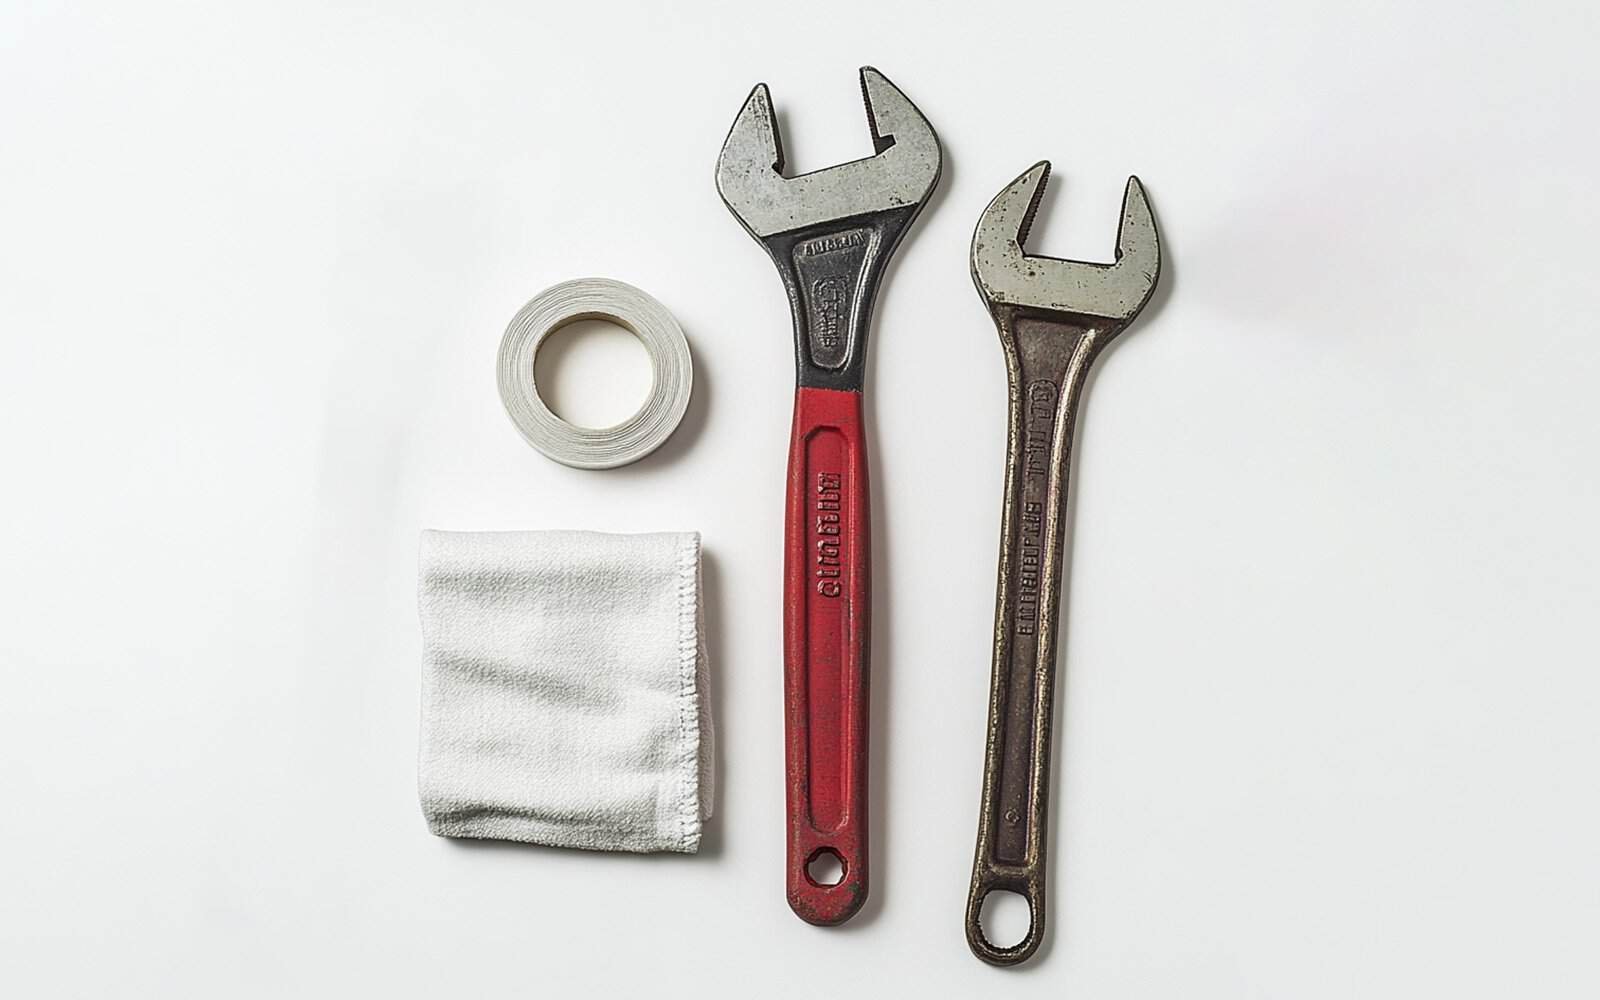
Having the right tools on hand makes all the difference. Here’s what you’ll likely need:
- Adjustable Wrench or Pipe Wrench:Essential for gripping and turning the shower arm.
- PTFE (Teflon) Thread Sealing Tape:This is your primary sealant. High-density tape is often preferred.
- Clean Cloth:For protecting finishes and cleaning.
- Soft-bristle brush or old toothbrush:Great for cleaning threads.
- Optional: Plumber’s Thread Putty or Pipe Dope:For an extra layer of sealing, especially on stubborn connections.
- Optional: Vinegar:Helps dissolve mineral deposits on threads.
- Optional: Penetrating Lubricant:If your shower arm is stuck due to rust.
- New Shower Arm:If you determine the old one has damaged threads or you simply want an upgrade.
- Escutcheon (Trim Ring):If yours is damaged or you’re replacing the arm.
The Step-by-Step Fix: Getting That Arm Secure
Here’s how you can tackle a loose shower arm, from preparation to testing:
Safety First: Shut Off the Water
Before you touch anything, locate your main water shut-off valve (or the valve for your bathroom) and turn off the water supply. This is non-negotiable to prevent leaks and water damage.
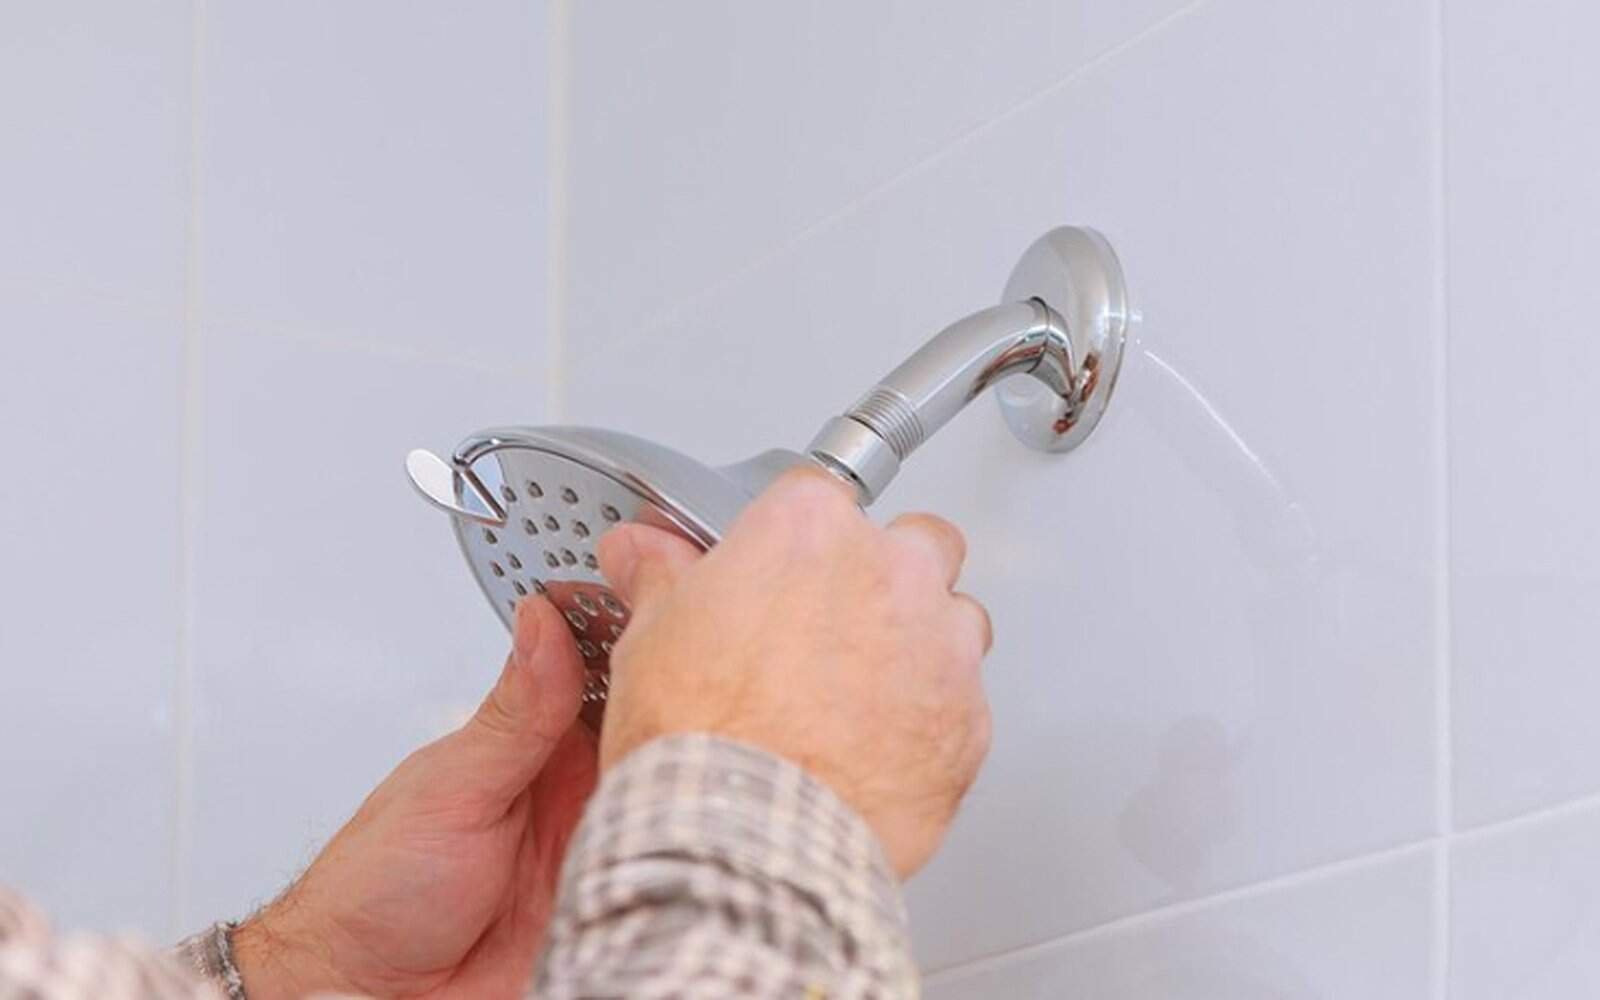
Remove the Existing Shower Arm
- Use an adjustable pipe wrench or pliers to grasp the arm firmly.
- Pro Tip: Wrap a cloth around the arm first to protect its finish from scratches.
- If the arm is stuck due to rust or corrosion, don’t force it. Apply a penetrating lubricant and let it sit for a while before trying again.
Clean Those Threads Thoroughly
This step» is crucial and often overlooked. Any old Teflon tape, plumber’s compound, or mineral deposits can prevent a good seal.
- Use a damp cloth to wipe away loose debris.
- Grab a soft-bristle brush or an old toothbrush to scrub away stubborn residue.
- For calcification or hard water deposits, a mixture of vinegar and water can help dissolve them. Apply it to the threads and let it work.
- Why it matters: A clean, smooth surface is essential for the new sealant to work effectively.
Inspect the Wall Fitting
This is where you might find your actual problem. Shine your flashlight into the wall opening. Look at the threads inside the drop ear elbow (that’s the fitting inside the wall that the shower arm screws into).
- Are they clean?
- Do they look stripped or damaged?
- Does the fitting itself seem loose or wobbly?
This indicates an issue with the in-wall piping.
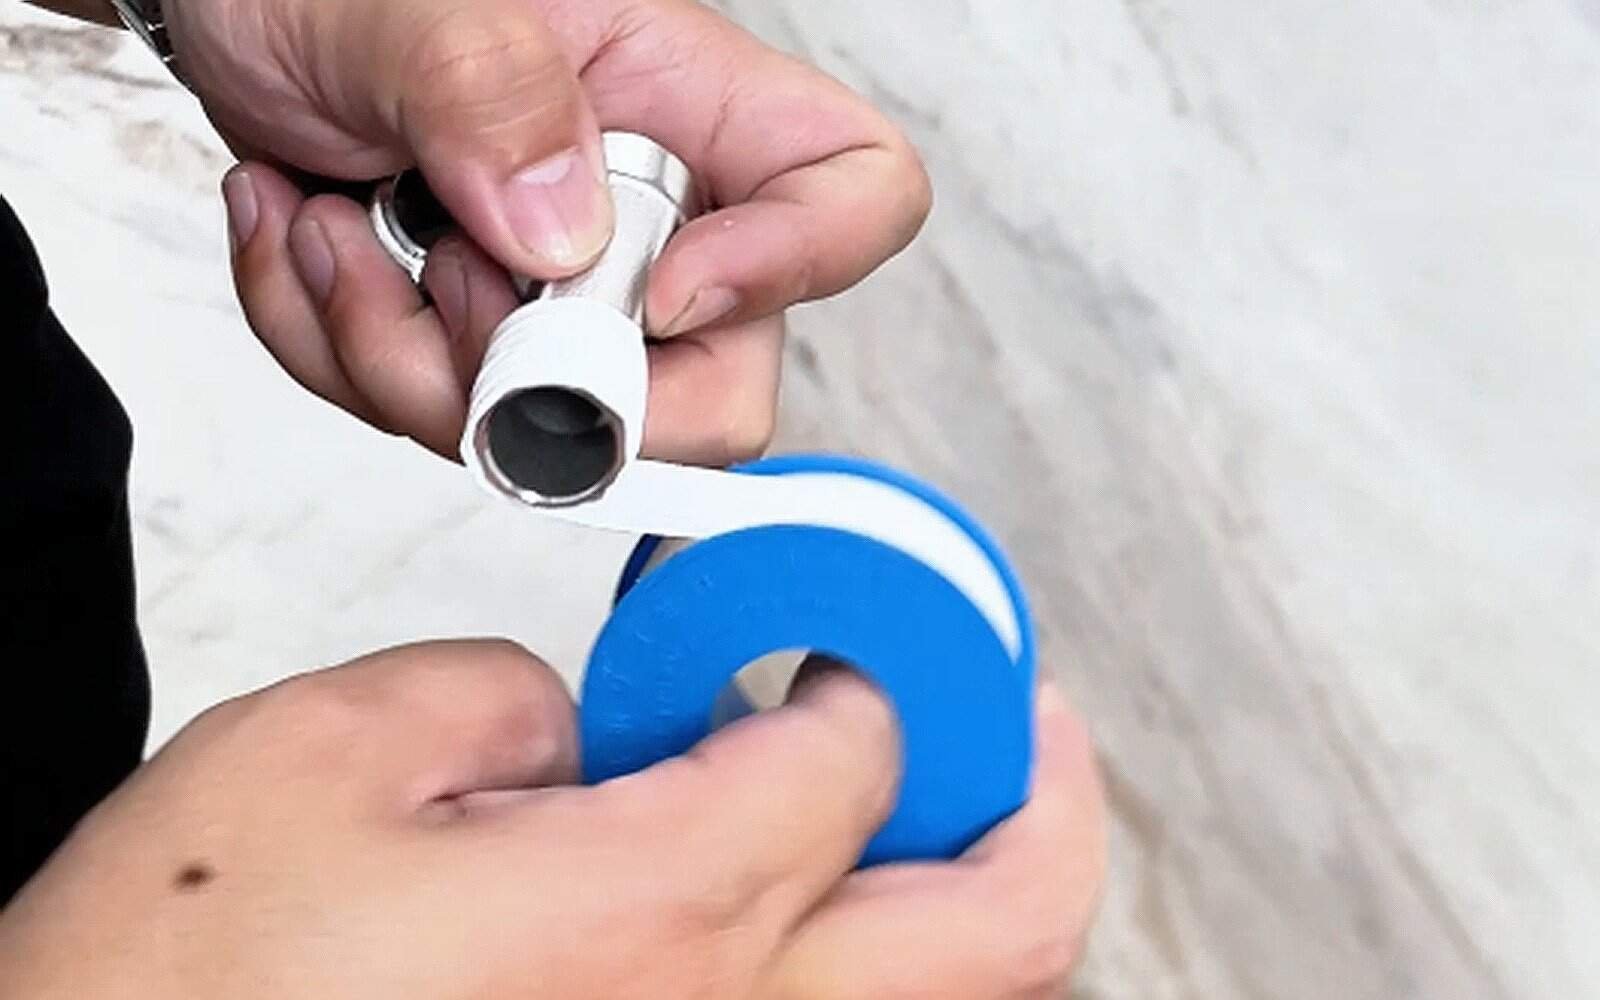
Apply PTFE (Teflon) Thread Sealing Tape
This is where the magic happens for a watertight seal.
- Crucial Direction: Always wrap the tape clockwise around the threads. If you wrap it counter-clockwise, the tape will unravel as you screw the arm in, compromising the seal.
- How Many Wraps? For most connections, 3 to 4 wraps are sufficient. If you have older or galvanized piping, which might have rougher threads, consider 5 to 6 wraps for a more robust seal.
- Gently smooth the tape down with your fingers to ensure it adheres evenly.
Re-install the Shower Arm
- If you’re using a new shower arm, ensure you know which end threads into the wall.
- Place the escutcheon (trim ring) onto the shower arm before you start threading it in.
- Hand-Tighten First: Carefully align the shower arm with the wall fitting and screw it in by hand for the first 2 to 3 revolutions. This is vital to prevent cross-threading, which can permanently damage the threads. Shower arms, with their bend, are particularly prone to this.
- Wrench Tighten: Once it’s hand-tight, use your adjustable wrench to give it an additional 2 to 3 turns.
- Pro Tip: A professional-grade strap wrench is excellent for protecting the finish of your shower arm while tightening.
- Align as You Tighten: As the arm tightens (typically after the fourth revolution), begin to line it up so the outlet is centered and pointing downwards.
- Don’t Over-tighten: Aim for a total of no more than six revolutions to prevent stripping threads or damaging the fitting. There aren’t specific torque specs, so it’s about feeling for a secure, snug fit without excessive force.
Test for Leaks
- Slowly turn your main water supply back on.
- Carefully check the connection for any visible leaks.
- Advanced Leak Detection: For tiny, subtle leaks that might not be immediately visible, slide a piece of toilet tissue or a dry paper towel around the threads. Any moisture will be absorbed and become visible on the tissue.
- If leaks persist, even after proper tape application, you might consider adding plumber’s thread putty or pipe dope in addition to the tape for an extra layer of sealing.
Beyond the Basics: Troubleshooting Deeper Issues
Sometimes, the problem isn’t just a simple re-tape and tighten. Here’s how to diagnose and address more complex scenarios:
Is it the Shower Arm or the Trim Ring?
- The decorative trim ring (escutcheon) can sometimes be loose, making you think the arm is wobbly.
- Diagnosis:
Observe the escutcheon closely when you turn the shower on and off. If it moves, it might be the ring, not the arm. - Fixing a Loose Escutcheon:
You can push it back into place. If it doesn’t stay, apply silicone caulk behind the trim ring to secure it. Never caulk the outside of the ring, as it looks bad and can damage the wall. You can also try bending the small tabs on the back of the trim ring inward to restore tension.
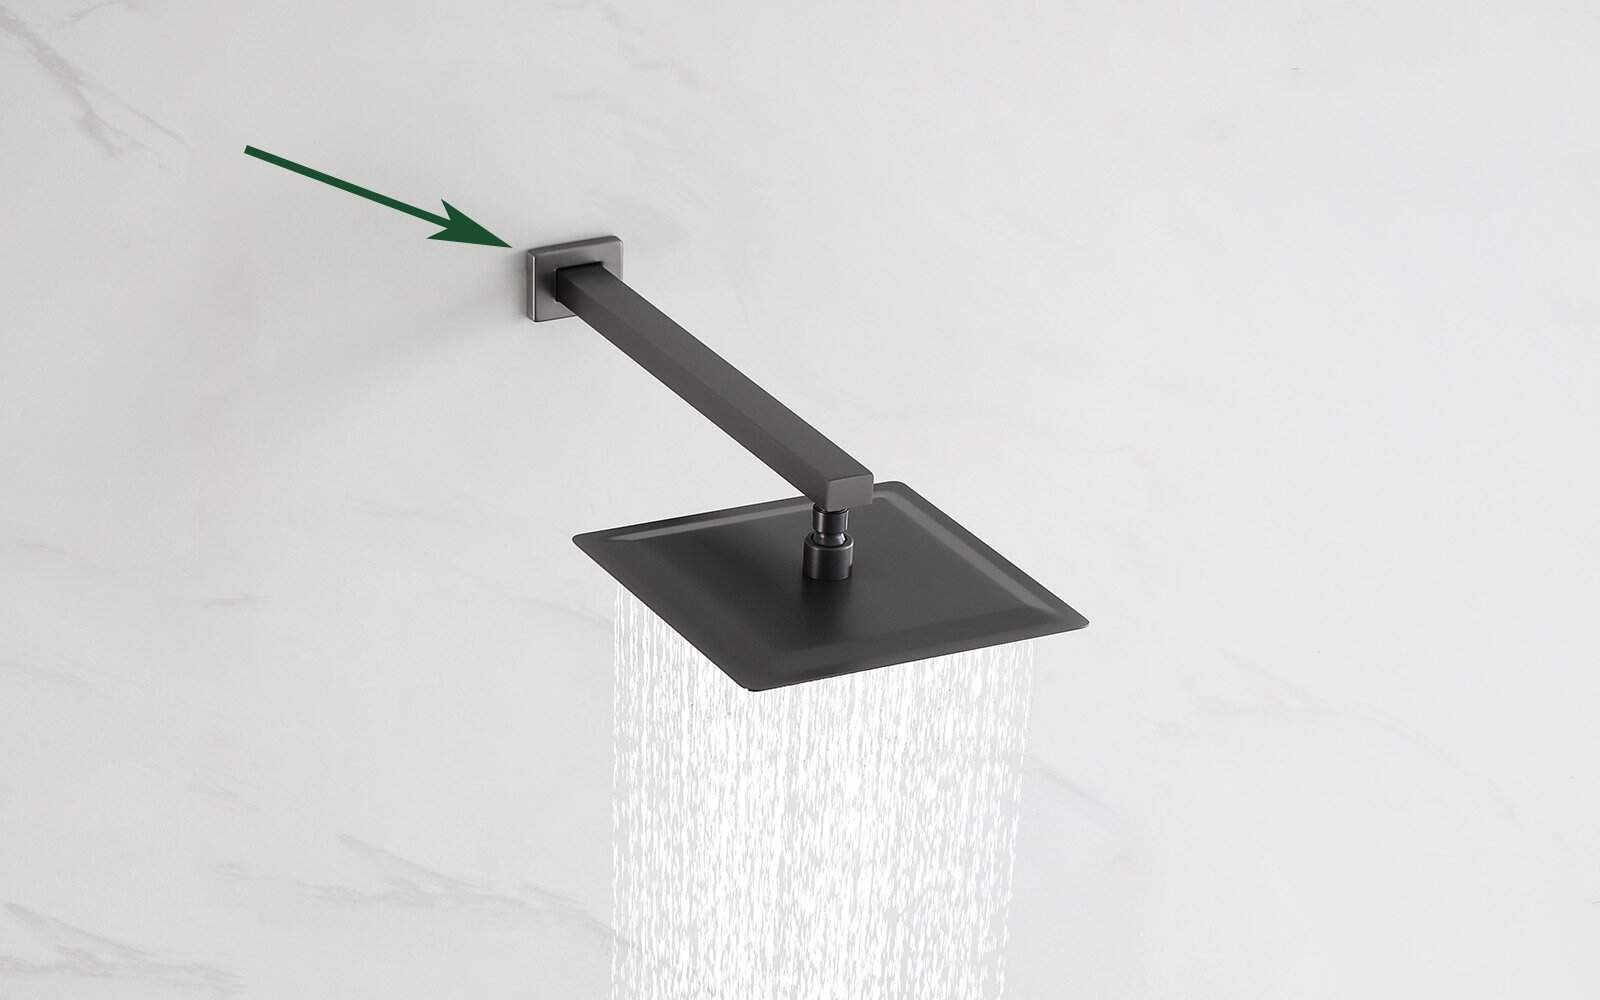
Poorly Cut Threads
If you’ve tried re-taping and tightening multiple times and the arm still feels loose or leaks, the threads on your shower arm might be poorly cut.
- Solution: Consider replacing the shower arm with one from a different manufacturer. As I’ve seen, this often resolves the issue.
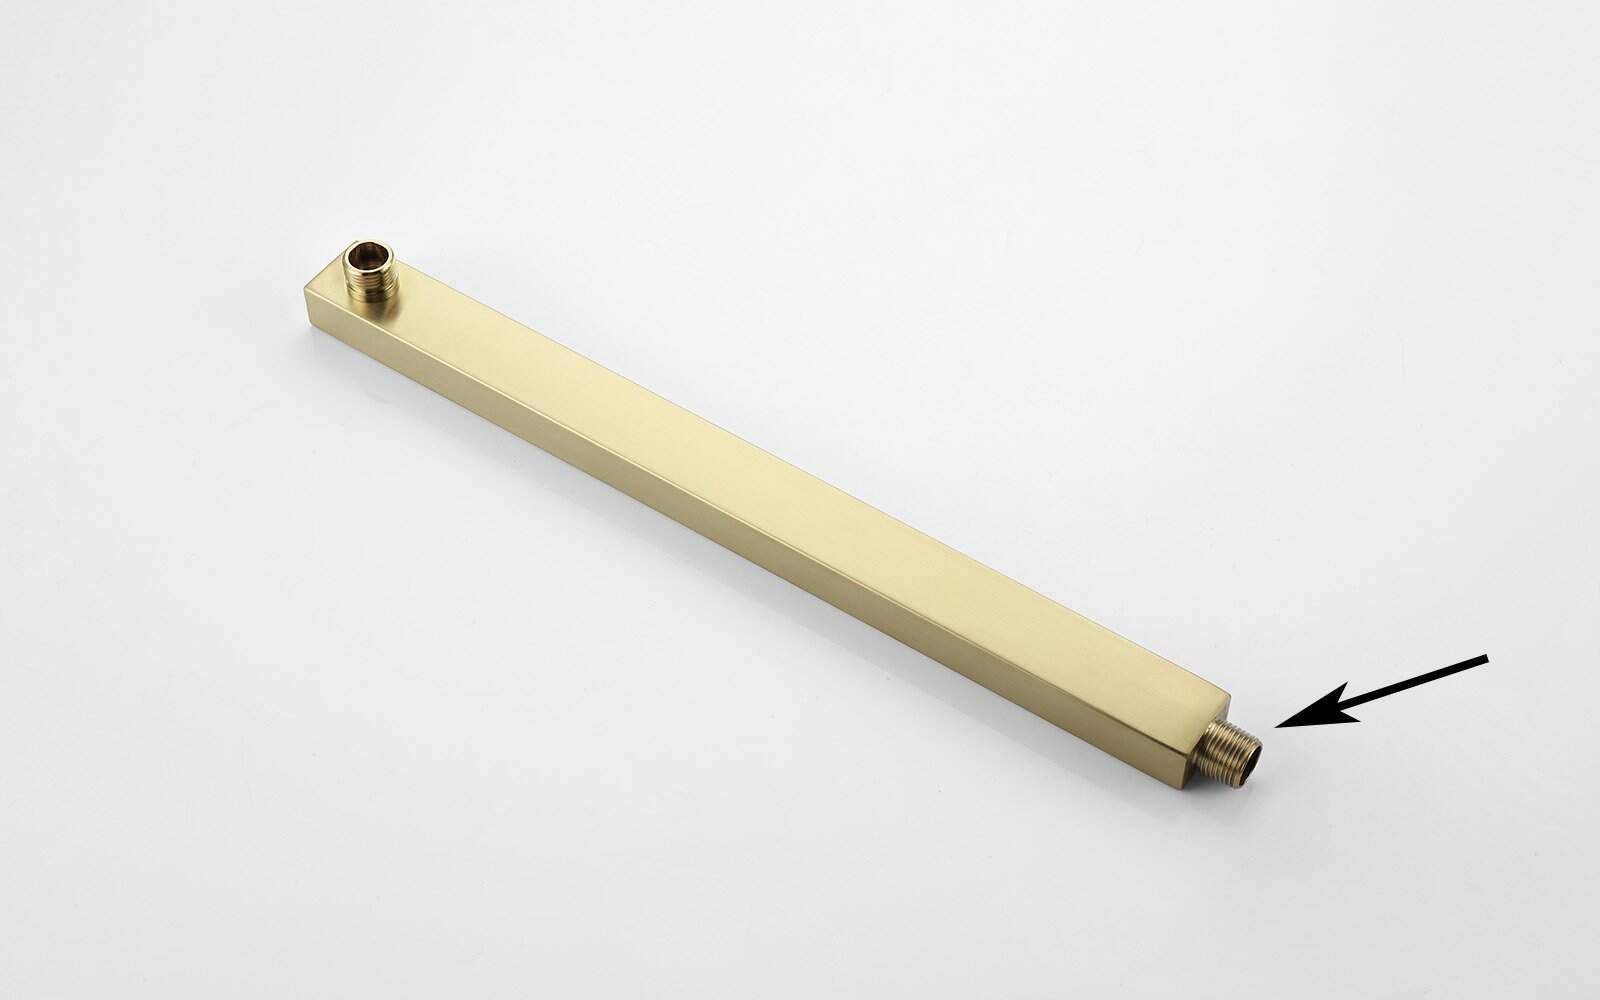
Movement in the In-Wall Plumbing
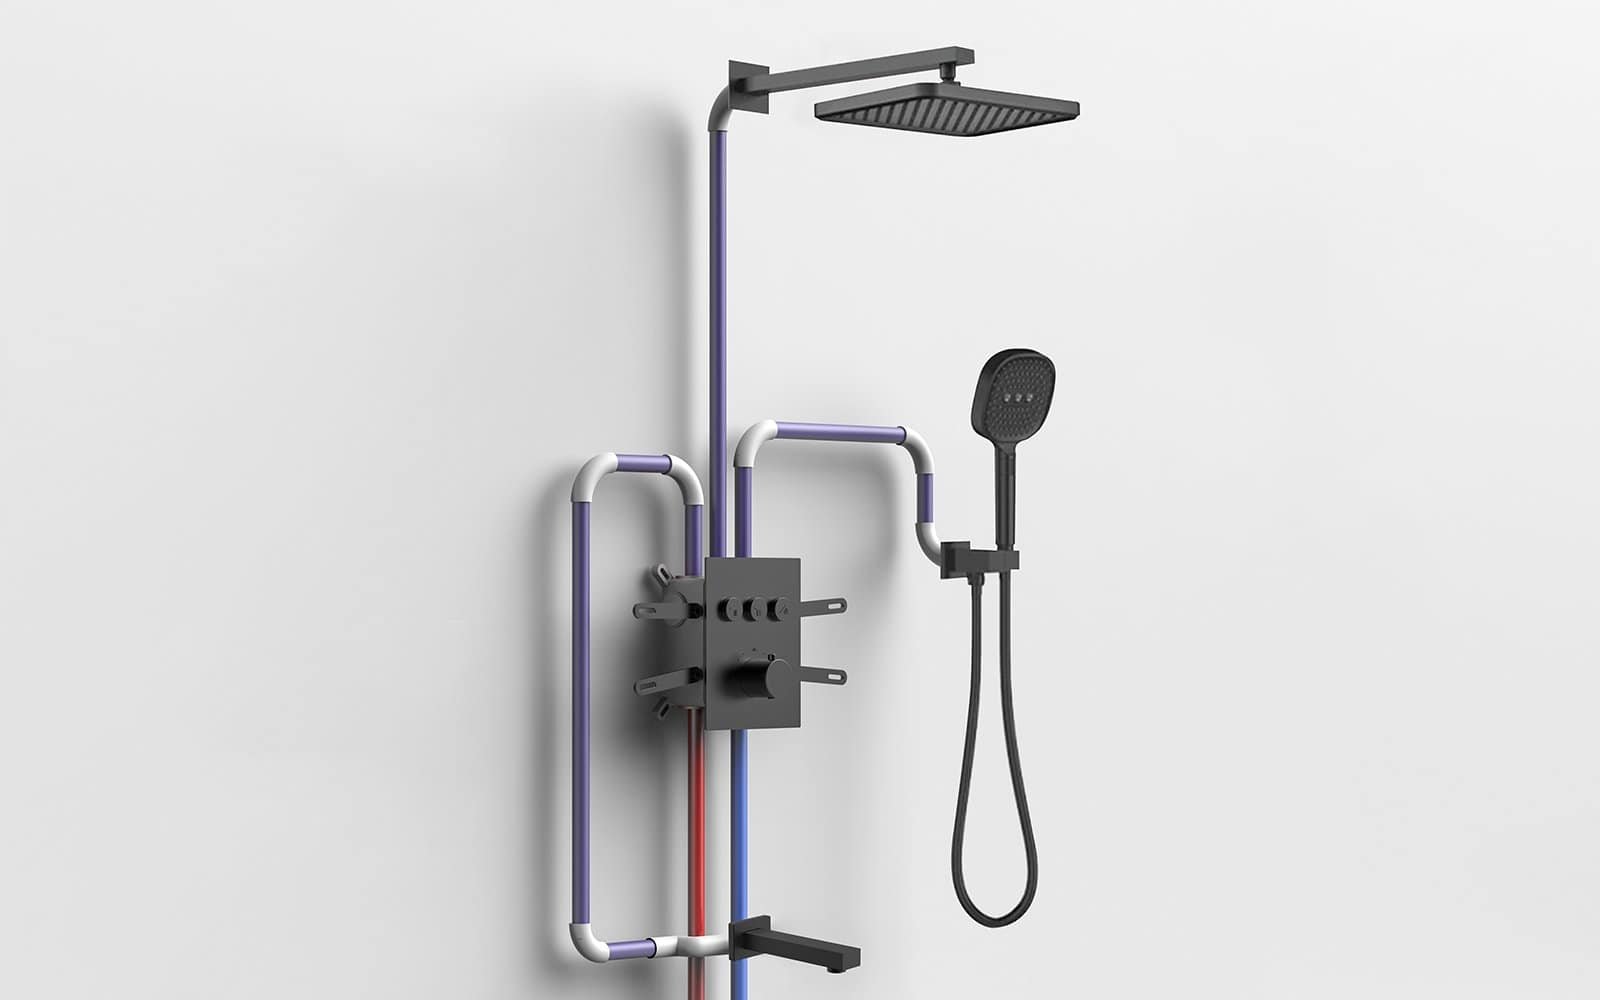
This is a trickier one. If the pipe behind your wall (where the shower arm threads in) isn’t rigidly mounted, it can cause persistent looseness.
- Diagnosis:
Look for wear marks on the nipple (the pipe extending from the wall) or significant movement of the escutcheon when the shower is running. You might even be able to shine a light into the wall opening (after removing the escutcheon) to look for wetness or bulging, indicating a leak or unsecured fitting. - Solution: Opening the Wall and Securing Pipes
- What it involves:
A plumber opens the wall to access and inspect the piping. They anchor loose pipes to nearby studs using clamps or strapping. The drop ear elbow should be screwed into a wood blocking piece between the studs for added stability. - Why it’s necessary:
Securing the pipes eliminates movement, keeps the shower arm stable, and prevents leaks from pipe vibration. - DIY or Pro?
This job usually requires a licensed plumber. They have the tools and skills to secure pipes properly. Poorly supported pipes can lead to stress, leaks, or water hammer.
- What it involves:
Damaged Wall Fitting
The drop ear elbow is the brass or copper fitting secured inside your wall studs that the shower arm screws into. If its threads are stripped, cracked, or corroded, the shower arm won’t grip properly.
- Symptoms:
- The shower arm feels loose even with new Teflon tape.
- It spins more than 6–7 full turns without tightening.
- Water leaks from behind the escutcheon, even after tightening.
- You may find metal thread fragments on the old shower arm.
- Solutions:
- Thread Repair (Temporary):
Plumbers may use a thread compound or re-cut the threads for minor damage. This is a short-term fix and may not stop leaks. - Replace the Drop Ear Elbow (Best Option):
This involves opening the wall to access the plumbing. The old elbow is cut out and replaced with a new one—soldered for copper or fitted for PEX/CPVC—then anchored securely to the stud. This ensures strong threads and a reliable connection. - DIY or Hire a Pro?
Skilled DIYers can try it, but calling a licensed plumber is safer. Mistakes can cause leaks or water damage. A pro can replace it properly and quickly.
- Thread Repair (Temporary):
Expert Insights and Pro Tips
- The “Feel” of Tightening: There’s no exact torque specification for tightening a shower arm. It’s about achieving a secure, leak-free seal without over-tightening, which can strip threads or crack fittings. Think “snug and secure,” not “gorilla hands”.
- Aesthetic Touch: If you have a chrome or brushed-nickel shower arm, consider using grey thread tape instead of white. It blends in much better and gives a cleaner, more professional look.
- Unconventional Alignment Fix: If your shower arm has male threads on both ends and isn’t aligning properly, try unscrewing it, flipping it, and screwing the other end into the wall. Sometimes, this simple trick can resolve alignment issues.
Keeping Your Shower Arm Secure for the Long Haul
Once you’ve fixed your loose shower arm, you want that repair to last. Here are a few thoughts on long-term stability:
- Periodic Checks: Every few months, give your shower arm a gentle wiggle. If you notice any looseness, address it promptly before it becomes a bigger issue.
- Water Quality: Hard water can lead to mineral buildup on threads over time, potentially affecting the seal. Regular cleaning of your showerhead and arm can help.
- Component Quality: If you’re replacing a shower arm, investing in a higher-quality component with well-cut threads can contribute to a more durable and stable installation.
When to Call a Professional
While many loose shower arm issues are DIY-friendly, there are times when it’s best to call in a licensed plumber:
- Persistent Leaks: If you’ve followed all the steps and still have leaks, especially if they seem to be coming from behind the wall.
- Damaged In-Wall Fitting: If you inspect the wall fitting and find cracks or severely worn threads.
- Significant Pipe Movement: If the in-wall plumbing is visibly loose and moving, indicating an unsecured fitting that requires opening the wall to fix.
- Lack of Confidence: If you’re uncomfortable with any step of the process or feel out of your depth, a professional can ensure the job is done correctly and safely.
Thinking of Replacing Your Shower Arm Entirely?
Sometimes, your existing shower arm might be too old, corroded, or just not the style you want anymore. If you’re looking to swap out your current arm for a brand new one, the installation process is a bit different from just re-securing it.
For a full guide on how to install a new shower arm, you can check out this detailed walkthrough:
Looking for a New Shower System?
If you’re facing frequent shower arm issues or planning an upgrade, consider a high-quality concealed shower system. Rosana concealed showers offer durable, modern designs that help prevent problems like loose arms, saving you time, stress, and repair costs in the long run.
Ensuring a Secure and Leak-Free Shower Arm
Fixing a loose shower arm takes more than just tape—it requires proper prep, accurate work, and a clear diagnosis of issues like bad threads, loose in-wall pipes, or a shifting escutcheon. With the right approach, it’s a manageable DIY task that boosts function, prevents leaks, and protects your home from damage.

