DIY Repair Disclaimer:
This guide is for general informational purposes only. Plumbing repairs can be complex and carry the risk of property damage if done incorrectly. The steps provided are to be followed at your own risk. We assume no liability for any damages resulting from the use of this guide. We strongly recommend consulting a licensed plumber for any complex or persistent issues.
A rusty, leaking, or outdated shower arm can be a frustrating problem. This guide walks you through the general process of replacing a shower arm step-by-step, from gathering tools to final testing.
This information can help you understand the project, whether you plan to DIY or work with a professional plumber.
Why You Might Need to Replace Your Shower Arm
First, let’s talk about why you’re doing this. Shower arms don’t last forever. Over time, they can rust, leak, or lose water pressure due to buildup. Maybe yours is so old it’s an eyesore in your bathroom.
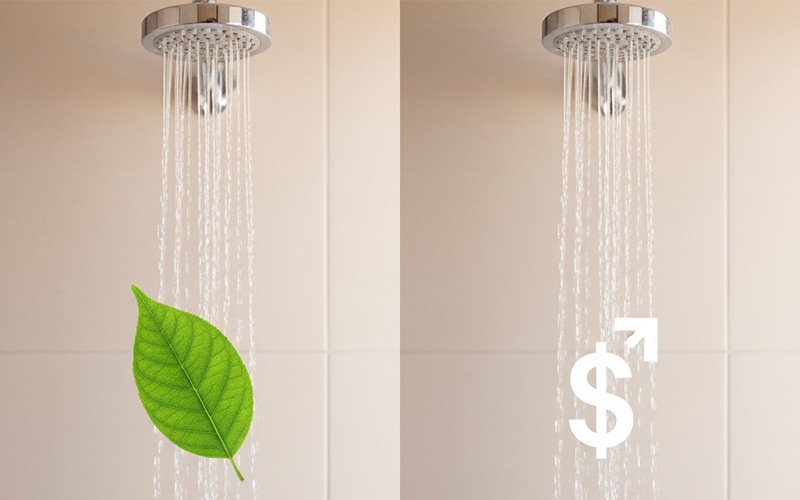
A faulty shower arm may waste water and can potentially damage walls if a leak becomes severe. Replacing it can address these issues and provide a functional upgrade for your shower.
Tools and Materials You’ll Need
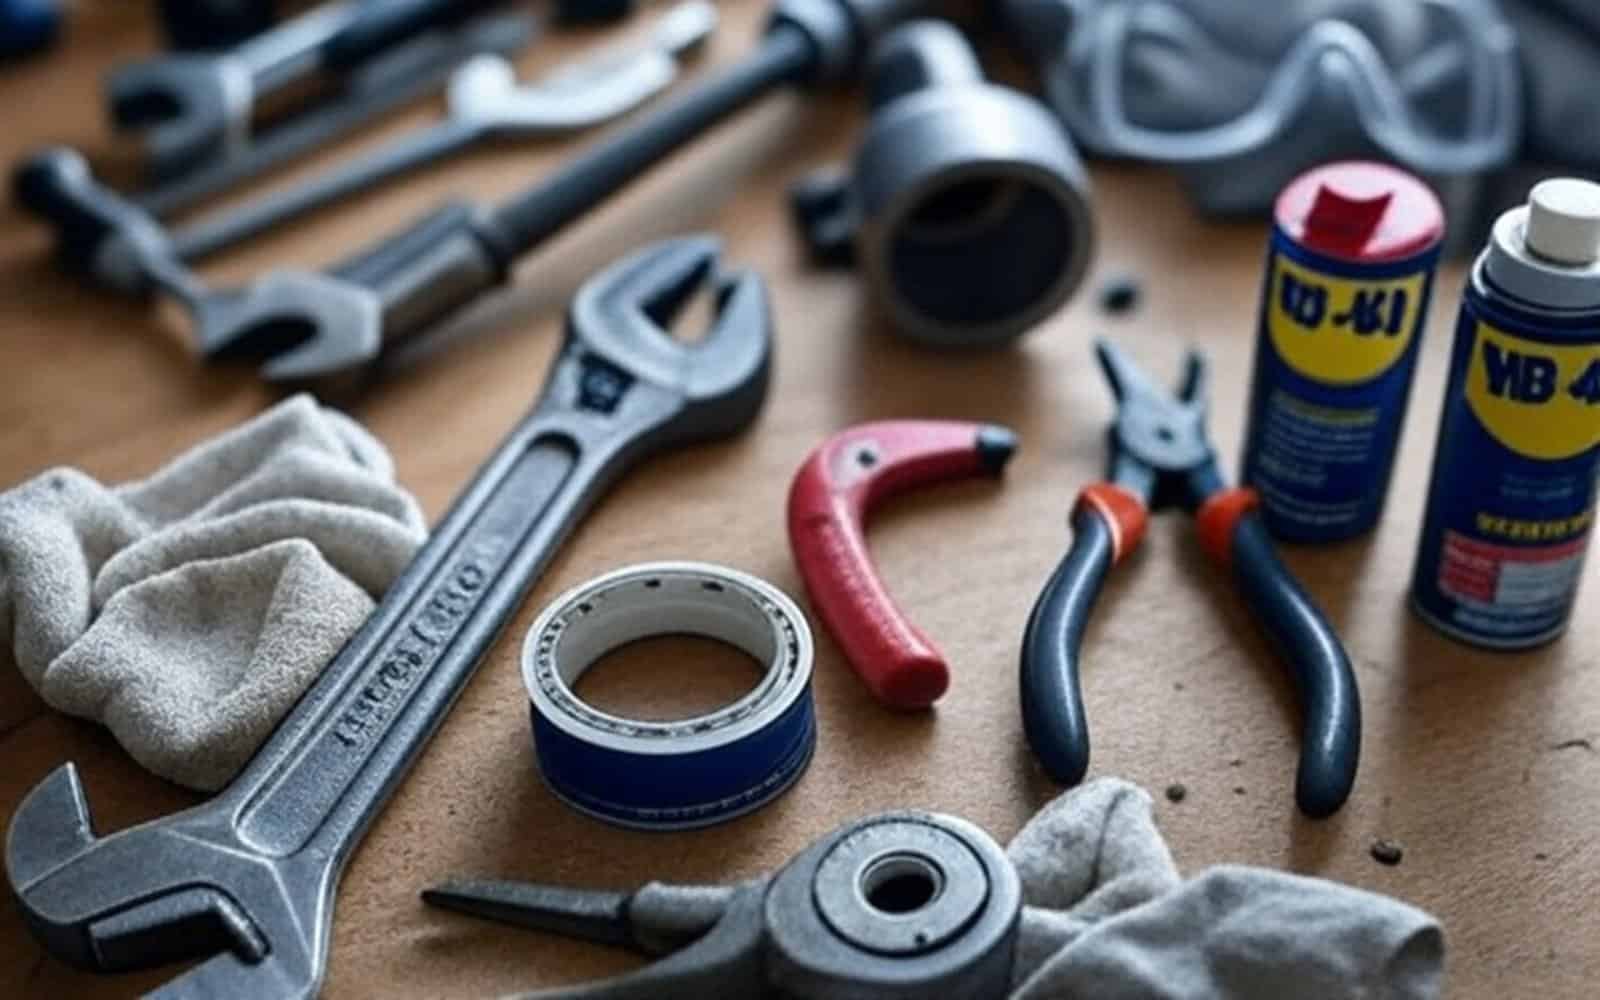
Before you start, gather these tools and materials. Having everything ready saves you a mid-project trip to the store.
- Adjustable wrench or pipe wrench: Loosens and tightens the shower arm.
- Pliers: Grips small parts securely.
- Pipe thread tape (Teflon tape): Seals threads to prevent leaks.
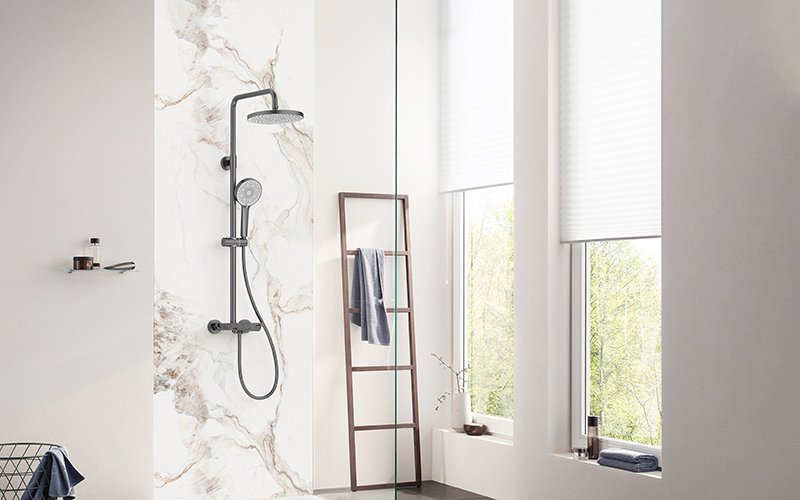
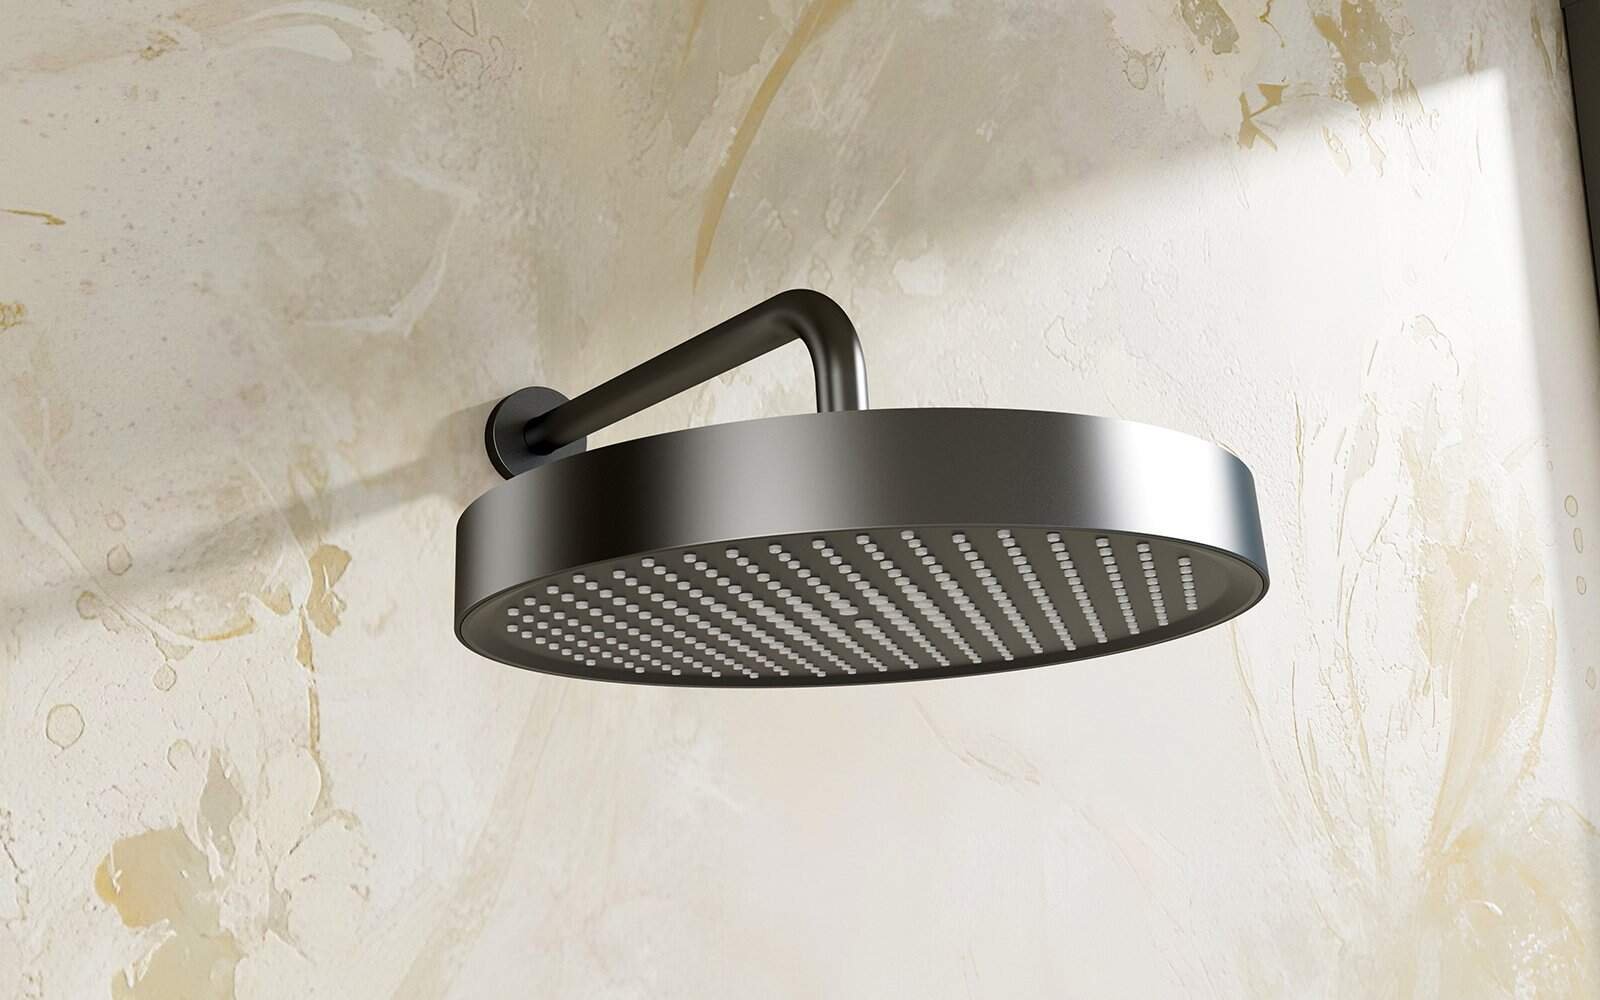
- New shower arm and flange: Pick one that fits your plumbing and style (more on choosing later).
- Vinegar or limescale remover: Cleans off mineral deposits.
- Metal lubricant (like WD-40): Frees up stuck parts.
- Cloth or rag: Protects finishes and wipes up messes.
- Bucket: Catches any water drips.
- Safety gear: Eye protection, rubber gloves, and a step stool if you’re working high up.
It’s a good practice to double-check your shower arm size—most are ½-inch NPT (National Pipe Thread), but older homes might differ. Take the old one to the store if you’re unsure. You can grab these items at places like Home Depot or a local hardware shop.
Step-by-Step Guide to Replacing Your Shower Arm
Step 1: Turn Off Water Supply
- Find and close the shower or main shut-off valve.
- Test by running the shower—no water should flow.
Step 2: Remove Showerhead
- Hold shower arm with pliers, loosen showerhead counterclockwise with wrench.
- Unscrew by hand; soak in vinegar (10-15 min) or use lubricant if stuck.
Step 3: Remove Old Shower Arm
- Unscrew arm counterclockwise with wrench.
- If stuck, apply metal lubricant, wait a few hours, then retry.
- Clean wall pipe threads with cloth or vinegar to remove debris.
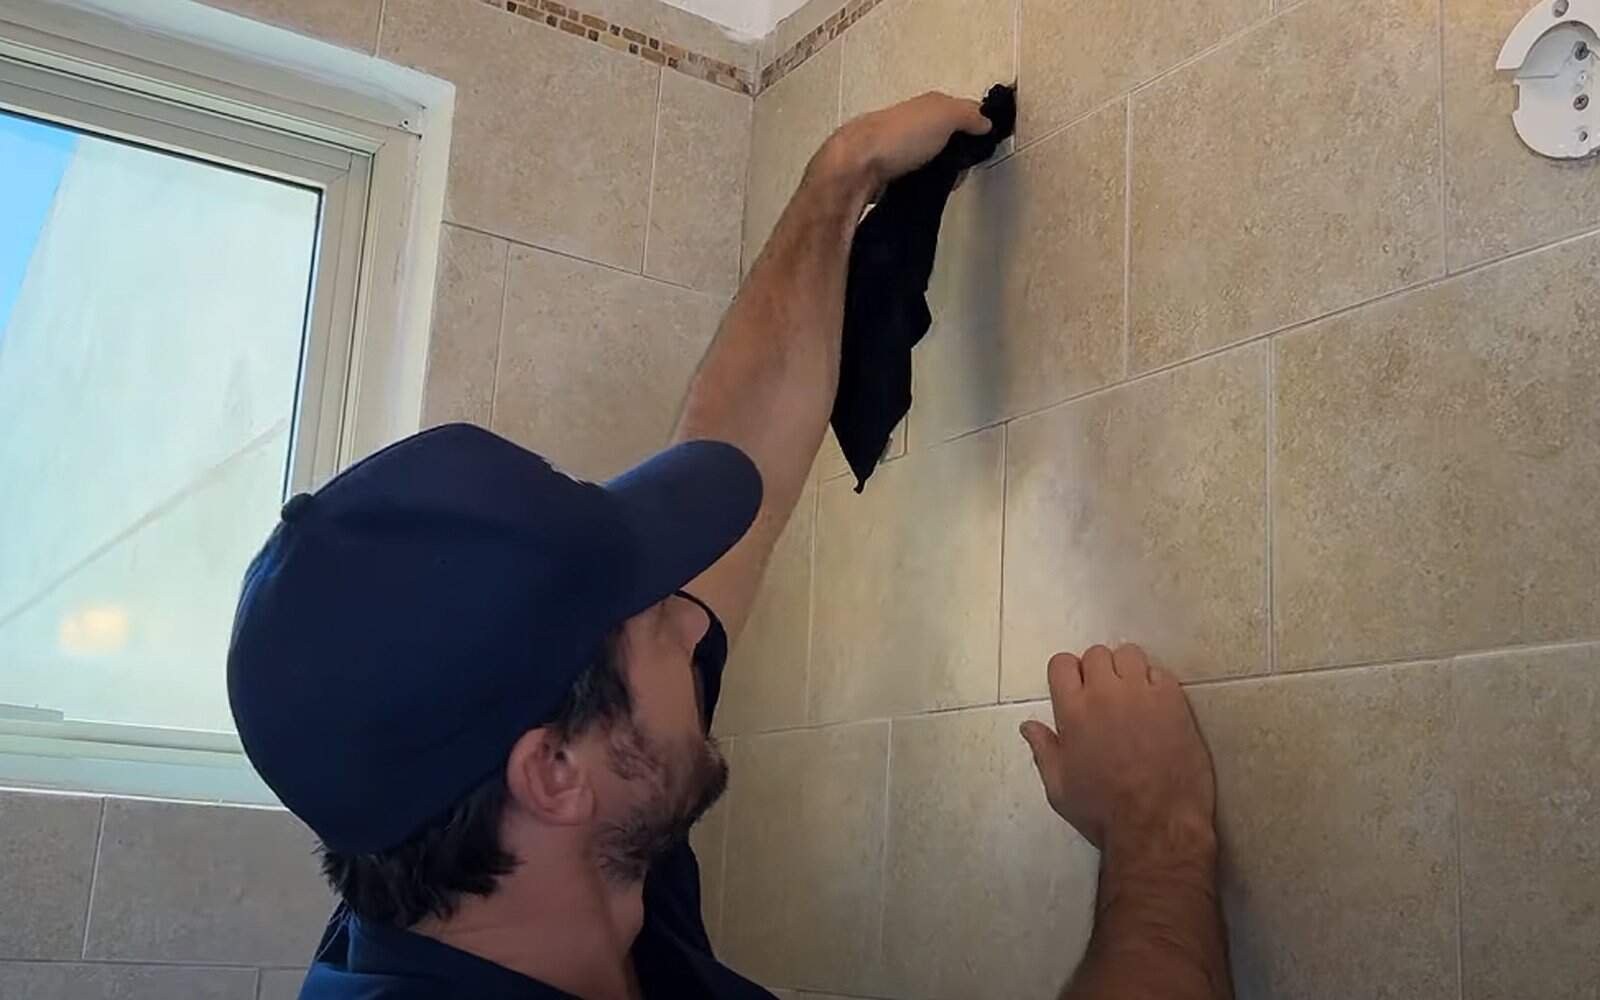
(via.HammerHead Showers)
Step 4: Prepare New Shower Arm
- Wrap 2-4 layers of pipe thread tape clockwise on both ends of arm.
- Slide flange onto arm before installation.
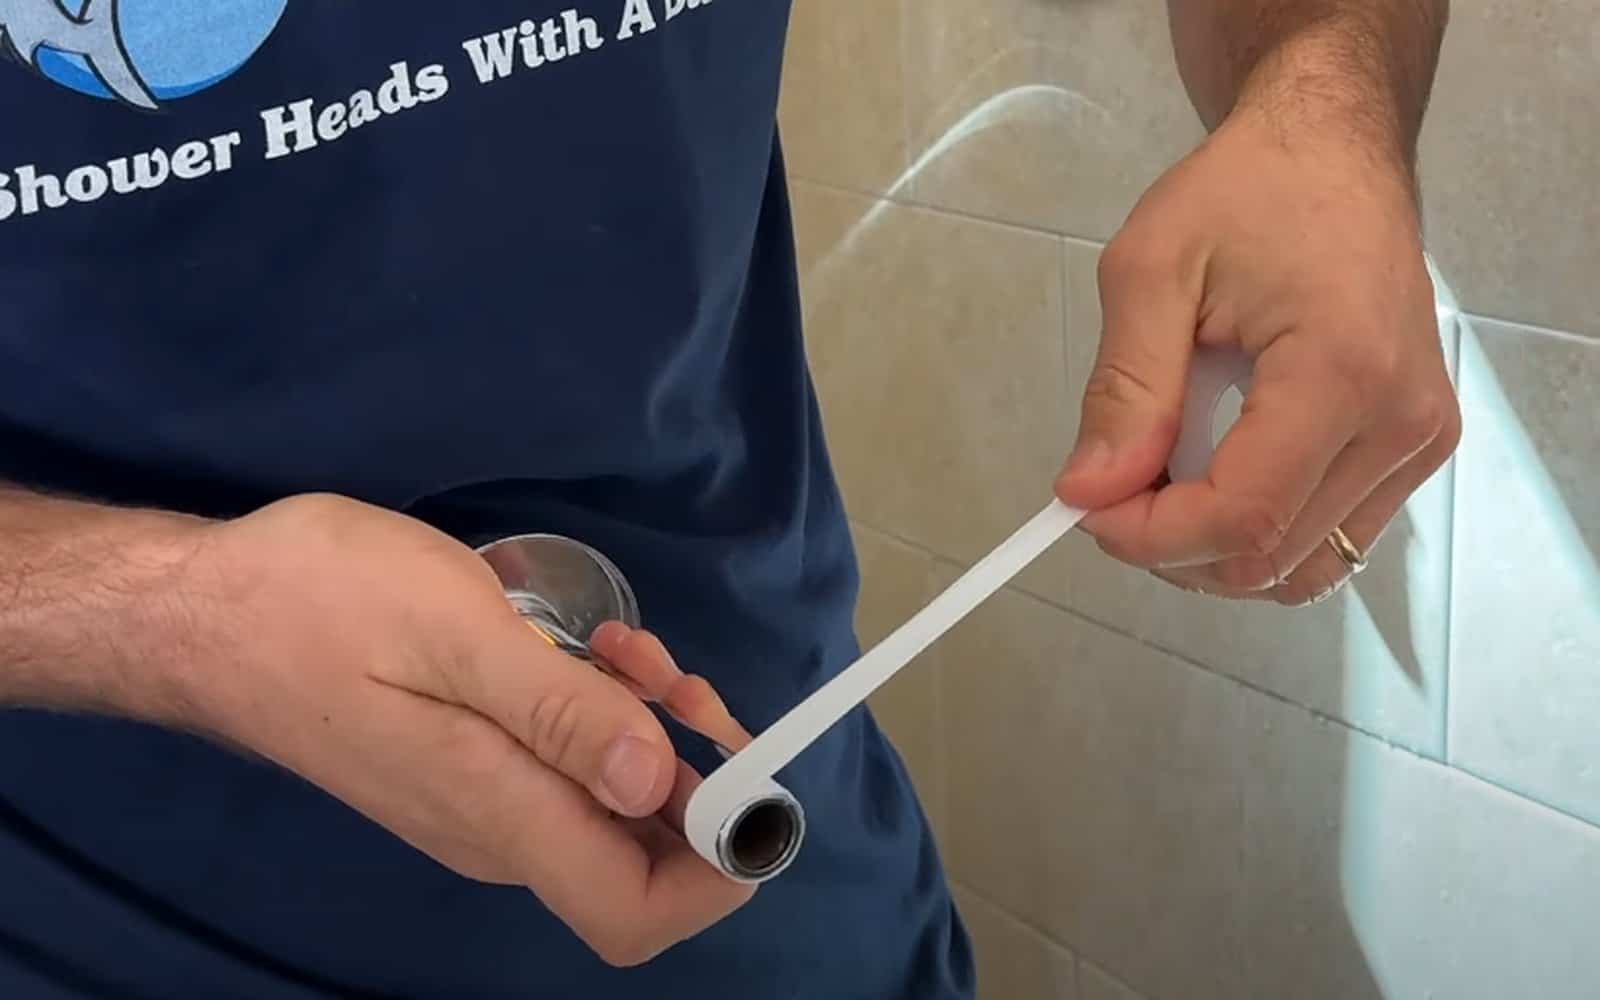
(via.HammerHead Showers)
Step 5: Install New Shower Arm
- Screw arm into wall pipe clockwise by hand until snug.
- Tighten with cloth-wrapped wrench; avoid overtightening.
- Ensure flange sits flush against wall.
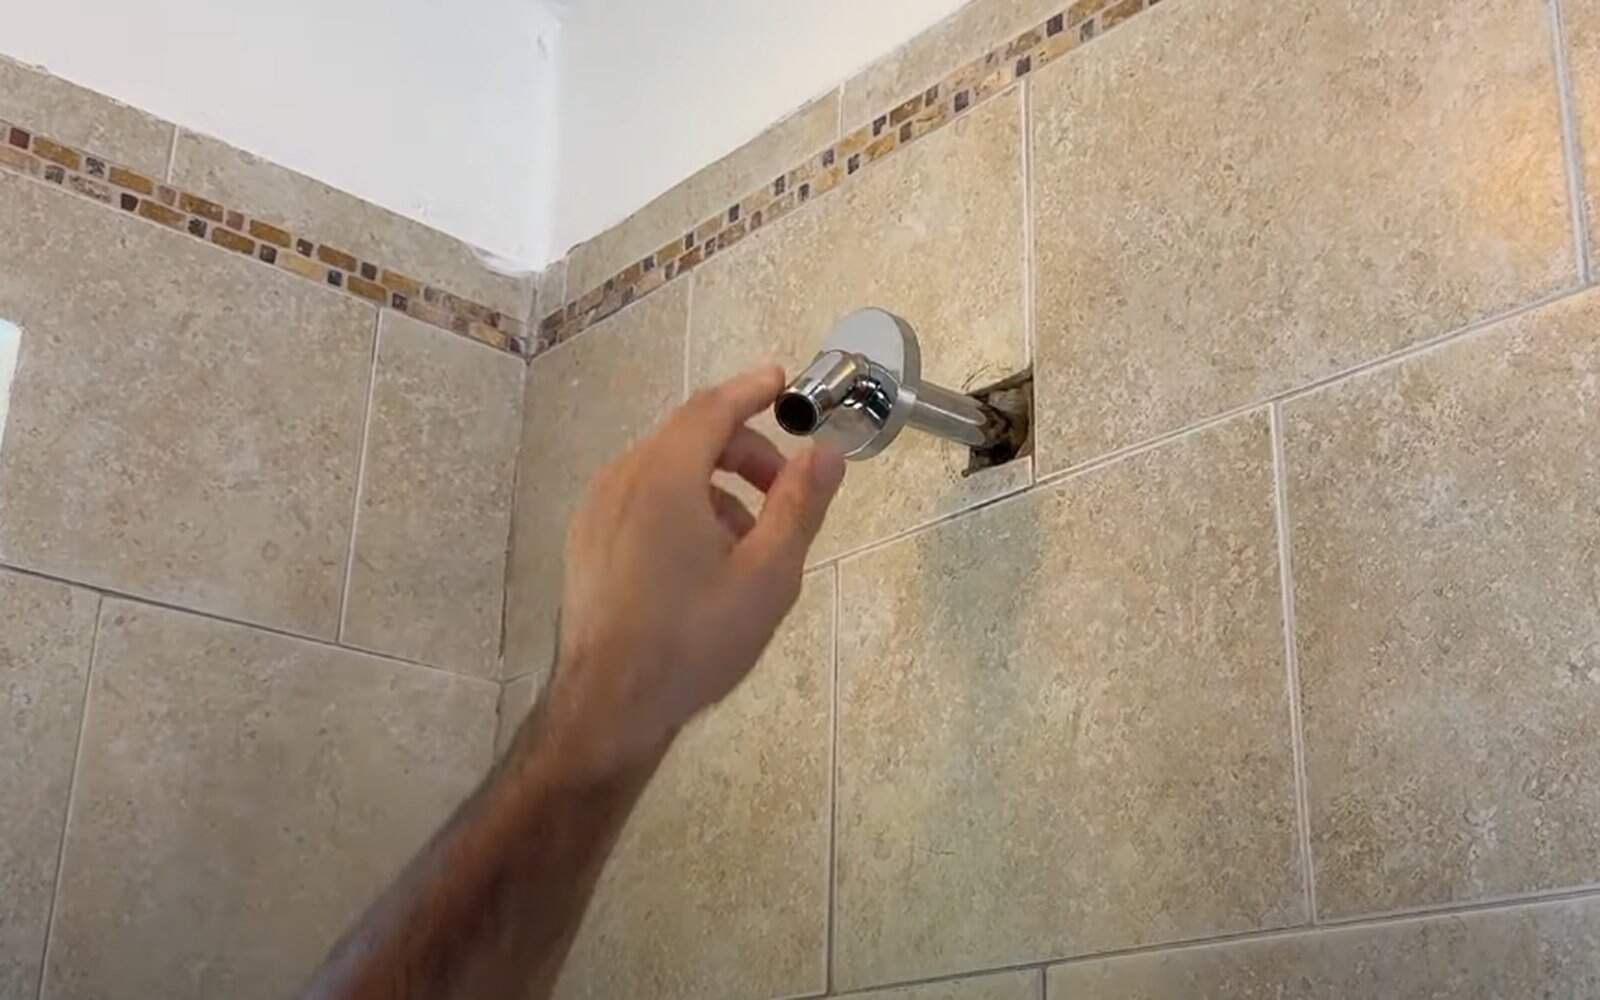
(via.HammerHead Showers)
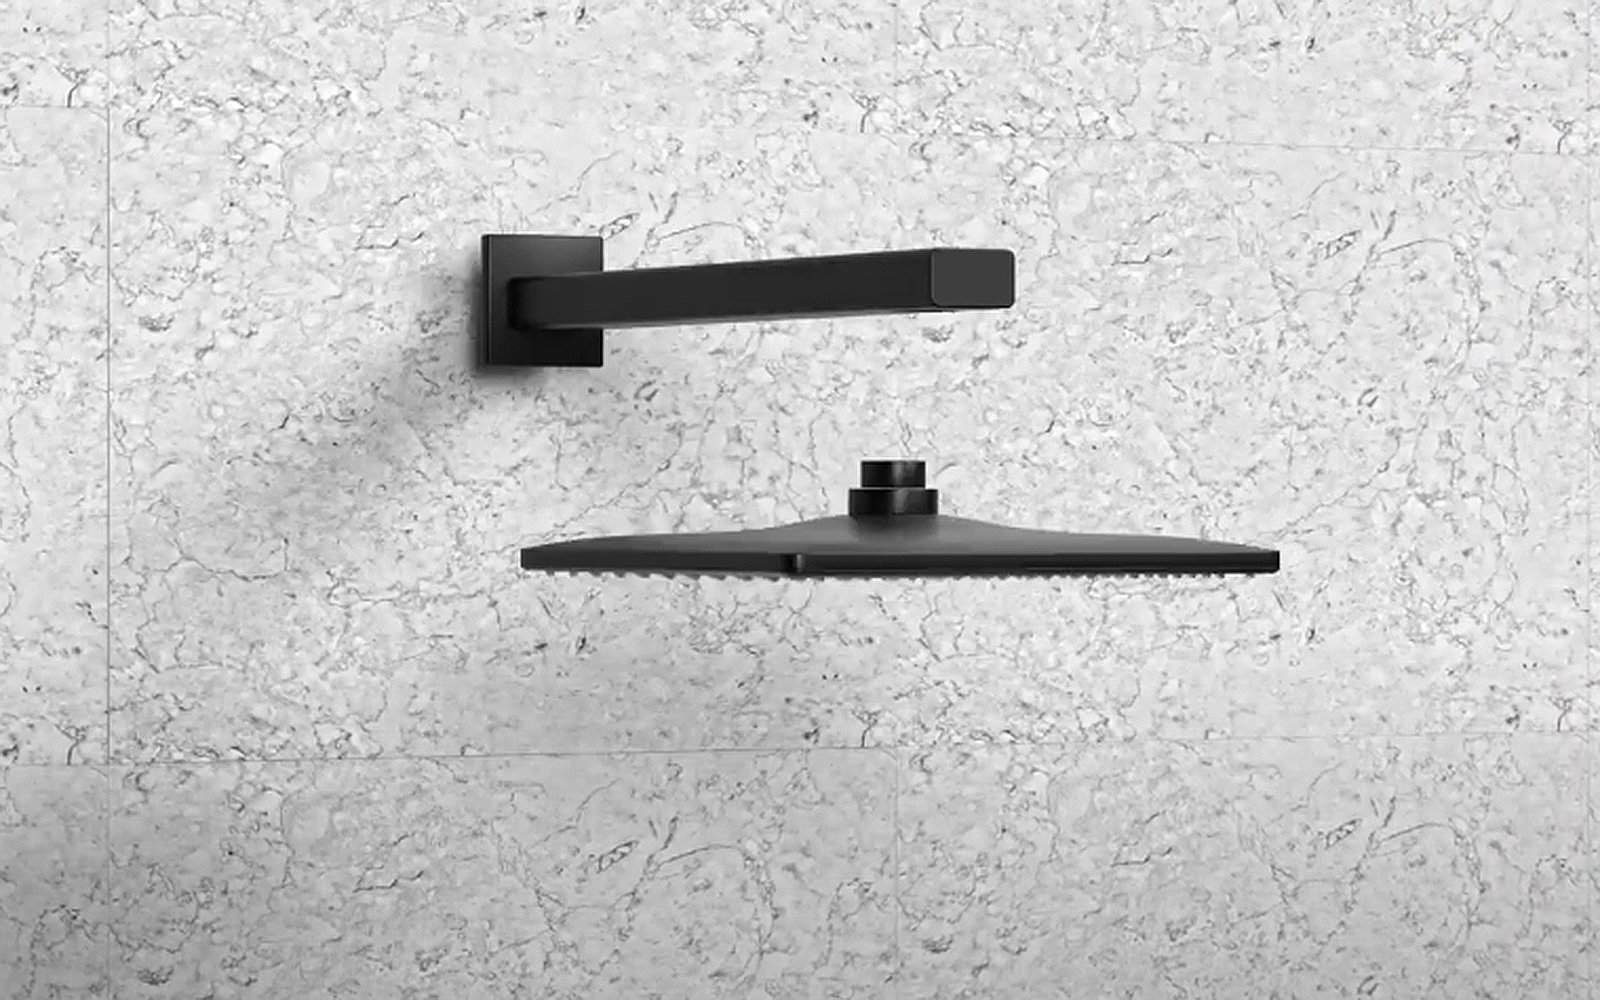
Step 6: Reattach Showerhead
- Apply thread tape clockwise to arm’s exposed threads.
- Screw showerhead on clockwise by hand; tighten lightly with wrench if needed.
Step 7: Test for Leaks
- Turn water on, check for drips at arm and showerhead.
- If leaks, turn off water, add more thread tape, and re-tighten.
Troubleshooting Common Problems
Things don’t always go perfectly. Here’s how to handle issues you might face.
- Shower Arm Won’t Budge: If it’s rusted or seized, apply more lubricant and wait longer (overnight if needed). Use a bigger wrench for leverage, but stop if you feel the pipe shifting—call a plumber instead.
- Leaks Persist: Check your thread tape—did you wrap it clockwise? Is it enough? Rewrap if needed. If the showerhead or arm is misaligned, unscrew and realign it to avoid cross-threading.
- Odd Plumbing Sizes: Older homes might have non-standard pipes. If the new arm doesn’t fit, measure the old one’s threads or consult a pro at a plumbing supply store like Ferguson».
- Low Water Pressure: Mineral buildup in the pipe could be the culprit. Flush it with vinegar or a descaler before installing the new arm.
- Wall Damage: If you spot rot or mold behind the flange, fix it first—leaks might have caused it. Dry the area and seal it with caulk if minor; otherwise, get a professional.
Tips for Picking a Suitable Shower Arm
Choosing the right shower arm matters. Here’s what to think about:
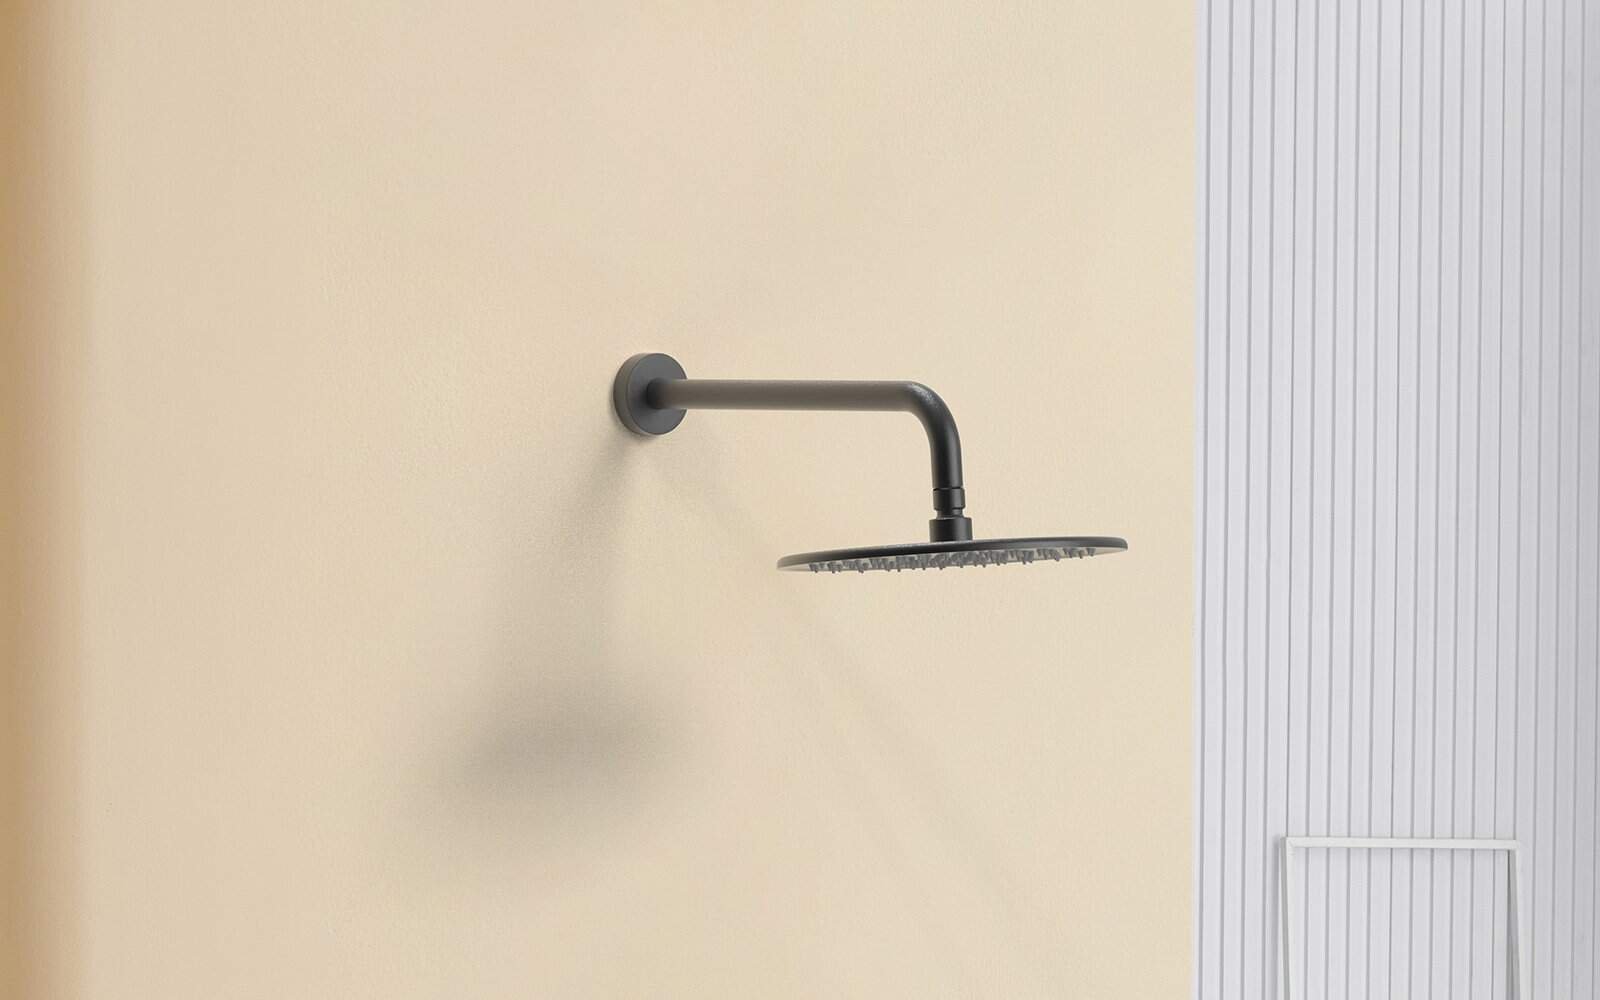
- Material: Go for brass or stainless steel—they resist rust better than plastic. Chrome or nickel finishes look sharp, too.
- Angle: Fixed arms are simple, but adjustable ones let you tweak the showerhead height.
- Style: Match your bathroom—sleek for modern, curved for classic.
When selecting a material, it’s useful to consider durability, as some less expensive options may corrode faster in humid bathroom environments.
When to Call a Plumber
DIY is great, but some situations need a pro:
- Major Leaks: If water keeps escaping after fixes, a plumber can spot deeper issues.
- Broken Pipes: Cracked or rusted pipes behind the wall need expert repair.
- Complex Setups: Non-standard plumbing might require custom parts or skills you don’t have.
Don’t risk a bigger mess—know your limits.
Extra Tips for Success
- Protect Finishes: Wrap tools with a cloth to avoid scratching chrome or nickel.
- Check Compatibility: Ensure your showerhead fits the new arm’s threads (usually ½-inch NPT).
- Maintain It: Clean the arm monthly with vinegar to prevent buildup and extend its life.
Final Checks and Key Reminders
To complete the replacement, always shut off the water supply before starting. Wrap 2-4 layers of pipe thread tape clockwise for a tight seal… Clean the arm periodically with a mild solution to help maintain its condition.
FAQs
Related Posts


