DIY Installation Disclaimer:
This guide is for general informational purposes only. Installing a concealed shower system with body jets is a complex, professional-level task that involves significant plumbing, waterproofing, and structural work. Incorrect installation carries a high risk of major property damage (leaks, mold) and personal injury. The steps provided are for conceptual understanding and are to be followed at **your own extreme risk**. We assume no liability for any damages resulting from the use of this guide. We **absolutely and strongly recommend hiring a licensed and insured professional plumber** for this type of installation.
Considering a shower system with body jets for your bathroom? These systems can offer a customized shower experience with multiple water outlets. While the installation can seem complex, this guide will walk you through the general process and key considerations.
This information can help you understand the project, whether you plan to DIY or work with a professional plumber.
Understanding Your Dream Shower System
What Exactly is a Shower System with Body Jets?
A shower system with body jets uses multiple outlets to deliver targeted water streams and full-body coverage. It can offer a versatile and encompassing shower experience, transforming your bathroom into a more feature-rich space.
Key Components You’ll Encounter
Understanding the individual parts of a shower system with body jets is the first step toward a successful installation. Each component plays a vital role in delivering that desired spa-like experience.
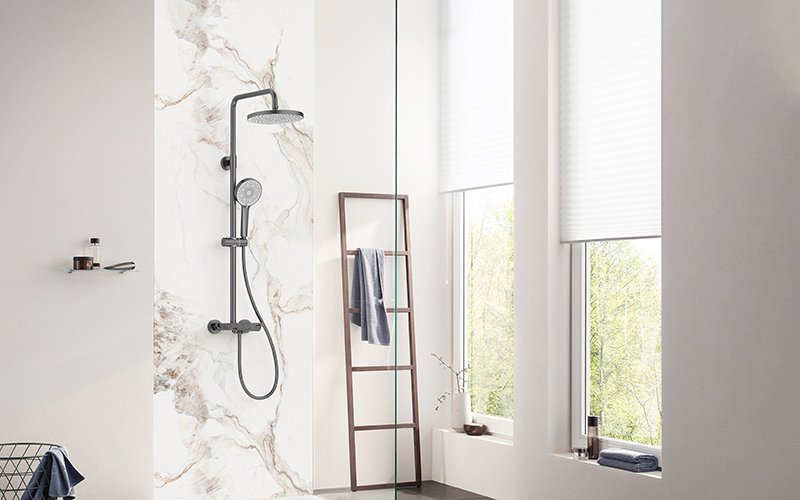
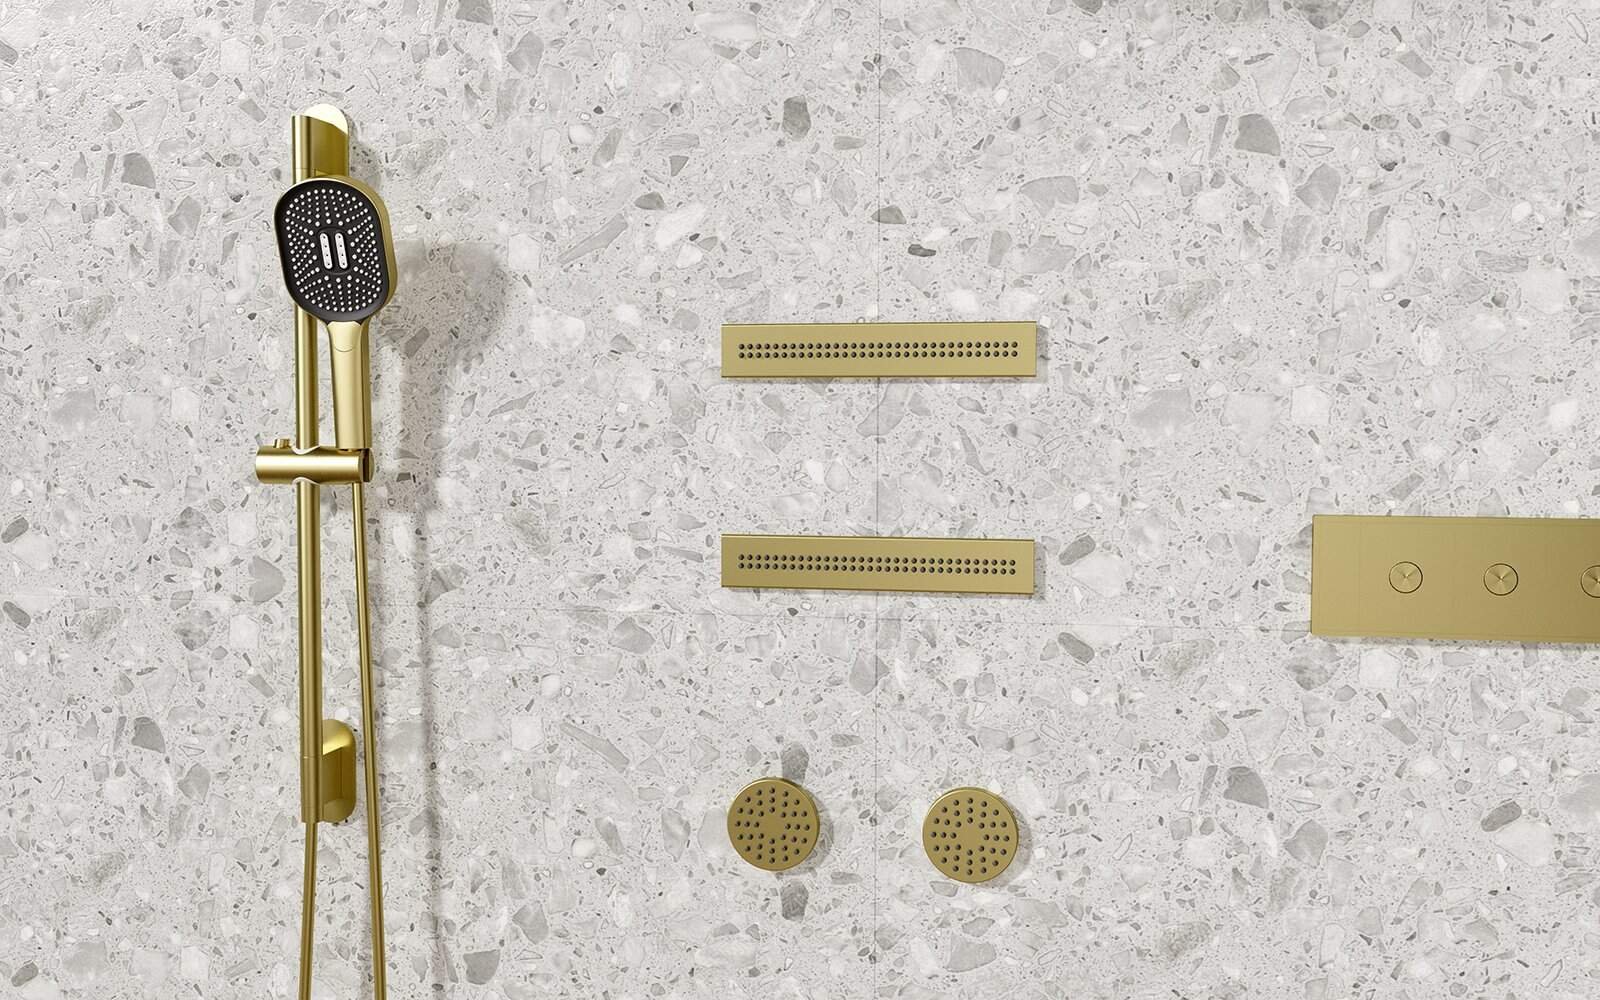
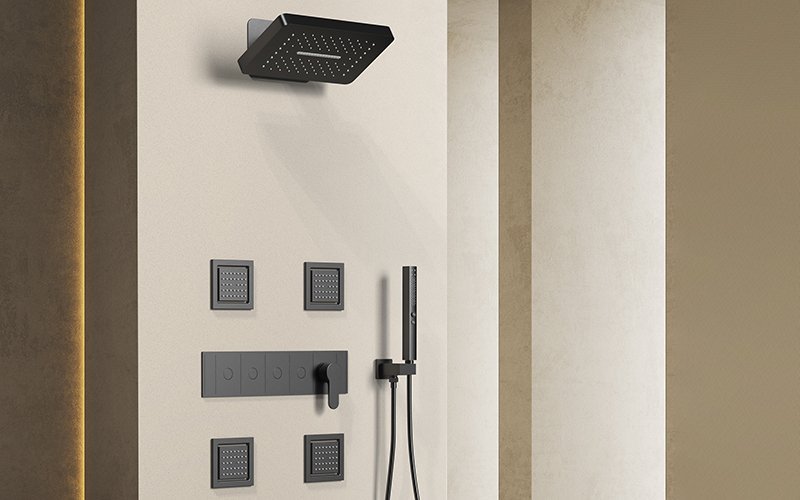
- Shower Head: The main water outlet, wall- or ceiling-mounted. Choose a rain head for gentle coverage or a high-pressure head for an energizing spray.
- Hand Shower: Connected by a flexible hose for targeted rinsing, cleaning the enclosure, or bathing kids and pets.
- Body Sprays/Jets: Wall-mounted multi-angle sprays for customizable massage modes like pulse, mist, or full spray.
- Control Valve (Mixing Valve): Regulates water temperature and flow. Pressure-balanced and thermostatic types each offer unique benefits.
- Diverter Valve: Directs water to the chosen outlet (head, hand shower, jets). Does not control temperature or pressure—must pair with a mixing valve for safety and compliance.
- Rough-In Valves: Hidden behind the wall, these form the plumbing framework and allow construction to continue before choosing fixture styles.
- Drains: Handle the higher water volume from multiple jets. Choose center or linear drains for quick water removal.
- Water Heater: Ensure it can meet higher hot water demand. Upgrade to a tankless model for endless hot water and a truly luxurious experience.
Choosing the Right System for Your Home
Selecting the right shower system involves considering various factors, from the type of body jets to the control valve technology.
- Types of Body Jets
Body jets come in different forms to suit various preferences and installation needs:
-
- Wall-mounted Body Jets: These are relatively easy to install and are often suitable for quick upgrades to an existing shower setup.
- Embedded Body Jets: These are built directly into the wall, offering a sleek, modern, and flush look that integrates seamlessly with your shower design.
- Adjustable Body Jets: Many body jets offer adjustability, typically up to 50 degrees in any direction, allowing you to aim the water precisely where you want it for targeted relief.
- Spray Patterns: You can choose from various spray options, including invigorating, soothing, massaging, or full spray patterns, to customize your shower experience.
- Materials: Body jets come in stainless steel (rust-resistant, modern), brass (corrosion- and heat-resistant, common in premium systems), or ABS plastic (lightweight, affordable, less durable).
- Valve Options: Pressure-Balanced vs. Thermostatic
| Feature | Pressure-Balanced Valve | Thermostatic Valve |
|---|---|---|
| Control | Single handle for volume and temperature | Two separate handles: one for temperature, one for flow |
| Temperature Control | Maintains hot-to-cold water ratio; temperature can fluctuate slightly | Maintains actual water temperature precisely; highly stable |
| Safety Features | Helps to reduce the risk of sudden temperature spikes by balancing pressure. | Helps to reduce the risk of sudden temperature spikes; some models may have a feature that reduces flow if one supply line fails. |
| Cost | More economical initial cost | Higher initial cost |
| Ideal For | Budget-conscious households, no vulnerable members | Families with children, elderly, or those prioritizing precise temperature control |
Gathering Your Arsenal: Tools and Materials
Before embarking on your shower system installation, gathering all necessary tools and materials is essential. This preparation minimizes interruptions and ensures a smoother, more efficient process.
Essential Tools Checklist
Having the right tools on hand is critical for precision and safety.
| Tool Name | Purpose/Use |
|---|---|
| Measuring Tape | Accurate measurements for layout and component placement |
| Level Measuring Tool | Ensuring straight and plumb installation of all fixtures |
| Painter’s Tape | Marking, protecting tile surfaces during drilling |
| Jab Saw/Pry Bar | Removing old fixtures, accessing wall cavities |
| Drill and Bits | Creating mounting holes; use masonry/ceramic bits for tile |
| Adjustable Wrench | Tightening connections |
| Pipe Wrench | Securing larger pipe fittings |
| Teflon Tape | Sealing threaded pipe connections for a watertight fit |
| Plumber’s Putty | Sealing gaps around valves |
| Silicone Caulk | Creating watertight seals around panels, fixtures, and corners |
| Screwdrivers | Fastening various screws (Phillips, flathead) |
| Allen Wrench | Adjusting set screws on handles and trim kits |
| Safety Glasses | Eye protection from debris and splashes |
| Safety Gloves | Hand protection during handling |
| Face Mask | Respiratory protection from dust |
| Bucket | Draining pipes, catching water |
| Soft Cloth | Protecting fixture finishes from scratches |
Materials You’ll NeedMaterials You’ll Need
Beyond tools, specific materials are necessary to build your new shower system.
| Material Name | Purpose/Use |
|---|---|
| Shower System Kit | All main components (showerhead, valve, body jets, fittings) |
| Plumbing Parts | New pipes, connectors, specific fittings (e.g., 3/4″ supply lines) |
| Waterproofing Material | Creating a waterproof barrier behind walls and under the shower pan |
| Sealant (Silicone Caulk) | Watertight seals around panels, fixtures, and corners |
| Thin-Set Mortar | Installing custom tiled shower pans |
| Leveling Compound | Ensuring a flat subfloor for shower pan installation |
| Drain Assembly & Flange | Efficiently removing water from the shower area |
| Wall Reinforcement | Providing secure mounting points for heavy fixtures and rough-ins |
Pre-Installation Planning: Laying the Foundation for Success
Thorough planning before any demolition or plumbing work begins is paramount. This phase addresses critical infrastructure considerations that directly impact your shower system’s performance and your overall satisfaction.
Assessing Your Home’s Water Pressure and Hot Water Capacity
The quality of your shower experience hinges significantly on your home’s water pressure and hot water supply. Overlooking these aspects can lead to disappointing results.
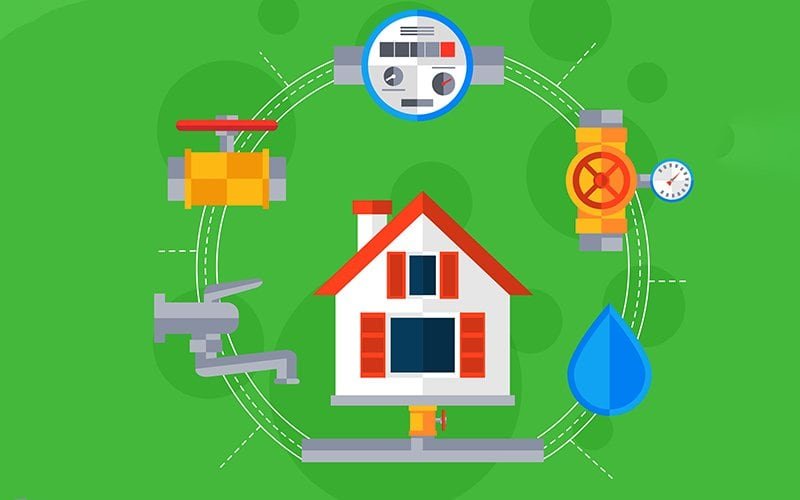
- Water Pressure: For best body jet performance, keep pressure between 40–60 PSI. Above 60 PSI can feel too strong and strain plumbing; below 40 PSI makes jets weak and ineffective.
-
- How to Measure: Attach a pressure gauge to an outdoor hose bib or washing machine cold-water line, turn on the water fully, and read the gauge.
- Low Pressure: If below 40 PSI, install a booster pump or use jets designed for low pressure.
- High Pressure: If above 60 PSI, adjust your home’s pressure regulator at the main water line to protect plumbing.
- Hot Water Capacity: Multi-jet showers use more hot water, especially with multiple outlets running. Check that your water heater can meet this demand to avoid running out mid-shower. If not, upgrade to a larger tank or a tankless heater for on-demand, continuous hot water and a true spa experience.
Understanding Rough-In Dimensions and Wall Thickness
The rough-in phase, where plumbing is installed behind the wall, is the most crucial part of your project. Precision here is non-negotiable, as errors are extremely costly and difficult to correct once the walls are closed and tiled.
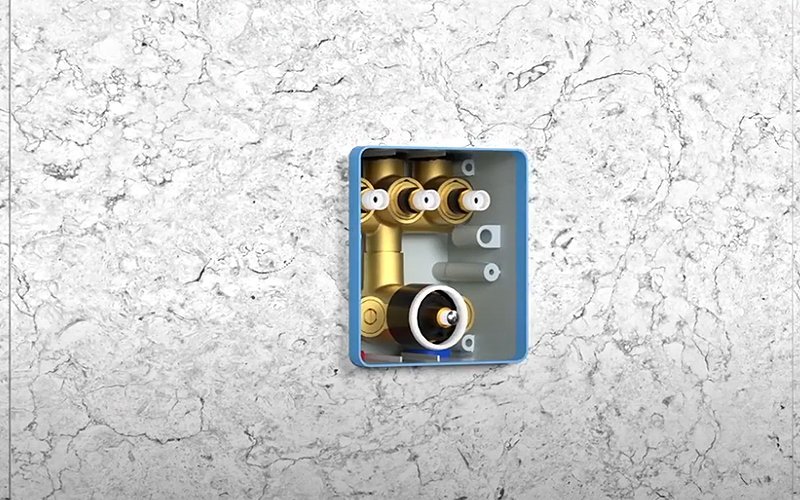
- Main Body/Valve Depth: The main valve’s installation depth is crucial for the trim to sit flush with the finished wall. The plasterguard face should be flush or within about 3/8 inch of the wall surface, including tile thickness. Depth requirements vary by manufacturer, typically between 2 3/8″ (60mm) and 3 7/16″ (88mm). The plasterguard helps ensure correct rough-in depth, preventing costly issues after tiling.
- Body Jet Depth: Install body jets and shower arms no more than 19/32″ (15mm) from the finished tile wall. Measure your tile thickness carefully to ensure a clean, flush finish.
- Wall Thickness: Standard 2×4 walls usually fit these systems, like some modern rough-ins, and support walls up to 3 inches thick. For thicker walls, adjust the stringer face as needed. Make sure the rough body face is plumb and parallel to the finished wall to prevent gaps around the trim plate.
Strategic Body Jet Placement
The placement of your body jets is not just about aesthetics; it is about maximizing the functional benefits and ensuring a comfortable, customized experience for all users.
- Number of Jets: Systems usually have 2 to 6 jets, but 3 or 4 offer the best coverage. Two jets may feel weak, while more jets need complex plumbing and higher water pressure.
- Placement Options: Body sprays can be installed on the front wall (where the shower controls are), the opposite back wall, or the side walls of the shower. Many find jets on the opposite wall offer a more direct spray, letting you face the water flow and adjust controls easily.
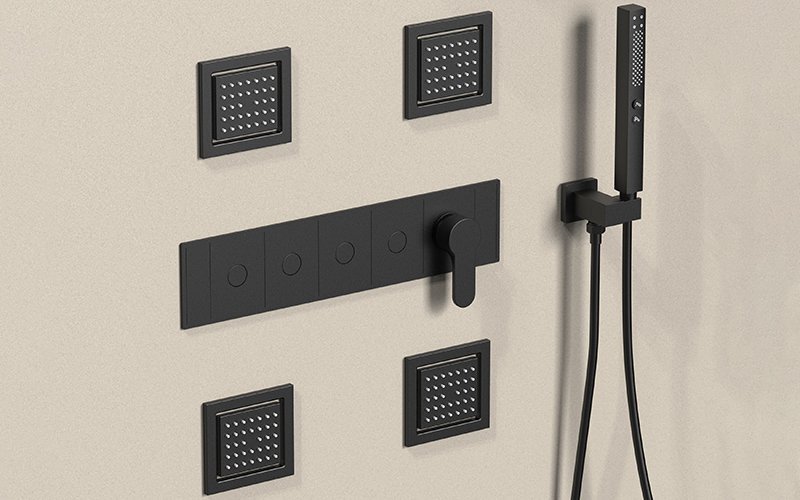
- Height Considerations: Place body jets to target the upper back, middle back, and upper thigh. Adjust for the height and body shape of primary users to hit the right spots and avoid sensitive areas.
- Arrangement:
For three jets, a vertical line is common, with all jets turning on together, but it limits targeting and may spray below the waist. A tighter grouping can help.
For four jets, they’re usually plumbed in pairs and placed tightly on the opposite wall. This lets users target the core body, control water flow, and adjust intensity—working well for different sizes and heights.
- Pressure Balancing Loop: For systems with four or more jets, install a pressure balancing loop to ensure equal pressure to each jet. Without it, some sprays will have weaker flow, reducing the system’s luxury and performance.
Step-by-Step Installation: Bringing Your Vision to Life
With planning complete and materials gathered, it is time to bring your spa-like shower vision to life. This section guides you through the installation process, from preparing the area to the final touches.
Preparing the Shower Area
Proper preparation is the foundation for a smooth installation.
- Shut off the Main Water Supply: This is a non-negotiable first step to prevent leaks or water damage during installation. Locate your home’s main water valve and turn it off completely.
- Drain Remaining Water: Open a faucet in your bathroom to drain any residual water from the pipes, relieving pressure in the lines.
- Remove Existing Fixtures: If you are replacing an old shower system, carefully remove the existing showerhead, handle, shower arm, and any old valve components. Take your time to avoid damaging the plumbing behind the wall.
- Clean and Dry Walls/Floor: Ensure the walls and floor of the shower area are clean and dry before proceeding. Lay down drop cloths or plastic sheets to protect other parts of your bathroom from debris or accidental spills.
Rough-In Plumbing: The Hidden Network
This is where the magic happens behind the walls. Precision here is paramount.
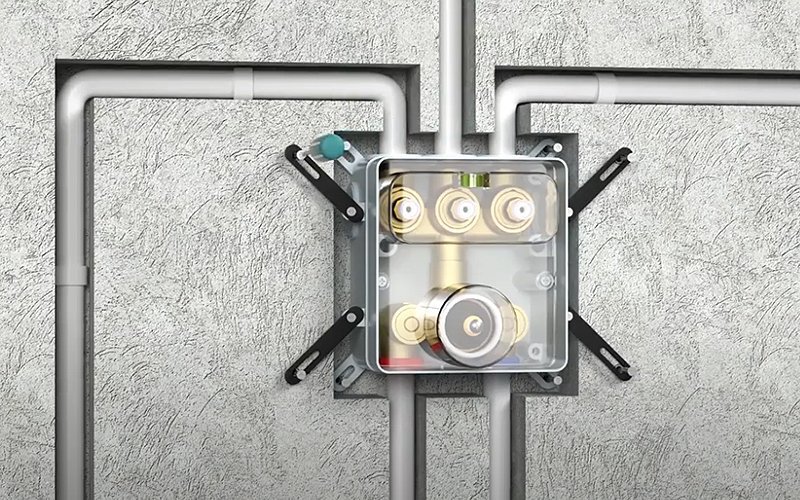
- Pre-Bury Inlet and Outlet Pipes: Pay close attention to the correct direction for installing the pre-buried main body, ensuring the mark level on top of the installation box faces upward.
- Connect Pipes to Outlets: Install the hot and cold water inlet pipes. Then, connect the three mixed water outlet pipes to the shower head, hand shower, and body jets separately.
- Construct the Pressure Balancing Loop (for 4+ jets): Use 3/4-inch copper lines in an “H” pattern, with minimal elbows, to ensure equal pressure to all jets and avoid weak sprays.
- Apply Teflon Tape: Wrap Teflon tape around threaded connections in the opposite direction of the thread for a tight, leak-proof seal.
- Test for Leaks Before Tiling: Turn on the water before closing the wall to check all connections. If you find a leak, turn off the water, tighten, and retest.
Installing the Main Control Valve
The control valve is the central hub of your shower system.
- Secure the Valve: Secure the main valve body to the wall using screws (for wood walls) or anchors (for concrete walls). Make marks according to the size of the main body valve and drill pilot holes if necessary.
- Ensure Level and Plumb: It is essential to ensure the main valve body is level and plumb (vertically straight) with the finished wall line. If the level meter is not parallel with the wall, the final panel cannot be installed correctly.
- Connect Hot and Cold Lines: Connect the hot and cold water inlet pipes to the valve, strictly following the manufacturer’s instructions (hot water typically on the left, cold on the right).
- Soldering (If Required): If your plumbing requires soldering, remove the test cap/plasterguard from the valve body before soldering to prevent damage from high temperatures. Always reinstall the test cap/plasterguard after soldering.
- Test Connections Again: Turn on the water supply and check for any leaks around the newly installed valve connections.
Waterproofing and Finishing the Walls
Once the rough-in plumbing is complete and tested, it is time to waterproof and finish your shower walls.
- Apply Waterproofing Membrane: Use a sheet or liquid membrane on the shower pan and walls, sealing all corners, seams, and openings. Let liquid membrane dry as directed.
- Install Wall Panels or Tile: Measure, cut, and attach panels or tiles, keeping them aligned and level. Seal edges with silicone for a watertight finish.
- Allow Curing Time: Let sealant, mortar, or waterproofing cure fully before installing fixtures.
Installing Body Jets and Other Fixtures
With the walls finished, you can now install the visible components of your shower system.
- Body Jets: Wrap Teflon tape on the threaded pipe (e.g., NPT1/2″), screw it into the wall fitting, cut excess if needed, add the decorative cap, and screw in the jet.
- Shower Holder & Hand Shower: Screw the holder’s threaded pipe into the wall, attach the holder body with the provided wrench, then connect the hose and hand shower.
- Rain Shower Head & Arm: Connect the arm and cover, screw the arm into the riser with Teflon tape on both ends, and attach the shower head without overtightening.
- Install Trim Kits: Attach handles, escutcheons, and caps for the main valve and diverters per the diagrams.
Final Testing and Adjustments
The last steps ensure everything is working perfectly.
- Turn on Water Supply Gradually: Slowly turn the main water supply back on.
- Check for Leaks: Conduct a thorough visual inspection of all connections, fixtures, and seals for any signs of water leakage. Listen for drips or hisses. If you find a leak, turn off the water supply and tighten the connection, then retest.
- Test Each Component: Systematically test each shower component: the main shower head, hand shower, and all body jets. Check for proper function, consistent water pressure, and desired temperature. Adjust the spray jets to your preferred positions.
- Adjust Temperature Settings: For thermostatic valves, ensure the handwheel temperature settings are correct, aligning the 100°F or 38°C mark as instructed by the manufacturer.
Troubleshooting Common Issues
Even with careful installation, issues can arise. Knowing how to troubleshoot common problems can save time and prevent further damage.
Leaks
Shower leaks are a common problem that can be frustrating, but many are fixable.
- Common Causes:
Leaks often result from loose connections, poor-quality or ill-fitting equipment, improper installation, faulty parts, or wear and tear. Other causes include a damaged pan, leaky drain or valve, and deteriorated caulking, grout, or seams.
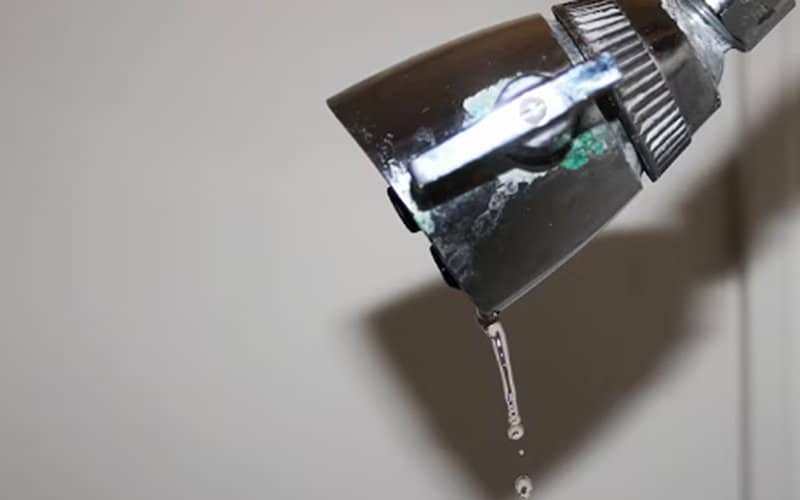
- Troubleshooting Steps:
- Inspect Visible Areas: Look for water stains, mold growth, or peeling paint on walls, ceilings, or floors adjacent to the shower.
- Check the Shower Pan/Drain: Plug the drain, fill the pan with a few inches of water, and look for leaks at the drain or base. Cracks, separations, or a worn gasket/loose drain connection may be the cause.
- Examine Caulking/Grout: Look for cracks, gaps, or deterioration in the caulk lines around fixtures, panels, and corners, and in the grout between tiles.
- Test the Shower Valve: Check for leaks from the shower valve when the water is both on and off. Water stains on the back of the escutcheon plate often indicate a leaky valve.
- Solutions:
- Tighten Connections: For loose shower head or hose connections, simply tighten them securely.
- Replace Worn Components: If gaskets, seals, or O-rings are worn or damaged, replace them with high-quality replacements.
- Re-caulk/Re-grout: Remove old caulk or grout and apply high-quality silicone caulk for wet areas, sealing verticals and corners.
- Shower Valve Repair: Remove old caulk or grout and apply high-quality silicone caulk for wet areas, sealing verticals and corners.
- Professional Help: Hire a licensed plumber for complex leaks, hidden damage, or mold issues.
Pressure Problems with Body Jets
Uneven or weak pressure from body jets can diminish the spa experience.
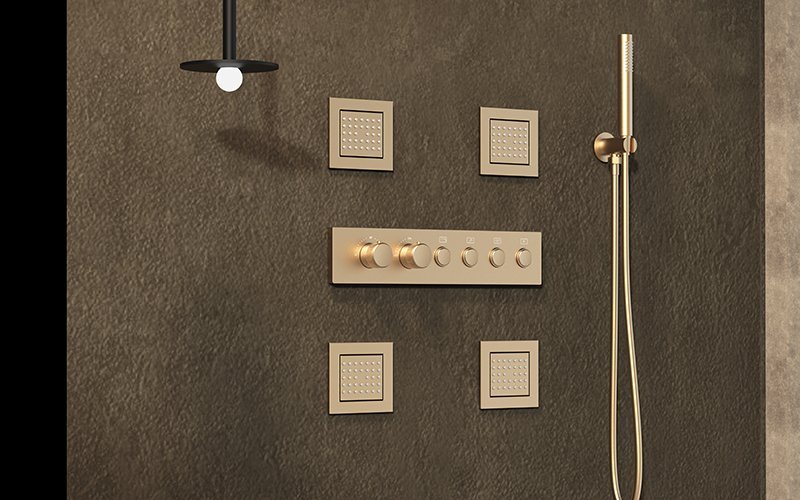
- Causes:
- Clogs: Mineral deposits, soap scum, or debris can block filters, jets, or pipes.
- Airlocks: Trapped air in the pump or pipes can restrict flow.
- Loose/Worn Jets: Loose or worn jets reduce spray quality.
- Low Water Pressure: Low home pressure directly reduces jet performance.
- Diverter/Cartridge Issues: Debris or buildup in cartridges causes uneven flow.
- Improper Pressure Balancing Loop: Poor or missing loops in 4+ jet systems cause uneven pressure.
- Solutions:
- Clean Filters/Jets: Remove and clean filters; soak jets in a 50/50 vinegar-water solution overnight and clear nozzles with a soft brush.
- Tighten Loose Jets: Twist to tighten; replace if wear prevents stability.
- Release Airlock: Loosen the barrel union until air escapes, then retighten.
- Descale Pipes: Use descaler if calcium buildup is suspected.
- Clean/Replace Cartridges: Soak cartridges in vinegar solution, turn stems to loosen debris, flush lines, then reinstall.
- Verify Pressure Balancing Loop: Ensure it’s correctly installed and equidistant.
- Check Water Pressure: Measure and boost if consistently low.
Key Takeaways for Your Project
- Planning is Key: Success starts with careful planning—check your water pressure, hot water capacity, rough-in dimensions, and plan jet placement for best coverage.
- Precision Plumbing: Accurate rough-in, seal all connections with Teflon tape and silicone, and test for leaks before closing walls to avoid costly issues.
- Valve Considerations: Choose pressure-balanced or thermostatic valves to help manage temperature consistency, which is a key consideration for families.
- Maintain for Longevity: Clean regularly, soak heads and cartridges, and fix pressure or leaks promptly to keep your system working and looking great.
- Know When to Call Pros: Complex tasks like soldering, deep leaks, or structural damage need a licensed plumber—don’t hesitate to get professional help.
FAQs
Related Posts


