Table of Content
- What is a Faucet Diffuser (Aerator)?
- Signs You Need to Remove the Diffuser
- Tools You’ll Need
- Step 1: Turn Off the Water Supply
- Step 2: Identify Your Diffuser Type
- Step 3: Remove the Diffuser
- Step 4: Clean the Diffuser
- Step 5: Reinstall the Diffuser
- Tips to Keep Your Faucet Running Smoothly
- When to Replace the Diffuser
- Conclusion
- FAQs

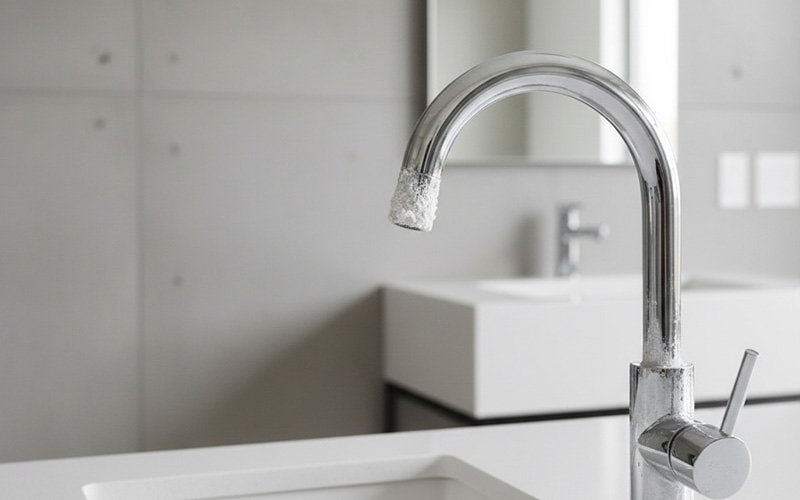
If mineral deposits clog the aerator, your faucet may have low pressure or uneven flow. Cleaning or replacing it is an easy fix to restore proper water flow. Follow this simple guide to remove the faucet diffuser.
Disclaimer: For Informational & DIY Purposes Only
This article is for general informational purposes. The DIY repair steps provided are to be followed at **your own risk**. Improper repair can lead to property damage or personal injury. We assume no liability for any damages resulting from the use of this guide. For any complex issues, we **strongly recommend consulting a licensed professional plumber**. The general information provided does not necessarily apply to all faucet models or situations.
What is a Faucet Diffuser (Aerator)?
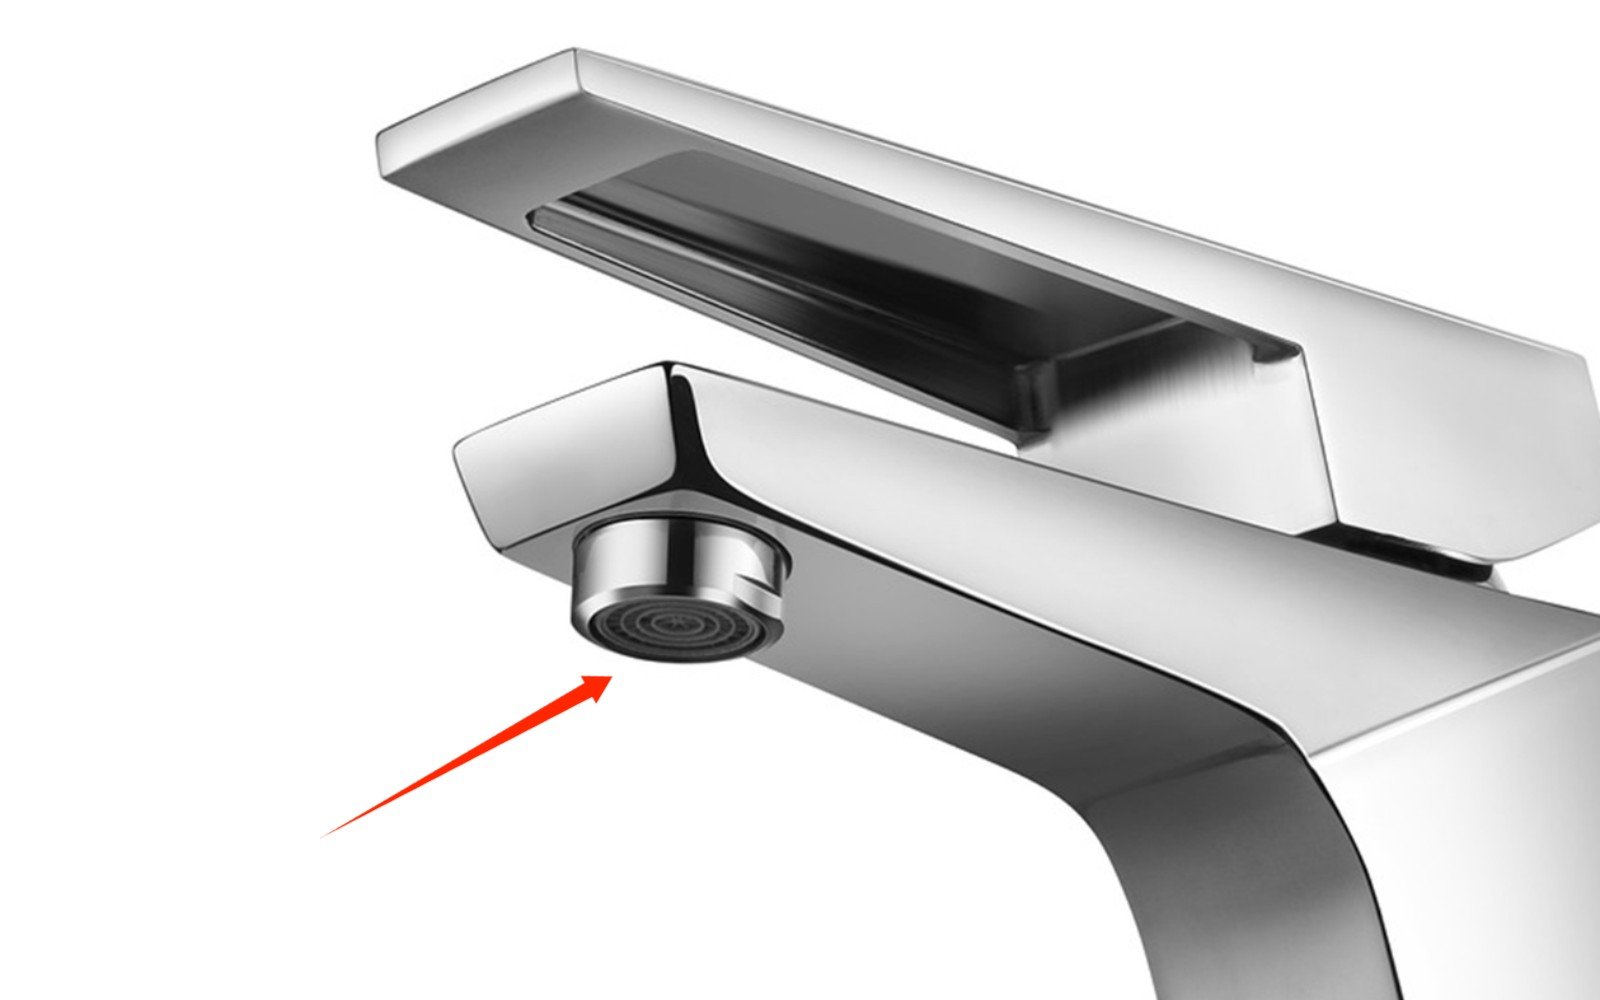
A faucet diffuser, often referred to as an aerator, is a small device attached to the end of the faucet spout. It mixes air with water to reduce splashing and save water. Aerators save water and keep the flow steady, but they can clog with minerals, rust, or debris, reducing water pressure.

Signs You Need to Remove the Diffuser
Before removing the diffuser, look for signs that it needs cleaning. Common signs include:
- Low Water Pressure: If the water pressure from your faucet is weaker than usual, the diffuser may be clogged.
- Uneven Water Flow: If the water stream is uneven or splashing, the diffuser may be clogged or damaged.
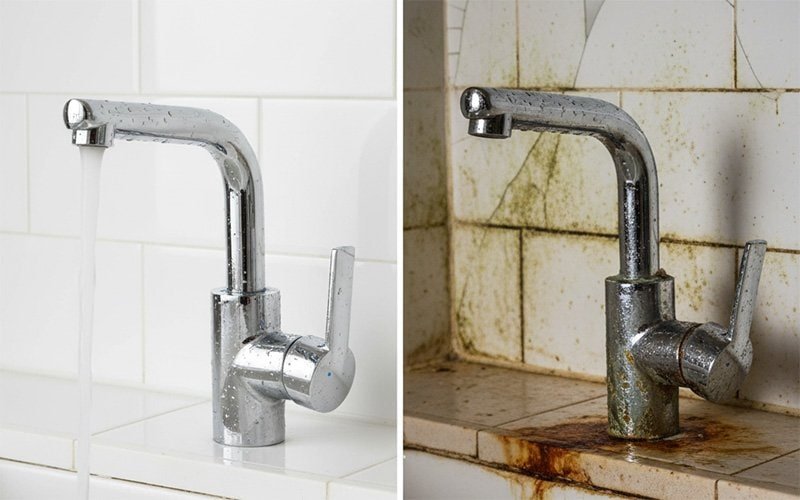
- Visible Mineral Buildup: Hard water deposits or lime scale can build up on the aerator, making it less efficient.
- Clogging and Debris: Sometimes, the aerator can become clogged with small particles or rust, obstructing the water flow.
Tools You’ll Need
Removing the diffuser is a simple DIY task that requires a few basic tools. Here’s what you’ll need:
- Pliers or Wrench: For loosening the diffuser if it’s tightly attached.
- Rubber Gloves: To ensure a firm grip and avoid damaging the faucet.
- Old Toothbrush: For scrubbing the diffuser clean.
- Vinegar: To soak the diffuser and remove mineral buildup.
- Towel or Cloth: To cover the sink and catch any loose parts.
Step 1: Turn Off the Water Supply
Before you begin working with your faucet, make sure to turn off the water supply to avoid any unexpected spills. Most faucets will have a shut-off valve beneath the sink. Turn this valve clockwise to stop the flow of water.
Step 2: Identify Your Diffuser Type
Before removing the diffuser, check if it’s standard or hidden, as the removal method differs.
Standard Diffuser (Aerator)
- Location: The diffuser is visible at the end of the faucet spout.
- Design: You can usually unscrew the threaded diffuser by hand or with pliers.
- How to Identify: If the aerator is clearly visible and has threads for unscrewing, it’s a standard diffuser.
Hidden Diffuser (Integrated Aerator)
- Location: The diffuser is hidden inside the faucet spout, making it harder to see.
- Design: It doesn’t have external threads for easy removal and often requires special tools or techniques to remove.
- How to Identify: If there’s no threading or the aerator looks integrated, it’s a hidden diffuser.
Step 3: Remove the Diffuser
Standard Diffuser Removal
- Grip the Diffuser: Using your hands or pliers, grip the aerator firmly. Be sure to protect the faucet with a soft cloth if using pliers to avoid scratching the surface.
- Twist Counterclockwise: Turn the diffuser counterclockwise to unscrew it. If it’s too tight, use a pair of pliers or a wrench for additional grip. Once loosened, remove the aerator carefully.
- Remove the Mesh Screen and Washer: After removing the aerator, you may find a mesh screen or rubber washer inside. Keep track of these components and clean them as well.
Hidden Diffuser Removal
- Check for Hidden Screws: Some hidden diffusers can be accessed by unscrewing small screws located under the faucet spout or near the base. Use a small screwdriver to loosen any screws.
- Use a Faucet Aerator Removal Tool:
- If there are no screws, you’ll need a special tool for hidden diffusers, found in most hardware stores.
- Consult the Faucet Manufacturer: Some hidden diffusers may need professional help or specific instructions to remove safely. If you’re unsure, it’s always a good idea to check with the manufacturer.
Step 4: Clean the Diffuser
If the diffuser is clogged or covered in mineral deposits, it’s time to clean it. Here’s how:
- Soak in Vinegar: Pour some white vinegar into a small bowl or cup and place the diffuser in it. Let it soak for about 30 minutes to break down any mineral buildup.
- Scrub the Diffuser: After soaking, use an old toothbrush to scrub the diffuser gently. Pay attention to the mesh screen and any nooks where dirt may have accumulated.
- Rinse: After cleaning, rinse the diffuser thoroughly under running water to remove any remaining vinegar and debris.
Step 5: Reinstall the Diffuser
Once the diffuser is clean and dry, it’s time to put it back in place:
- Reattach the Diffuser: Carefully screw the diffuser back onto the faucet spout by twisting it clockwise. Make sure it’s tightly secured to prevent leaks.
- Test the Water Flow: Turn the water supply back on and test the faucet to ensure the water flow is smooth and consistent. If the water pressure has improved, the diffuser was likely the cause of the problem.
Tips to Keep Your Faucet Running Smoothly
To prevent future issues with your faucet diffuser, follow these simple maintenance tips:
- Clean Regularly: Clean your diffuser every few months to prevent mineral buildup and clogging.
- Use a Water Softener: If you have hard water, install a water softener to reduce mineral buildup in your faucet and diffuser.
- Replace the Diffuser if Needed: If cleaning doesn’t restore proper function, you may need to replace the diffuser. You can find replacement aerators at most home improvement stores.
When to Replace the Diffuser
In some cases, cleaning the diffuser won’t be enough to restore proper water flow. If the diffuser is damaged, cracked, or clogged, replace it. Replacing a faucet aerator is easy, inexpensive, and new ones are available in various sizes to fit your faucet.
Conclusion
Removing and cleaning your faucet aerator is a simple DIY task that boosts efficiency and extends its lifespan. Regular maintenance keeps water flow steady and helps avoid expensive repairs. If you run into trouble while removing the aerator, feel free to look up more tips or ask a professional for help.
FAQs
Related Posts


