Table of Content
DIY Cleaning Disclaimer:
This guide is for general informational purposes only. The cleaning methods and solutions mentioned, including the use of household chemicals or commercial products, are suggestions. Always test any cleaning agent on a small, inconspicuous area first to ensure it does not damage your fixture’s finish.
Follow all product labels and safety precautions. These steps are to be followed at your own risk. We assume no liability for any damage resulting from the use of this guide.
Seeing a faucet covered in stains or grime can be frustrating, and online advice can be confusing. This guide aims to simplify the process, showing how to clean different faucet finishes, address tough stains, and prevent future buildup.
Proper cleaning can help maintain your faucet’s appearance and prevent corrosion. Let’s dive in.
Why Keeping Your Faucet Clean Is a Big Deal
Regular cleaning is important for several reasons. A clean faucet can lift a bathroom’s overall appearance. Beyond aesthetics, regular cleaning helps prevent the buildup of mineral deposits, soap scum, and grime that can affect the finish.
Over time, such buildup could potentially contribute to operational issues. By keeping it clean, you help maintain its condition and function.
Step 1: Know Your Faucet Material
Before you grab any cleaner, figure out what your faucet is made of. I’ve learned that using the wrong stuff can scratch or tarnish it, so this step is key. Here’s a rundown of common materials and how to clean them right:
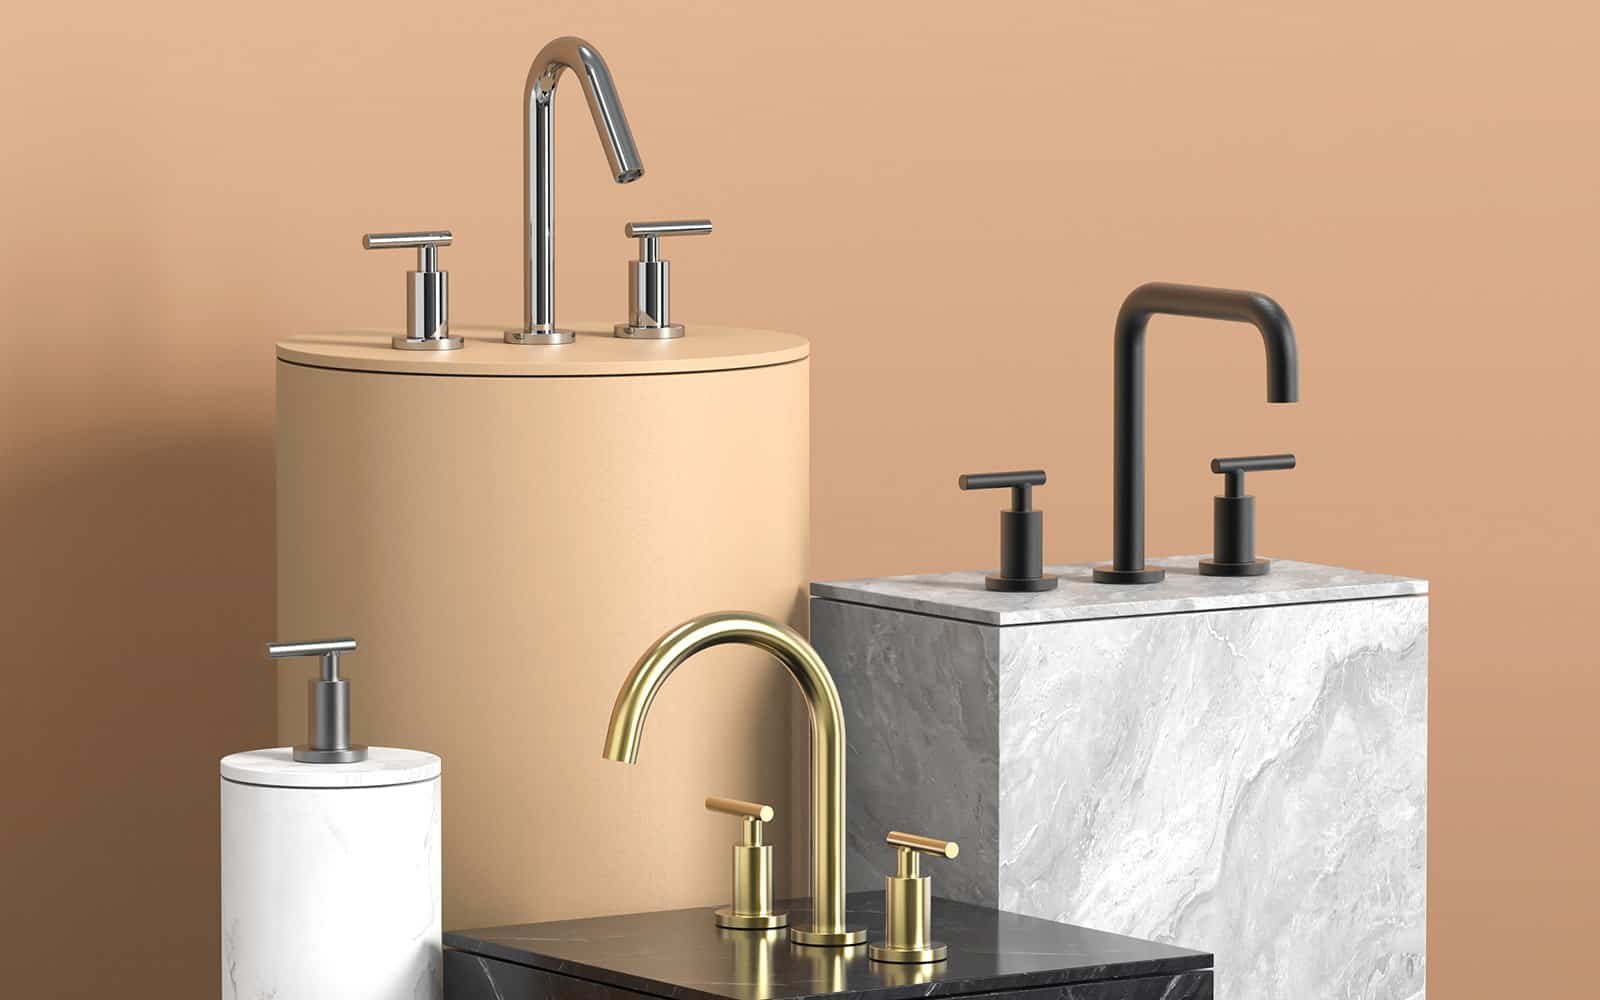
- Chrome: Super common and shiny. Use mild soap and water with a soft cloth. For tougher spots, mix equal parts vinegar and water.
- Stainless Steel: Looks sleek but shows fingerprints. Stick to soap and water, and wipe with a microfiber cloth for smudges.
- Brass: Has that classic vibe but needs care. Try a gentle brass cleaner or a lemon juice and baking soda mix.
- Nickel: Often brushed or polished. Clean it with a vinegar-water mix, but rinse quickly.
- Oil-Rubbed Bronze: Dark and unique. Just use water and a soft cloth—nothing harsh.
Not sure what you’ve got? Check the manual or the manufacturer’s site. Test any cleaner on a small spot first to play it safe.
Step 2: Clean Your Faucet the Easy Way
Now that you know your material, let’s clean it. Here’s a simple method that works for most faucets:
- Grab Your Supplies: Get a soft cloth (microfiber’s best), mild dish soap, warm water, and a soft toothbrush for tight spots.
- Mix It Up: Add a few drops of soap to warm water in a bowl.
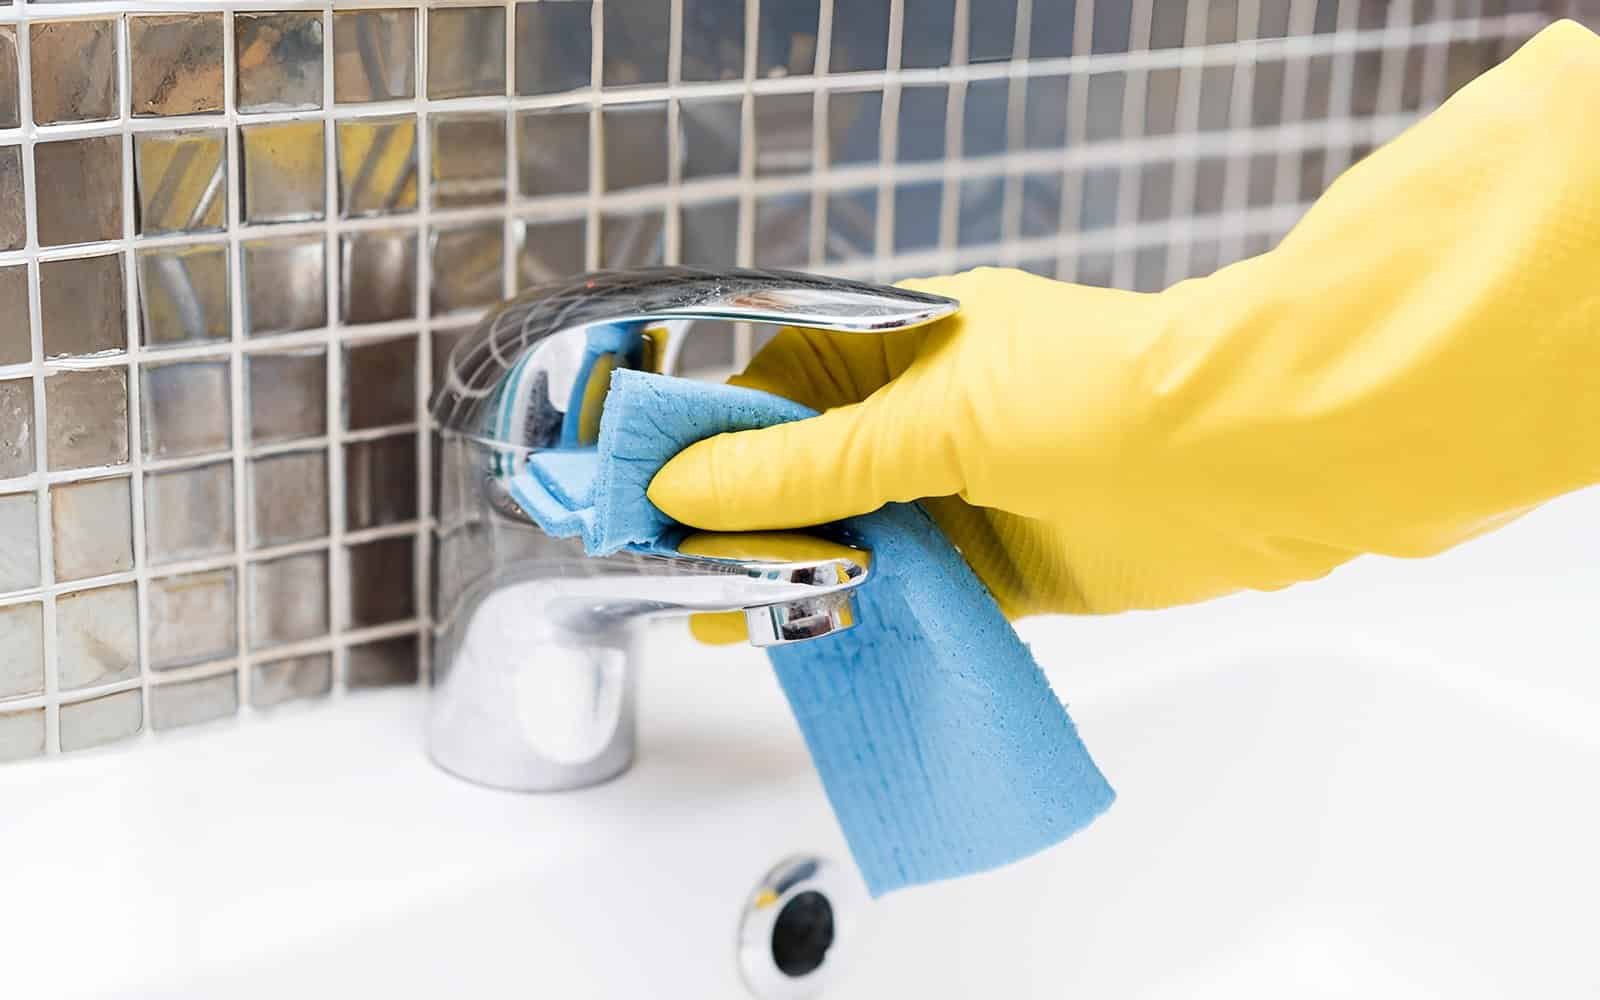
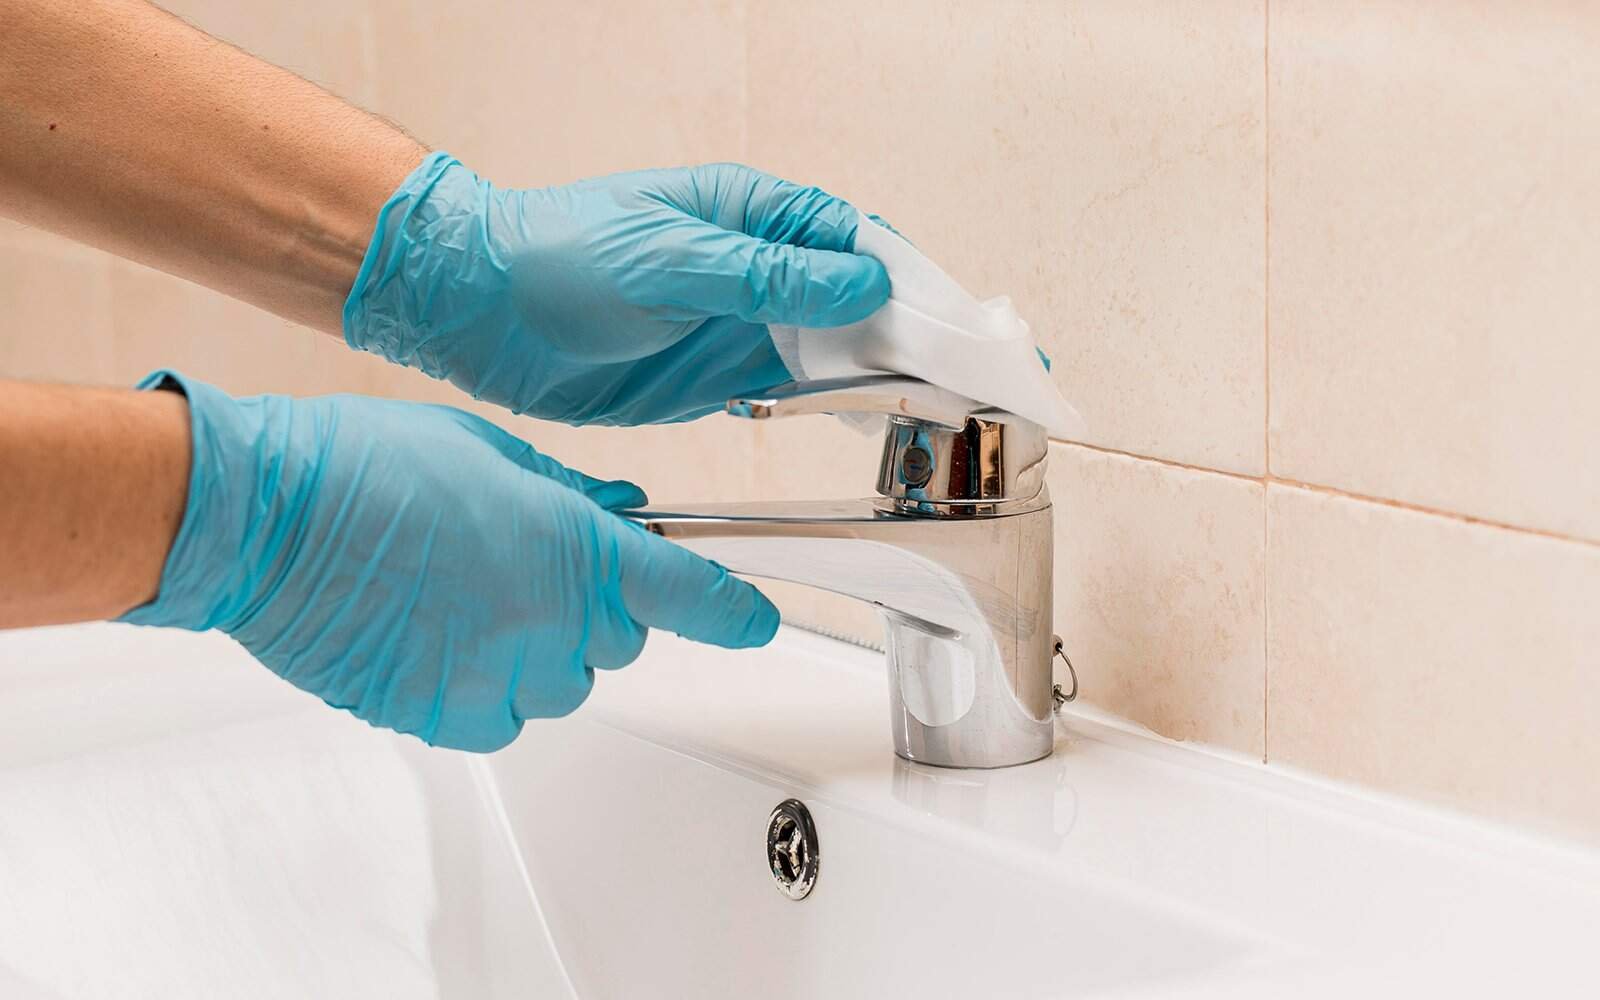
- Wipe It Down: Dip your cloth in, wring it out, and wipe the whole faucet—handles, spout, everything.
- Scrub the Details: Use the toothbrush to gently hit the base, aerator, and crevices where grime hides.
- Rinse and Dry: Wipe it with a damp cloth to clear soap, then dry it with a towel to stop water spots.
Step 3: Bust Those Stubborn Stains
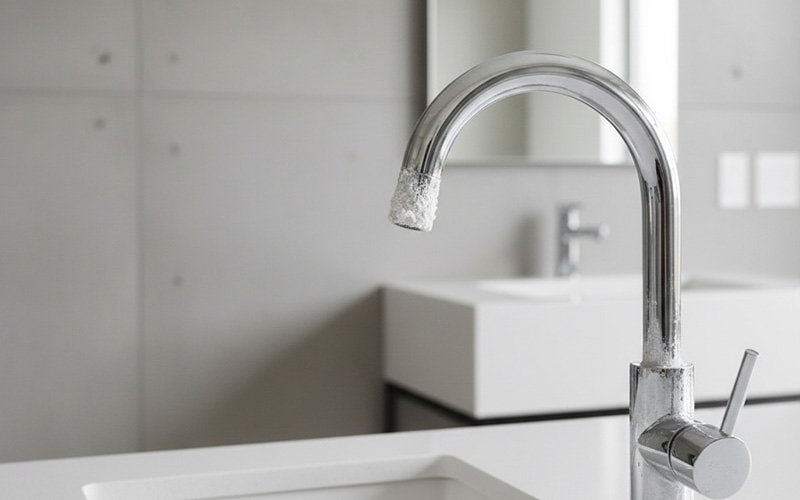
White or greenish spots from hard water are typically mineral deposits. Here are two common approaches to address them:
Vinegar Trick
- Mix equal parts white vinegar and water.
- Soak a cloth in it and wrap it around the stains. For the aerator, fill a plastic bag with the mix, tie it on with a rubber band, and let it sit.
- Wait 30 minutes to an hour.
- Scrub gently with a soft brush.
- Rinse and dry well.
Heads Up: Skip vinegar on brass or oil-rubbed bronze—it can mess up the finish.
Commercial Cleaner
You can use a commercial cleaner formulated for calcium, lime, and rust removal. Always follow the product’s label instructions, test on a small, inconspicuous spot first, and rinse the faucet thoroughly afterward.

Step 4: Go Eco-Friendly
If you’re into sustainable vibes, I think you’ll love these natural cleaners:
- Baking Soda: Mix it with water into a paste, apply to stains, wait 10 minutes, scrub, and rinse.
- Lemon Juice: Cuts grime and smells fresh. Use it like vinegar but safer for more finishes.
- Vinegar: Awesome for deposits, but check your material first.
These options work well and keep your space kid- and pet-friendly.
Step 5: How Often Should You Clean?
I’ve found it depends on use and water type:
- Guest Bathroom: Every 1-2 weeks is fine.
- Family Bathroom: Hit it weekly.
- Hard Water or Heavy Use: Twice a week keeps buildup at bay.
If you spot grime or spots, clean it sooner. Staying ahead makes it quick.
Step 6: Prevent Future Mess
Cleaning’s great, but preventing gunk is smarter. Try these:
- Wipe It Down: Keep a towel handy and dry the faucet after use.
- Soften Your Water: Hard water? A water softener cuts deposits.
- Add Protection: Some brands sell sprays to repel water. Ask your manufacturer.
Small habits, big payoff.

Choosing a Suitable Cleaner
With tons of products out there, here’s how I’d choose:
- Daily Cleaning: Mild soap and water. Safe and simple for all faucets.
- Tough Stains: A vinegar mix or a commercial cleaner formulated for mineral deposits. Match the cleaner to your faucet’s material.
- Delicate Finishes: Water only, or a manufacturer-approved cleaner. Less is more.
Fun Facts to Know
- “Did you know? The first modern faucets appeared in the 19th century, thanks to advances in plumbing—before that, people relied on buckets!”
- “Hard water stains come from minerals like calcium and magnesium, which is why vinegar (an acid) works so well to break them down.”
Extra Tips to Keep It Shiny
- Skip Harsh Tools: No steel wool or rough pads—they scratch everything.
- Clean the Aerator: Unscrew it, soak it in vinegar, and rinse for better flow.
- Make It Routine: A quick wipe weekly beats a big scrub later.

Conclusion
The right cleaning method depends on your faucet’s finish. For everyday upkeep, mild soap and water is often a suitable choice. For hard water stains on compatible finishes, a diluted vinegar solution can be effective.
For delicate finishes like oil-rubbed bronze, it’s best to stick to water or check with the manufacturer’s recommendations. Following these guidelines can help you maintain your faucet’s appearance.
FAQs
Related Posts


