Table of Content
Understanding the Exposed Shower Column
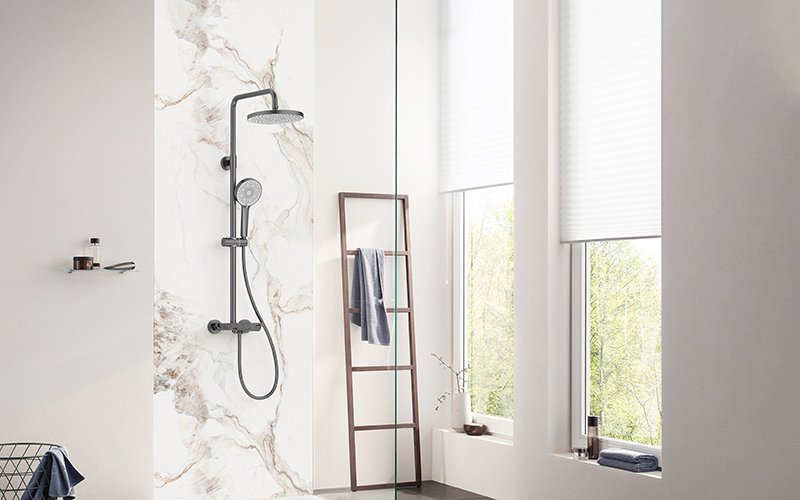
An exposed shower column is a type of plumbing fixture where the primary components are mounted externally on the shower wall. Unlike concealed systems where pipes and valves are hidden, an exposed column makes these elements a visible part of the bathroom’s design.
What is an Exposed Shower Column?
An exposed shower column is a system where the valve, riser pipe, and shower arm are mounted on the finished wall of the shower enclosure.
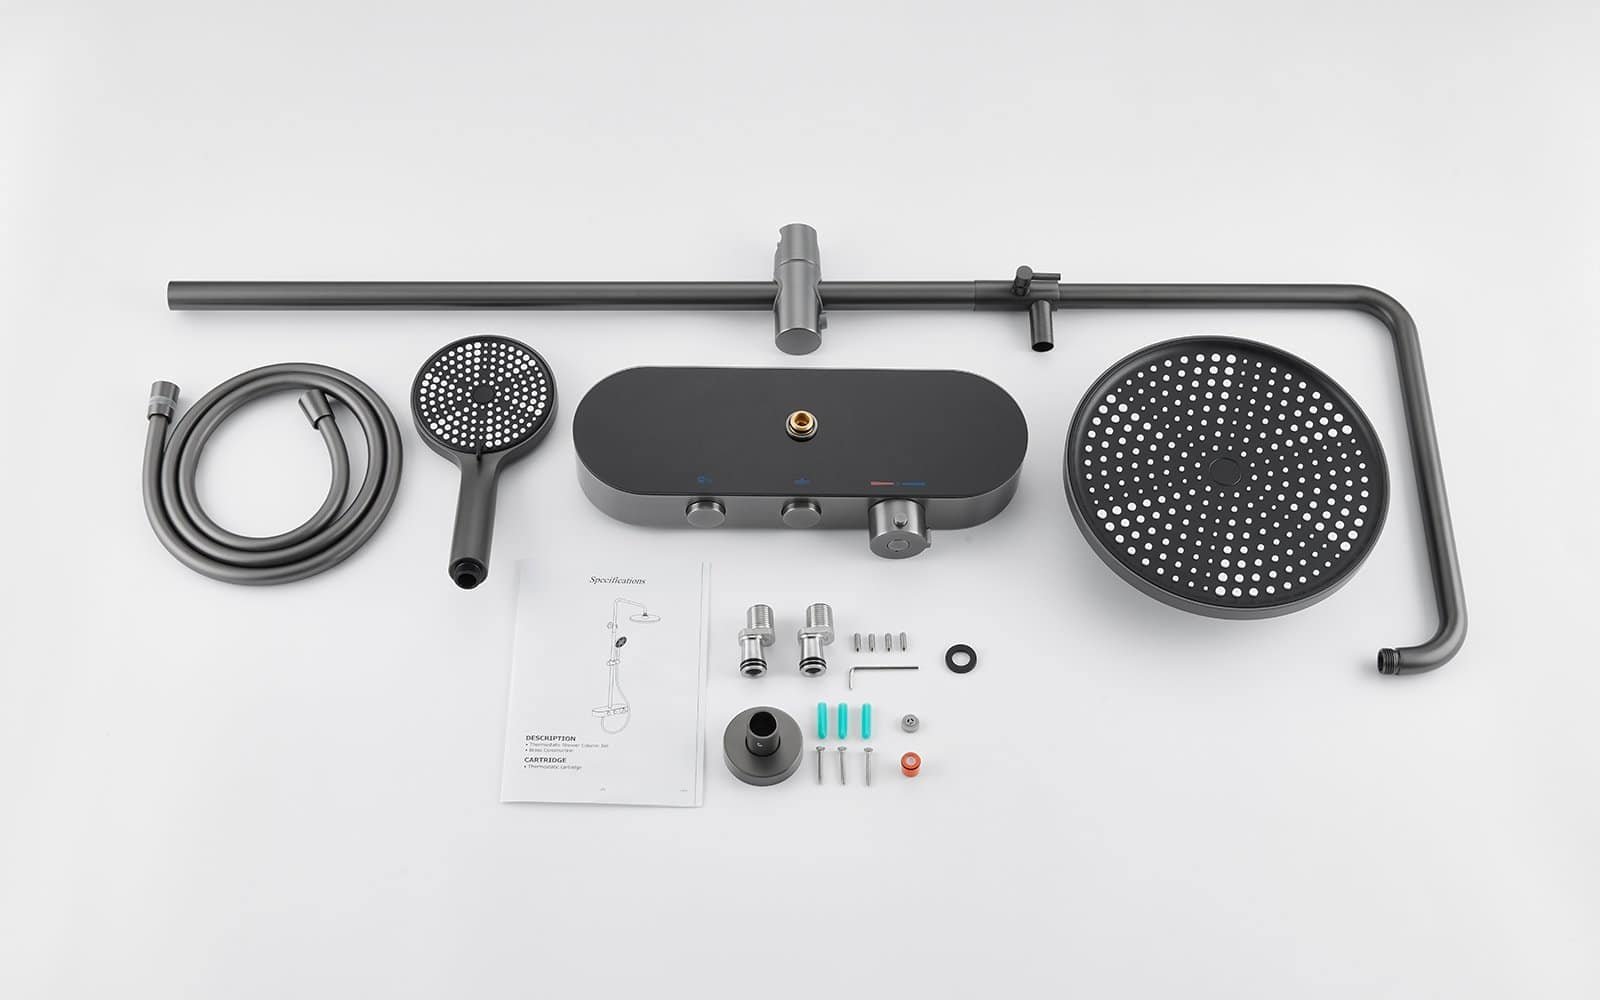
The typical components of an exposed shower column include:
- The Valve: Mixes hot and cold water. It can be a manual mixer or a thermostatic valve.
- The Riser: A vertical pipe that transports mixed water from the valve to the overhead shower head.
- The Shower Arm and Head: An arm extends from the riser to position an overhead shower head, often in a “rainfall” style.
- The Handheld Shower: Most systems include a handheld shower wand on a flexible hose, housed in an adjustable bracket on the riser.
- The Diverter: A control that switches water flow between the overhead shower head, the handheld wand, and a tub spout, if included.
- The Tub Spout: In systems designed for a bathtub-shower combination, a tub spout is integrated into the valve body.
Exposed Column vs. Concealed Shower System
The choice between an exposed and a concealed shower system involves trade-offs in installation, cost, maintenance, and aesthetics.
- Installation: Exposed systems install easily, connecting to existing plumbing without wall demolition—ideal for renovations that preserve tile. Concealed systems, by contrast, require behind-the-wall work for valves and pipes, making them better for new builds or full remodels.
- Cost: Exposed shower columns are often more cost-effective, with lower product prices and simpler installation. Concealed systems usually cost more for both hardware and plumbing work.
- Maintenance: With all components accessible on the wall’s surface, repairs and replacements for an exposed column are direct. This avoids the need to open a tiled wall to service a concealed valve.
- Aesthetics & Space: Concealed showers create a minimalist look and save space, ideal for smaller enclosures. Exposed columns take up more room but add visible design elements that suit traditional, industrial, or vintage styles.
Is an Exposed Shower Column a Suitable Choice?
Interest in exposed shower columns comes from their practicality. Easy installation and lower cost make them ideal for renovations, offering a major aesthetic upgrade without demolition.
- An exposed system may suit:
- Renovations: Projects where the goal is to upgrade a shower’s appearance and function with minimal disruption to existing walls.
- DIY Projects: A person with basic plumbing skills may be able to perform the installation, saving on labor costs.
- Specific Design Themes: Bathrooms with an industrial, modern farmhouse, classic, or vintage theme where the fixture is a focal point.
- A concealed system may be a better option for:
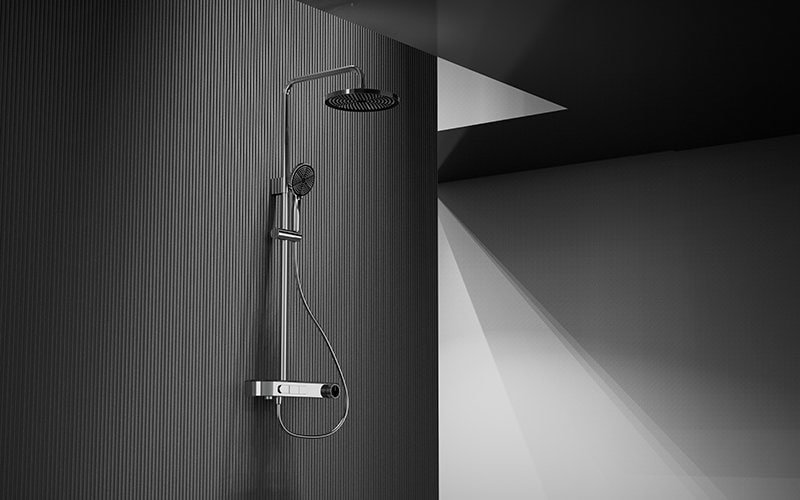
- Minimalist Designs: Those who prefer a sleek, uncluttered aesthetic where plumbing is not visible.
- Small Showers: In a compact shower stall, the protrusion of an exposed valve can reduce usable space.
Types, Styles, and Features of Exposed Shower Columns
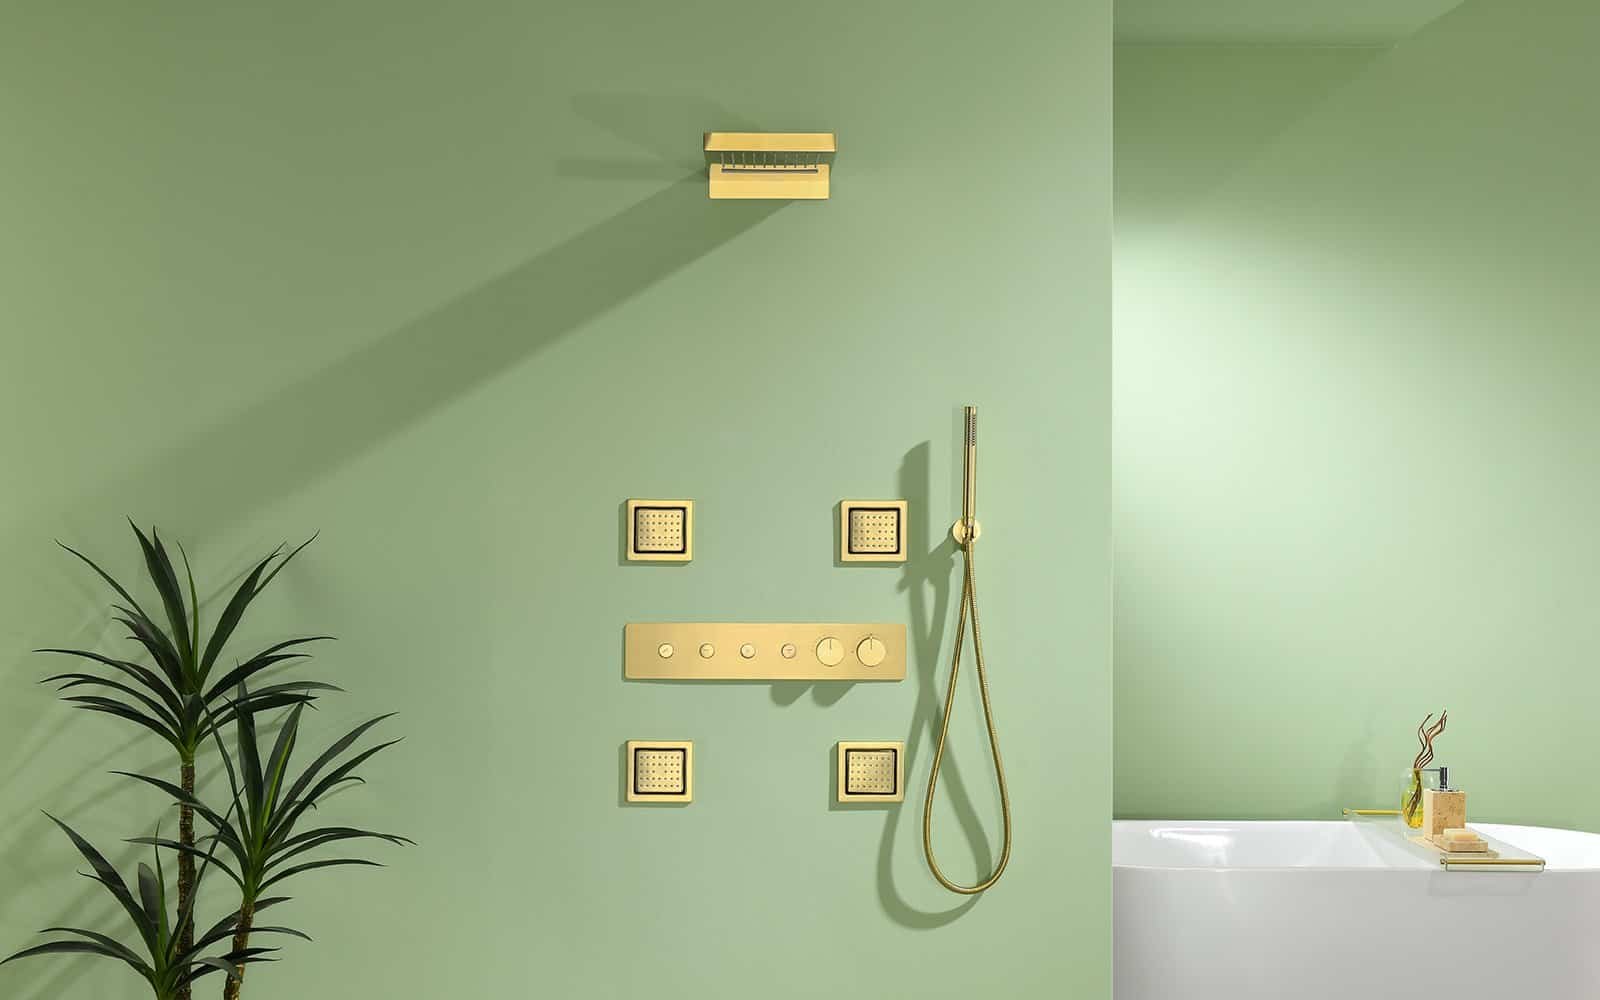
The market for exposed shower columns includes a wide variety of styles, functions, and features. Understanding these options is key to selecting a suitable product.
Common Aesthetic Styles
Exposed shower columns are available in several design categories.
- Modern & Contemporary: These columns feature clean lines, geometric profiles, and minimalist controls. Common finishes include polished chrome, brushed nickel, and matte black.
- Traditional & Vintage: These systems have more ornate details, such as porcelain-accented lever or cross-handles. They are often finished in polished brass, oil-rubbed bronze, or antique copper.
- Industrial & Farmhouse: This style features exposed pipework, often in unfinished brass or copper that can develop a patina over time. Matte black finishes are also common in this style.
Comparison of Valve Types: Thermostatic vs. Manual Mixer
A key functional choice is the type of mixer valve, which controls water temperature and affects safety and convenience.
- Manual Mixers:
This is the basic option where the user adjusts hot and cold water flow with one or two handles to set the temperature. They are susceptible to temperature changes if water is used elsewhere in the home, which can cause sudden shifts in water temperature.
- Thermostatic Mixers:
These valves use an internal thermostatic cartridge to automatically maintain a consistent, pre-selected water temperature. If the pressure of the hot or cold water supply changes, the valve adjusts the mix to keep the temperature steady. This provides two main benefits:- Safety: Thermostatic valves offer protection against scalding. Most include a safety override button set at a default maximum of 38°C (100°F) and are designed to shut down if the cold water supply fails.
- Convenience: The user can set a desired temperature that will be maintained throughout the shower without needing constant adjustments.
| Feature | Thermostatic Mixer | Manual Mixer |
|---|---|---|
| Temperature Stability | Maintains a pre-set temperature by automatically compensating for pressure changes. | Temperature can fluctuate with water use elsewhere in the home. |
| Safety (Anti-Scald) | Features a maximum temperature stop and automatic shutdown on cold water failure. | Offers no built-in protection against sudden temperature spikes. |
| Convenience | “Set and forget” operation for a consistent shower temperature. | Requires manual adjustment to maintain a comfortable temperature. |
| Upfront Cost | Higher, due to more complex valve technology. | Lower, due to a simpler mechanism. |
| Maintenance Complexity | The thermostatic cartridge may need replacement over its lifespan. | Simpler parts may require occasional washer or O-ring replacement. |
| Common Use Case | Homes with children, elderly individuals, or where safety and convenience are prioritized. | Budget-conscious projects or guest bathrooms with infrequent use. |
Functional Configurations
Exposed systems vary in their configuration and included features.
- Shower-Only vs. Tub-and-Shower Combo:
Many columns are designed for walk-in showers, but models are also available with an integrated tub spout, making them suitable for bathtub setups. A diverter control switches water flow between the shower head and the tub spout.
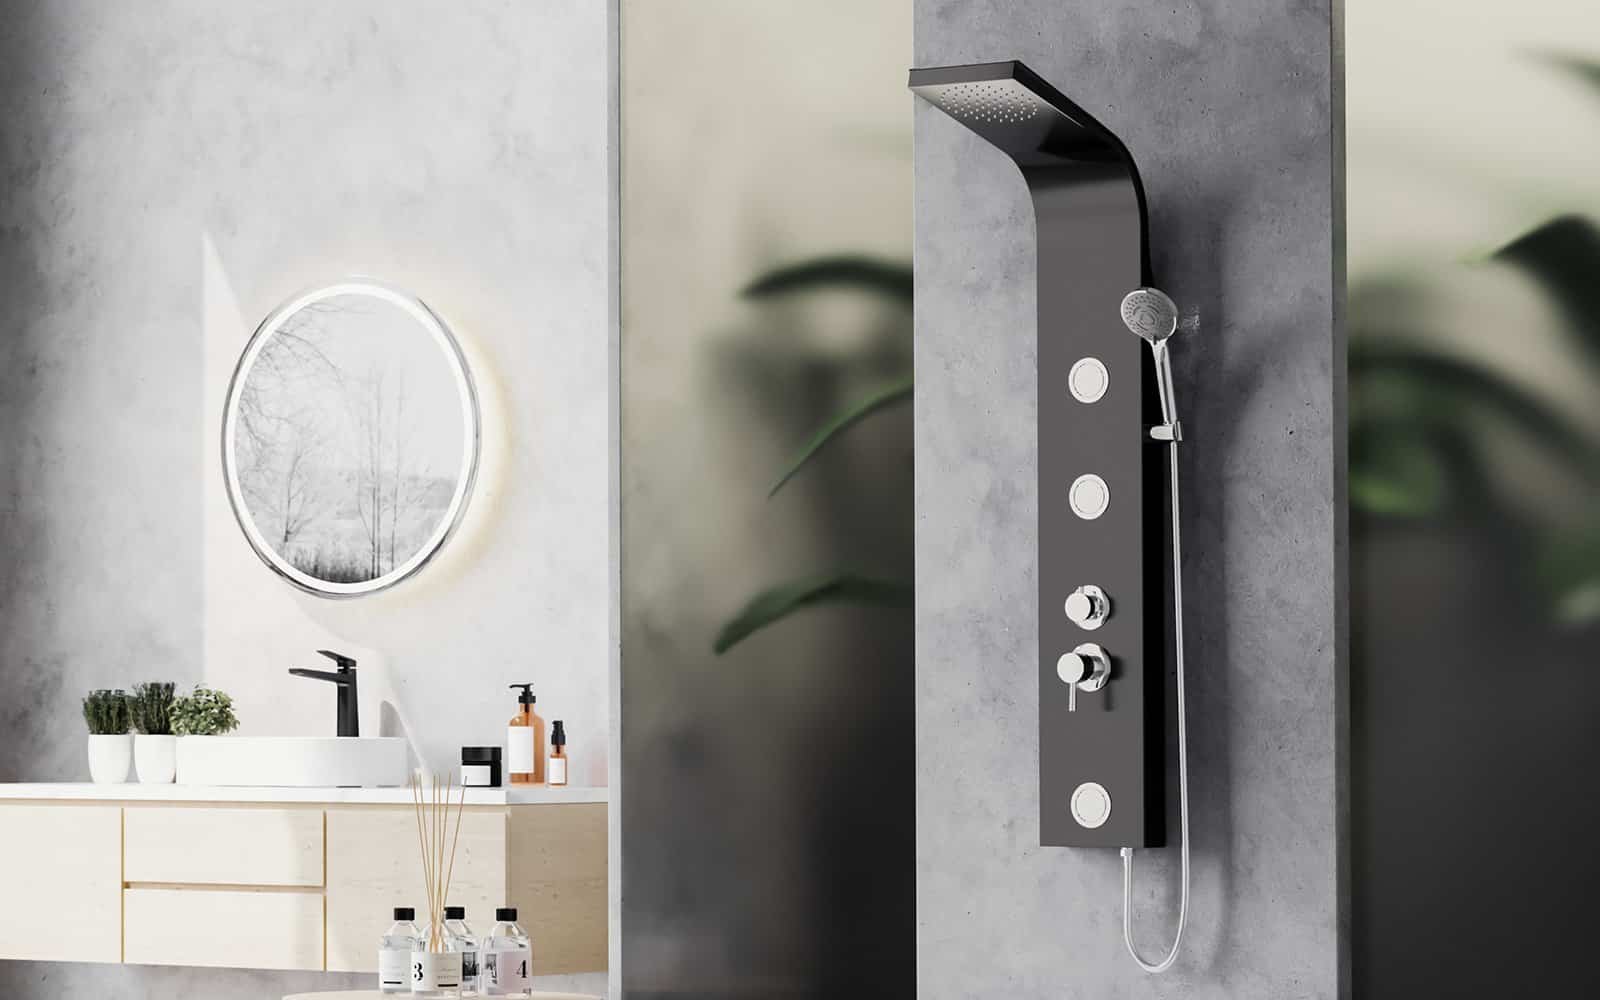
- Shower Panels (Towers):
An evolution of the exposed column, the shower panel is a wider unit that houses multiple functions in a single fixture. These can include features such as:- Multiple body jets.
- Waterfall-style tub spouts.
- Digital temperature displays.
- Integrated LED lighting.
- Shower Head Configurations:
Most systems offer a combination of an overhead shower and a handheld wand. The overhead unit is often a large-diameter rainfall shower head. Many heads are also multi-function, offering different spray patterns. The handheld wand on an adjustable sliding bracket is a common feature.
A shower panel offers convenience but trades features for long-term serviceability. Simple columns have fewer parts to fail, while feature-rich panels include complex tubing, diverters, and electronics. Unbranded panels can be hard to repair if proprietary parts fail, sometimes making the whole unit unusable. Brand reputation, warranty, and parts availability are key factors to consider.
Material and Finish Considerations
The durability of an exposed shower column is largely determined by the quality of its core materials.
Core Materials for Columns and Valves
The valve body and riser pipe are the core of the system.
- Solid Brass: A common material for high-quality plumbing fixtures due to its durability and natural resistance to corrosion.
- Stainless Steel: Another option that offers high durability and corrosion resistance. Grade 304 is suitable for most indoor bathroom environments. For outdoor or coastal installations, marine-grade 316 stainless steel offers superior corrosion resistance.
- Aluminum & ABS Plastic: These materials are often found in lower-priced shower panels and columns. They reduce cost and weight but are less durable than brass or stainless steel. Aluminum can be prone to corrosion if the finish is compromised, and ABS plastic is more susceptible to scratching and cracking.
The longevity of a finish is dependent on the quality of the base material. A solid base material like brass or stainless steel provides a stable, non-corrosive foundation for the finish.
Common Finishes and Their Maintenance
The finish is the visible surface of the shower column and affects both aesthetics and maintenance.
| Finish | Durability | Ease of Cleaning | Scratch Resistance | Care Notes |
|---|---|---|---|---|
| Polished Chrome | High | Moderate | Moderate | Shows fingerprints and water spots. Clean with a soft cloth and mild soap. |
| Brushed Nickel | High | High | High | Hides water spots and fingerprints well. |
| Matte Black (Powder Coat) | Moderate | Moderate | Low | Can be prone to scratching. Avoid abrasive cleaners. |
| Matte Black (PVD) | High | High | High | The PVD process makes this finish very durable and scratch-resistant. |
| Oil-Rubbed Bronze | High | Moderate | Moderate | Often a “living finish” designed to patina. Clean gently. |
Pre-Purchase Checklist: Measurements, Plumbing, and Water Pressure
Before purchase, several practical considerations must be addressed to ensure the chosen shower column will fit and function correctly with the home’s existing plumbing. Overlooking these steps can lead to installation or performance issues.
Critical Dimensions
Accurate measurements are essential for both ergonomics and installation.
- Standard Installation Heights:
- Shower Head Height: The standard height for a fixed shower head is 80 inches (203 cm) from the shower floor.
- Valve/Control Height: For a walk-in shower, controls are typically placed between 40 and 50 inches (102-127 cm) from the floor. For a tub/shower combination, the valve is placed lower, around 28 inches above the tub floor.
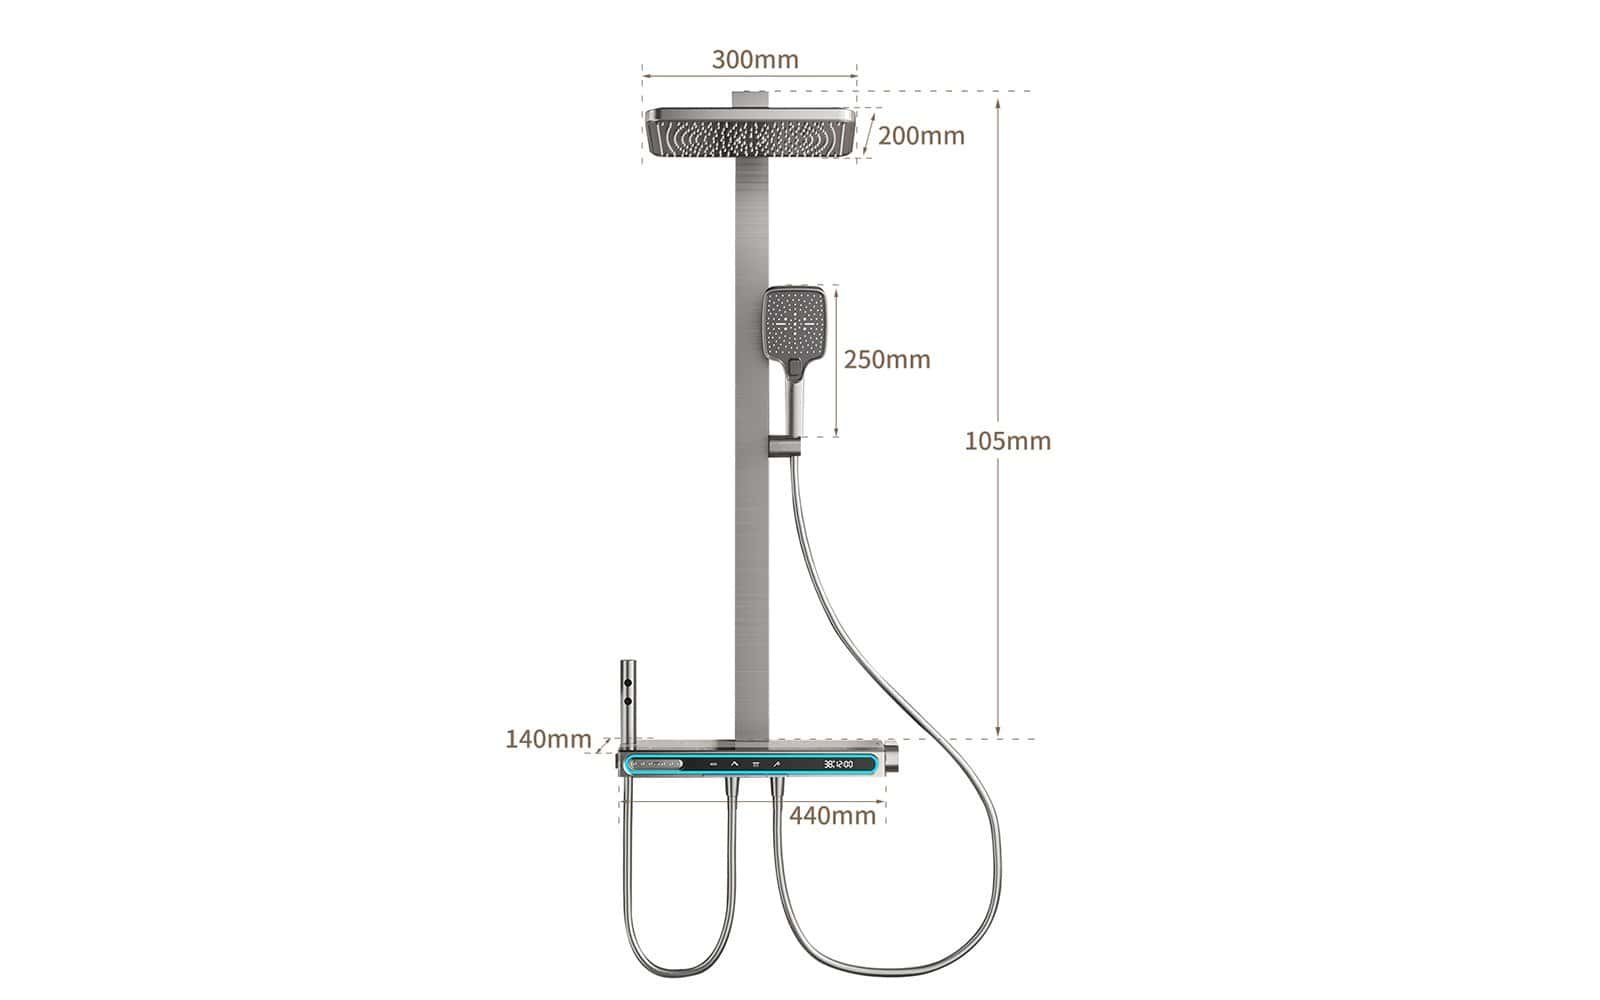
- Column-Specific Dimensions: Always consult the manufacturer’s technical specification sheet for the exact dimensions of the model. Pay attention to:
- Overall Column Height: Ensure there is sufficient clearance between the top of the column and the ceiling.
- Shower Arm Reach: This is the horizontal distance the overhead shower arm extends from the wall.
- Adjustability Range: Note the vertical travel range of the sliding bracket for the handheld shower.
Plumbing Compatibility
Most exposed shower columns are designed for standard plumbing.
- The Standard Connection: In North America, most exposed shower columns connect to a single 1/2-inch MIP (Male Iron Pipe) threaded stub-out—the same pipe where a standard shower arm attaches.
- Retrofit-Specific Models: Some product lines, like the Delta Emerge series, are engineered as retrofit solutions. They mount to the wall and connect to the existing shower arm outlet, allowing the addition of an overhead rain shower and a handheld wand without altering the in-wall valve.
- International Considerations: When purchasing from international suppliers, verify that the connection threads are compatible with local standards (e.g., NPT in North America vs. BSP in Britain).
Water Pressure Considerations
Assessing your home’s water pressure is a critical step. Fixtures with large rainfall heads or multiple body jets are dependent on adequate water pressure and flow rate to function as designed. Insufficient pressure will result in a weak flow.
You should measure your home’s static water pressure, measured in PSI (Pounds per Square Inch), before you buy.
- How to Measure Water Pressure:
- Obtain a water pressure gauge from a hardware store.
- Turn off all water-using appliances in your home.
- Attach the gauge to an outdoor hose bib or the shower arm pipe.
- Turn the faucet on fully. The gauge will display your home’s water pressure in PSI.
- Interpreting the Results:
Typical residential water pressure in the US ranges from 40 to 80 PSI. Compare your measurement to the manufacturer’s specified minimum pressure requirement for the shower column. If your home’s pressure is below the minimum, that model will not perform as intended.
Installation: The DIY vs. Professional Decision
The choice between a do-it-yourself project and hiring a professional should be based on an assessment of skill, budget, and risk.
The DIY Path: An Overview
For a homeowner with some DIY skills, installing a basic exposed shower column is a manageable project.
- Essential Tools:
A complete toolkit should include a spirit level, a power drill with appropriate bits for your wall surface (e.g., a diamond-tipped bit for porcelain tile), a tape measure, a pencil, a caulking gun with 100% silicone sealant, and an adjustable wrench.
- Generalized Installation Steps:
- Shut Off Water: Turn off the main water supply.
- Remove Old Fixtures: Unscrew the old shower head and arm.
- Mark Bracket Locations: Loosely assemble the new column, hold it against the wall, use a level to ensure it is vertical, and mark the drilling locations for the mounting brackets.
- Drill Holes: Carefully drill the marked holes.
- Install Brackets: Insert appropriate wall anchors if not drilling into a stud, and screw the mounting brackets to the wall.
- Connect Water Supply: Attach the column’s water inlet to the pipe in the wall, using plumber’s tape on the threads.
- Mount the Column: Hang the shower column onto the wall brackets.
- Attach Components: Connect the handheld shower hose and attach the overhead shower head.
- Test for Leaks: Turn the main water supply back on. Run water through all outlets and check every connection for leaks.
- Seal the Fixture: Apply a bead of silicone sealant along the top and sides where the fixture meets the wall. Do not seal the bottom edge. This allows any future leaks from behind the unit to drain out where they can be seen, rather than being trapped inside the wall.
Hiring a Professional: When and Why
Hiring a licensed plumber offers several advantages.
- Expertise and Efficiency: A professional has the experience to complete the installation correctly and handle unforeseen plumbing issues.
- Warranty and Compliance: Many manufacturers’ warranties are valid only with professional installation. A licensed plumber also ensures the installation adheres to local building codes.
- Risk Avoidance: A small DIY error can lead to slow leaks inside the wall, potentially resulting in significant water and mold damage.
The decision between DIY and professional help involves risk management. The potential cost savings of a DIY installation should be weighed against the potential cost of repairs if something goes wrong.
Decision-Making Framework
To make a choice, consider the following:
- Consider DIY if: You are installing a simple retrofit model, you have experience with plumbing and drilling into tile, you own the necessary tools, and you accept the financial risk of potential mistakes.
- Hire a Pro if: You are installing a complex system, the installation requires modifying in-wall plumbing, you are not confident in your skills, you want to ensure the product warranty remains valid, or you want assurance that the job is done correctly and to code.
Long-Term Care and Troubleshooting
Proper maintenance can help ensure an exposed shower column remains functional for years.
Maintenance Schedule
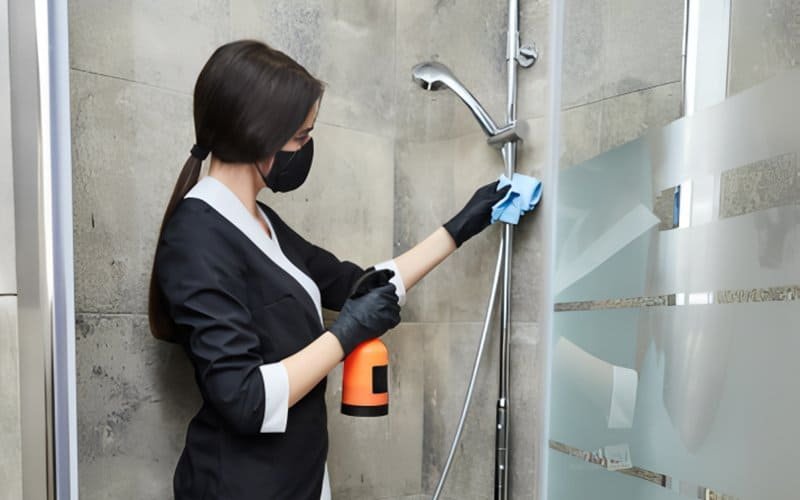
- Daily/Weekly Care: Wiping the column down with a microfiber cloth after each use can prevent the buildup of water spots and mineral deposits (limescale).
- Deep Cleaning by Finish:
- Chrome & Stainless Steel: For mineral buildup, a 50/50 solution of white vinegar and water can be effective. Do not use abrasive powders.
- Matte Black & Brushed Finishes: These surfaces require gentle care. Use only mild, non-abrasive cleaners and soft cloths.
- Nozzle Maintenance: If the spray pattern becomes uneven, the shower head nozzles may be clogged with mineral deposits. Most modern shower heads have soft silicone nozzles that can be cleared by rubbing them. For more stubborn clogs, unscrew the shower head and soak it in white vinegar.
Troubleshooting Guide
Many common shower issues can be addressed with simple steps.
- Problem: Low Water Pressure
- Potential Causes: Clogged shower head nozzles; a partially closed shutoff valve; a kink in the handheld shower hose; or insufficient water pressure in the home’s plumbing.
- Solutions: First, clean the shower head nozzles. Second, verify that all shutoff valves are fully open. Third, ensure the flexible hose is not kinked. If the problem persists, it may indicate a systemic low-pressure issue.
- Problem: Dripping Shower Head or Faucet
- Potential Causes: A loose connection; worn-out rubber washers or O-rings; or a failing internal valve cartridge.
- Solutions: First, try tightening the connection at the drip point. If that doesn’t work, the cause may be a worn washer or O-ring. If the drip continues, the main valve cartridge may need to be replaced.
- Problem: Inconsistent Temperature (Thermostatic Mixer)
- Potential Causes: Debris clogging the inlet filters on the valve; a faulty thermostatic cartridge; or an incorrect initial installation where hot and cold supply lines were reversed.
- Solutions: A plumber can clean the filter screens on the inlets. If this does not resolve the issue, the thermostatic cartridge may require replacement.
Repairability is an important long-term factor when choosing a shower column. Proprietary parts like cartridges or diverter valves can be hard to replace. Established brands often use standardized cartridges available for years, while unbranded imports may lack replacements, forcing full system replacement. This makes parts availability a key consideration.
Conclusion
An exposed shower column suits bathroom renovations, offering an aesthetic upgrade without major demolition. Its visible parts can serve as a design feature, while modern thermostatic technology ensures a safe, consistent shower.
Key considerations for a successful purchase:
- Thermostatic Valve: Ensures stable temperature and anti-scald safety.
- Core Materials: Solid brass or high-grade stainless steel provide durability and corrosion resistance.
- Water Pressure: Test PSI to ensure performance, especially for large rainfall heads or multi-jet panels.
- Parts Availability: Choose a manufacturer with long-term replacement parts to simplify future repairs.
Balancing design, mechanics, and materials helps buyers select an exposed shower column that delivers function, safety, and style.

FAQs
Related Posts


