Table of Content
- What Does It Mean When a Shower Valve Is Recessed Too Deep?
- Solutions for a Recessed Shower Valve
- Step-by-Step Installation Guide: Using a Valve Stem Extension Kit
- Preventing This Issue in Future Installations
- How to Measure the Correct Depth of a Shower Valve
- Explore Shower Valve Installation Height
- Conclusion
- FAQs
DIY Installation Disclaimer:
This guide is for general informational purposes only. Installing a concealed shower valve is a complex, professional-level task that involves significant plumbing and wall alterations. Incorrect installation carries a high risk of major property damage (leaks, mold) and personal injury.
The steps provided are for conceptual understanding and are to be followed at your own extreme risk. We assume no liability for any damages resulting from the use of this guide. We absolutely and strongly recommend hiring a licensed and insured professional plumber for this type of installation.
When you install a shower valve, you might encounter a frustrating issue: the valve sits too deep inside the wall. This prevents the handle or trim kit from attaching correctly, leaving your shower unusable. Many homeowners and DIY enthusiasts face this problem during bathroom renovations or new installations.
This guide helps you understand the issue and potential solutions. We will explain the problem, cover different approaches, provide a general installation guide for an extension kit, and share tips to help avoid this issue in the future.
What Does It Mean When a Shower Valve Is Recessed Too Deep?
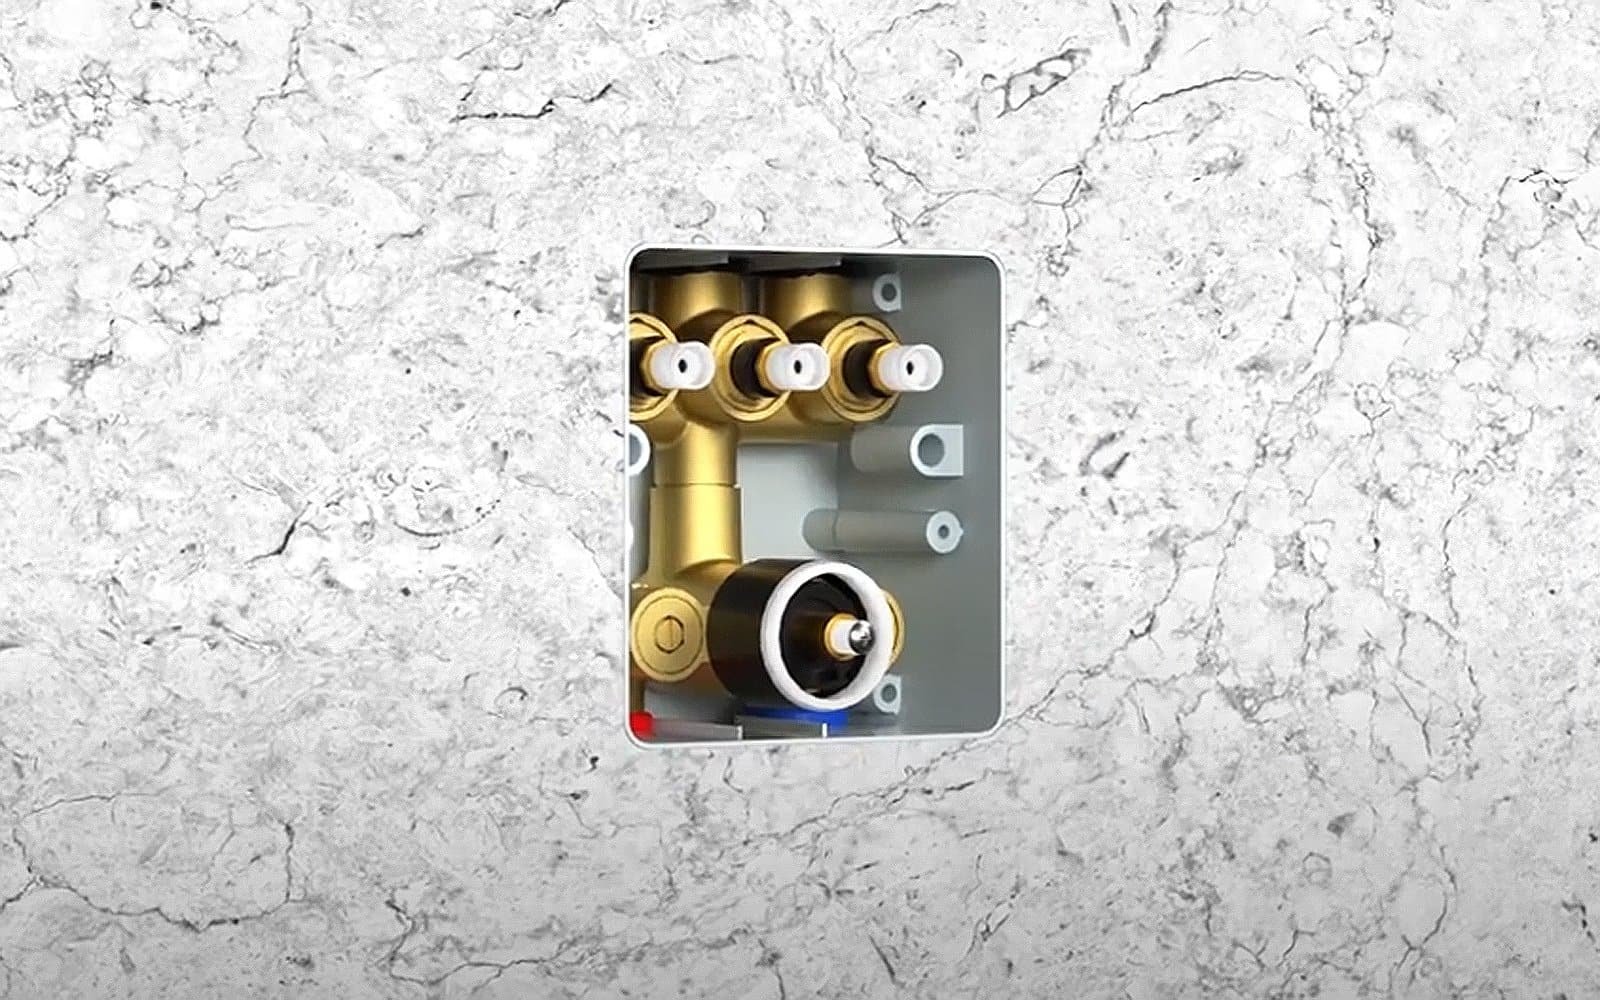
A shower valve regulates water flow and temperature. For it to work properly, installers position it at a specific depth within the wall. This allows the handle and trim kit to connect seamlessly. If the valve recesses too deeply, the stem—the part linking to the handle—doesn’t extend far enough. This causes several issues:
- Handle Installation Fails: The handle won’t attach securely or sit flush.
- Leaks Occur: A misaligned trim kit lets water seep into the wall.
- Appearance Suffers: The shower looks incomplete or poorly installed.
Common Causes
- Incorrect Measurements: You overlook the thickness of the finished wall, like tile or drywall.
- Poor Installation: You skip the manufacturer’s depth guidelines.
- Rough-In Errors: You set the valve too far back during initial plumbing.
This problem frustrates many, but you can fix it with the right approach. Let’s dive into the solutions.
Solutions for a Recessed Shower Valve
You can correct a recessed shower valve in several ways. Choose the best option based on your valve’s brand and the depth of the recession.
Use a Valve Stem Extension Kit
- What It Is: A kit that lengthens the valve stem, enabling proper handle attachment.
- When to Use It: Works for valves recessed by 0.5 to 2 inches. It avoids wall alterations.
- How It Works»: Attach the extension to the stem, making it long enough for the handle to fit.
Install Longer Screws for the Trim Kit
- What It Is: Longer screws secure the trim kit if the valve’s depth prevents a flush fit.
- When to Use It: Best for minor recessions (less than 0.5 inches). It may not suit all brands.
- How It Works: Swap standard screws for longer ones, like 2.75-inch stainless steel screws, to close the gap.
- Note: This fix may not solve handle issues, so combine it with other solutions if needed.
Adjust the Valve Position (Invasive Option)
- What It Is: Open the wall and reposition the valve to the correct depth.
- When to Use It: Use this for severe recessions (over 2 inches) when simpler fixes fail.
- How It Works: Cut the wall, move the valve, and reinstall it. Hire a professional plumber to avoid plumbing damage.
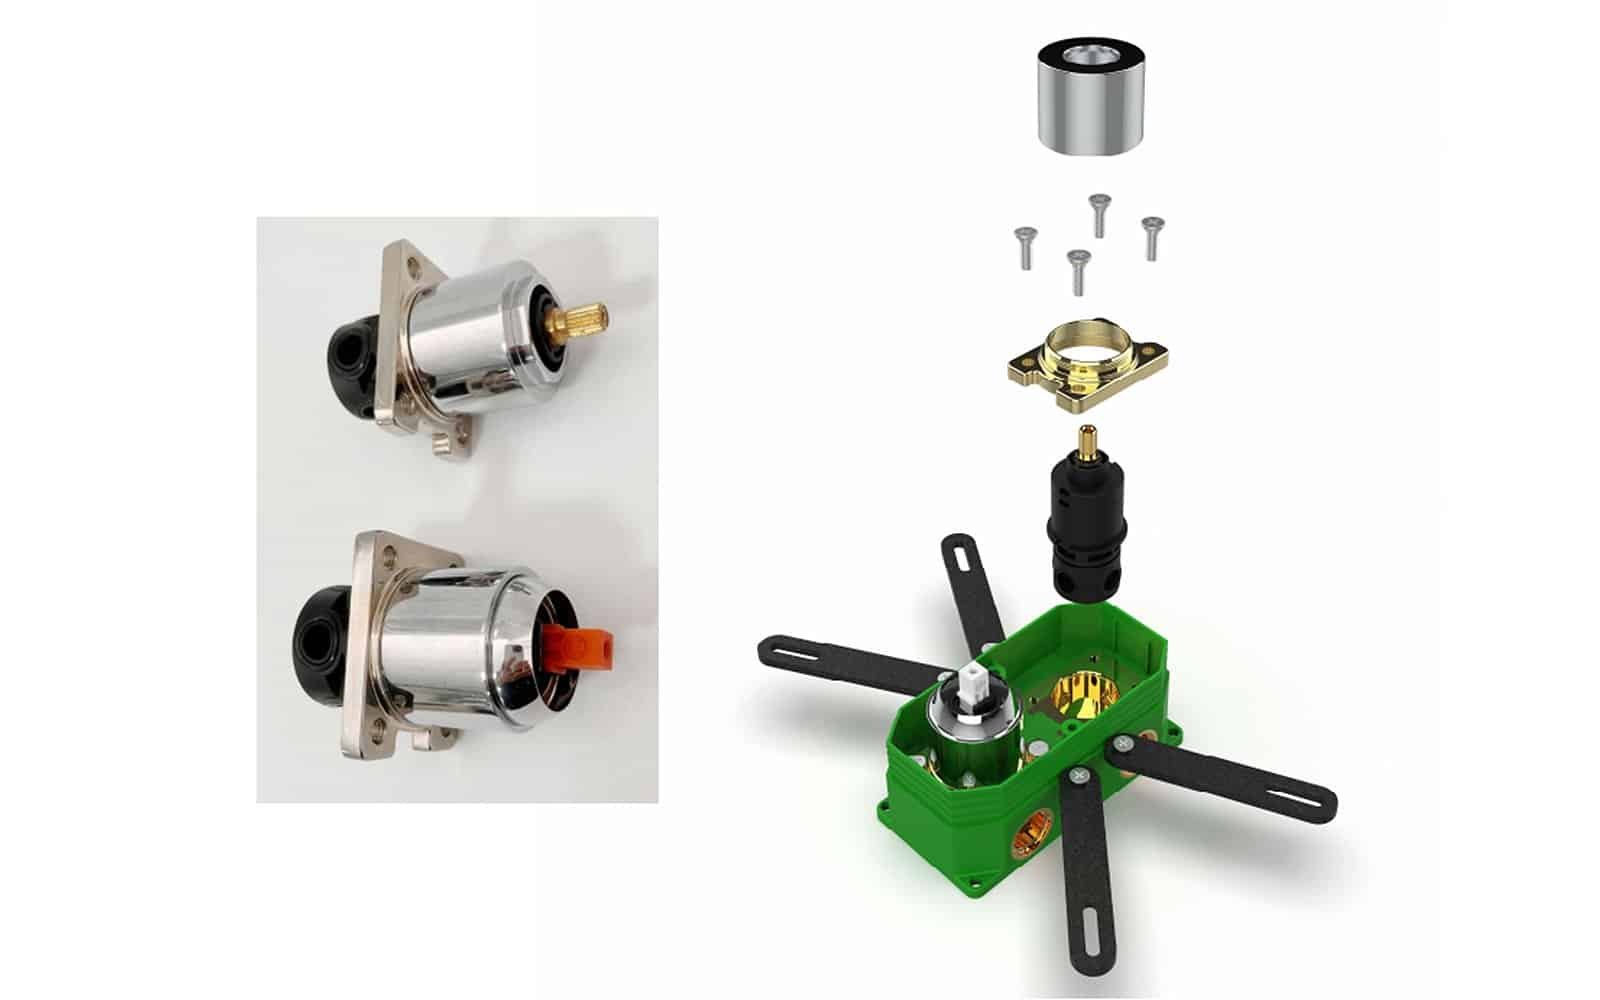
Step-by-Step Installation Guide: Using a Valve Stem Extension Kit
A valve stem extension kit offers the simplest fix for most cases. Follow these steps to install it correctly.
Tools You’ll Need
- Screwdriver (flathead or Phillips, based on your valve)
- Adjustable wrench
- Stem extension kit (match it to your valve brand)
- Teflon tape (optional, for sealing)
Steps
- Turn Off the Water Supply
Shut off the shower’s water to avoid leaks or mishaps. - Remove the Existing Handle (If Installed)
Unscrew the retaining screw and pull the handle off the stem. - Measure the Recession Depth
Use a ruler or tape measure to check how far the valve sits beyond the recommended depth. - Select the Right Extension Kit
Confirm the kit matches your valve brand. Visit the manufacturer’s site or ask a plumber if unsure. - Attach the Stem Extension
- Slide the extension onto the valve stem.
- Tighten it with the set screw or wrench.
- Use the kit’s longer retaining screw if provided.
- Reinstall the Handle
- Place the handle on the extended stem.
- Secure it with the retaining screw.
- Test it to confirm smooth operation and water control.
- Install the Trim Kit
- Attach the trim kit. Use longer screws if it doesn’t sit flush.
- Check for gaps that could allow water leakage.
- Turn On the Water and Test
Restore the water supply. Run the shower to ensure no leaks and proper handle function.
Preventing This Issue in Future Installations
Fixing a recessed valve works, but preventing it saves effort. Use these strategies:
- Follow Manufacturer Guidelines
Adhere to the brand’s depth instructions. For instance, Moen advises a stem protrusion of 2.5 to 3 inches from the finished wall. - Account for Wall Thickness
Measure the finished wall (tile, backer board) and adjust the valve position accordingly. Use a depth gauge if needed. - Double-Check During Rough-In
Verify the valve’s position before sealing the wall. Adjustments are easier at this stage. - Hire a Professional
Employ a licensed plumber if you lack plumbing experience. This minimizes errors and costs.
How to Measure the Correct Depth of a Shower Valve
Tools Needed
- Tape measure or depth gauge
- Manufacturer’s installation guide (specific to your valve brand/model)
- Identify the Valve Type
Determine the brand and model of your shower valve.
- Check Manufacturer Guidelines
Refer to the brand’s official website or manual for the recommended depth.
- Measure the Depth
- Place one end of the tape measure at the valve body (typically the base of the valve stem).
- Extend the tape measure to the finished wall surface (including tile or wallboard).
- Ensure the measurement is perpendicular to the wall for accuracy.
- Record the distance in inches or centimeters.
- Compare and Adjust
- Compare your measurement to the manufacturer’s recommended depth.
- If the valve is too deep (measurement > recommended depth), calculate the extension needed:
Extension distance = Measured depth – Recommended depth. - Use an extension kit or adjust the valve position as needed.
Tips for Accuracy
- Measure after the finished wall surface (e.g., tile) is installed.
- Take multiple measurements and average them if necessary.
- Avoid tilting the tape measure to prevent skewed results.
Explore Shower Valve Installation Height
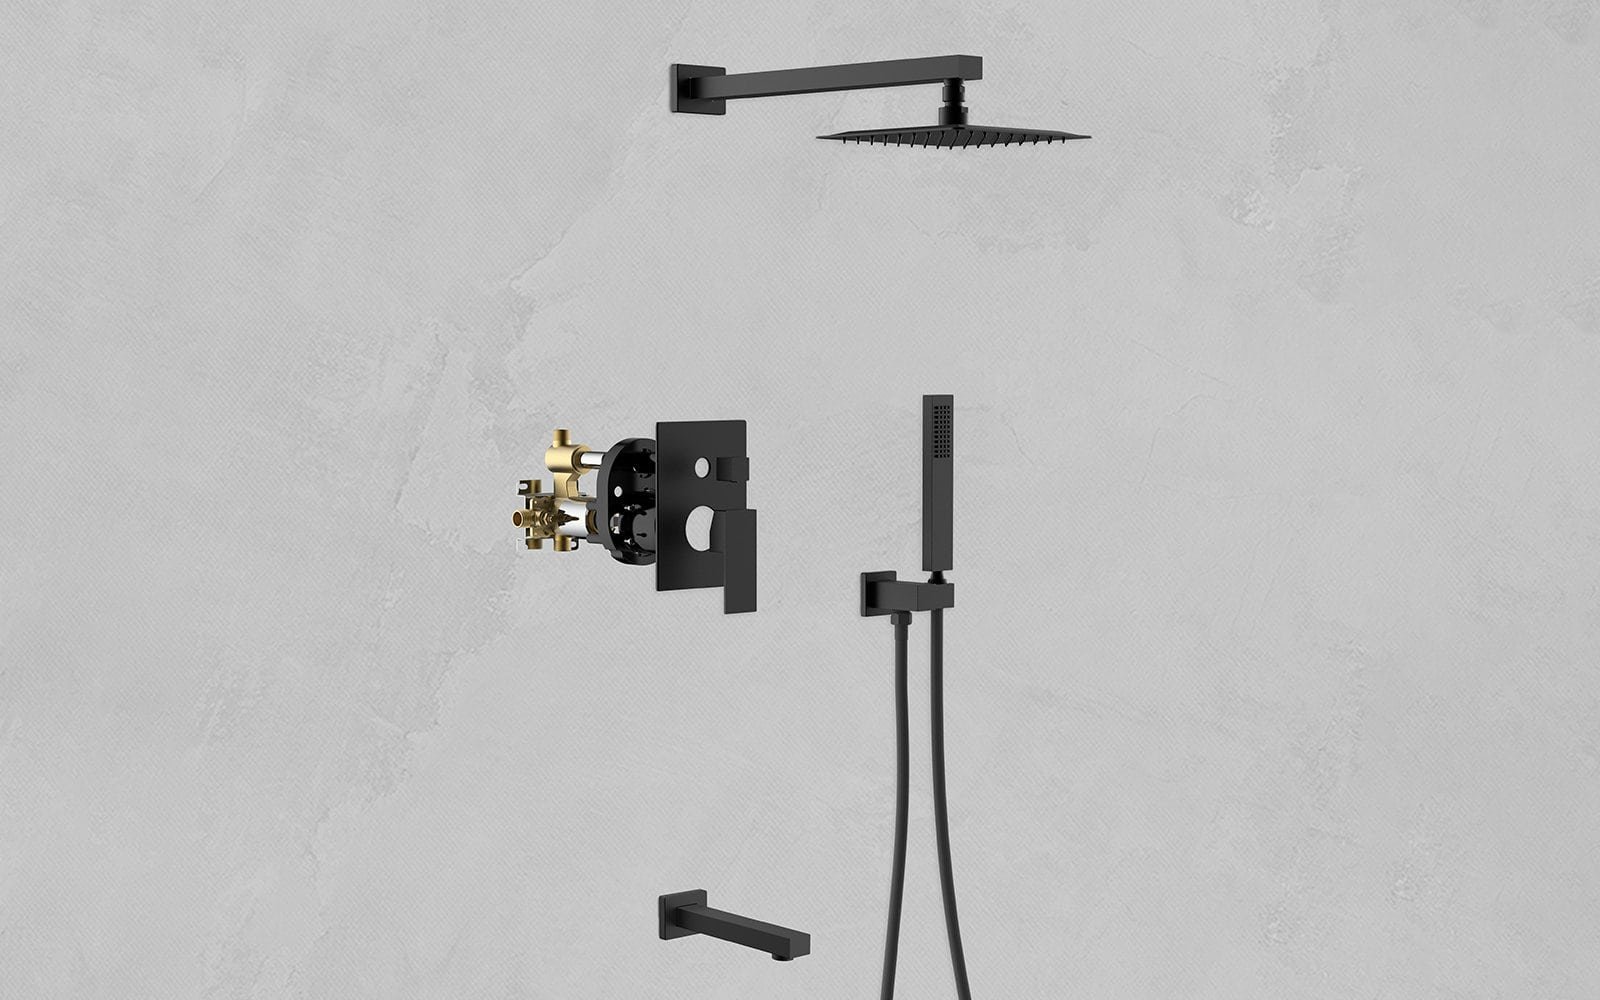
To ensure your shower valve functions perfectly and avoids issues like improper depth, you must install it at the correct height. If you want to learn more about shower valve installation height, check out Rosana’s detailed guide on shower valve installation height. This comprehensive post explains the ideal height for different valve types, offers tips for precise placement, and helps you achieve a professional installation.
Conclusion
A shower valve recessed too deeply poses a challenge, but you can fix it effectively with a valve stem extension kit. This guide equips you with a clear problem explanation, actionable solutions, and preventive advice. For extra help, consult a plumber or contact the valve manufacturer.
FAQs
Related Posts


